This post may contain affiliate links. Please see disclosure policy here.
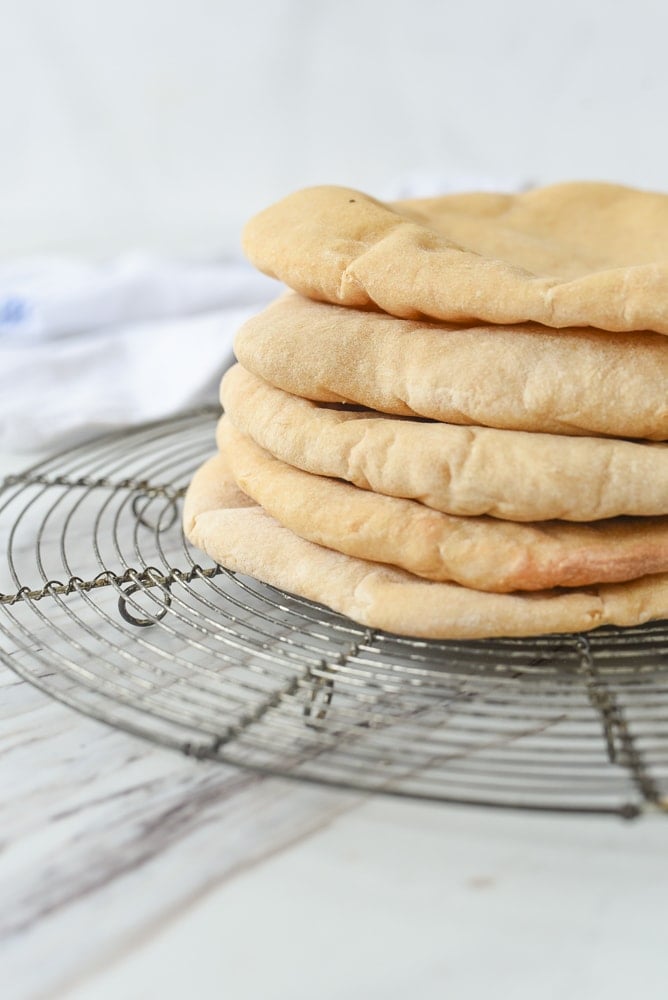
Make soft, fluffy homemade pita bread with simple pantry ingredients! Perfect for stuffing, dipping, or serving with your favorite Mediterranean meals.
Why You’ll Love This Recipe!
Simple ingredients: Made with pantry staples you likely already have on hand—no fancy ingredients required.
Fun to make: Watching the pita puff up in the oven is so satisfying (and a little magical!).
Versatile: Perfect for stuffing with your favorite sandwiches fillings, dipping in hummus or your favorite dip and serving alongside soups, stews, and salads.
What is Pita Bread?
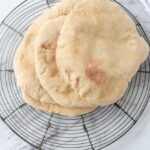
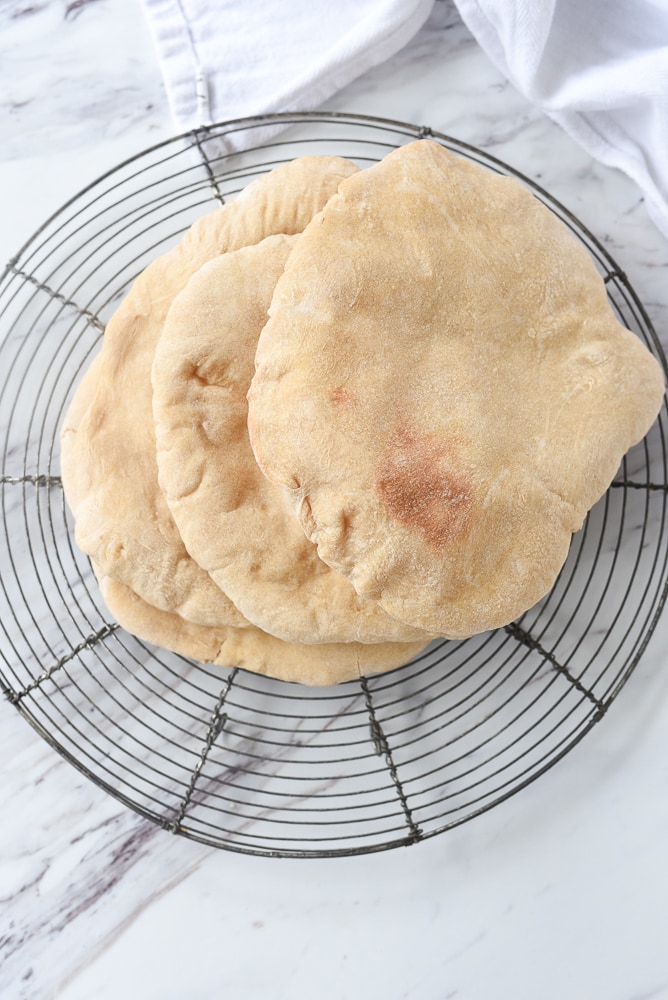
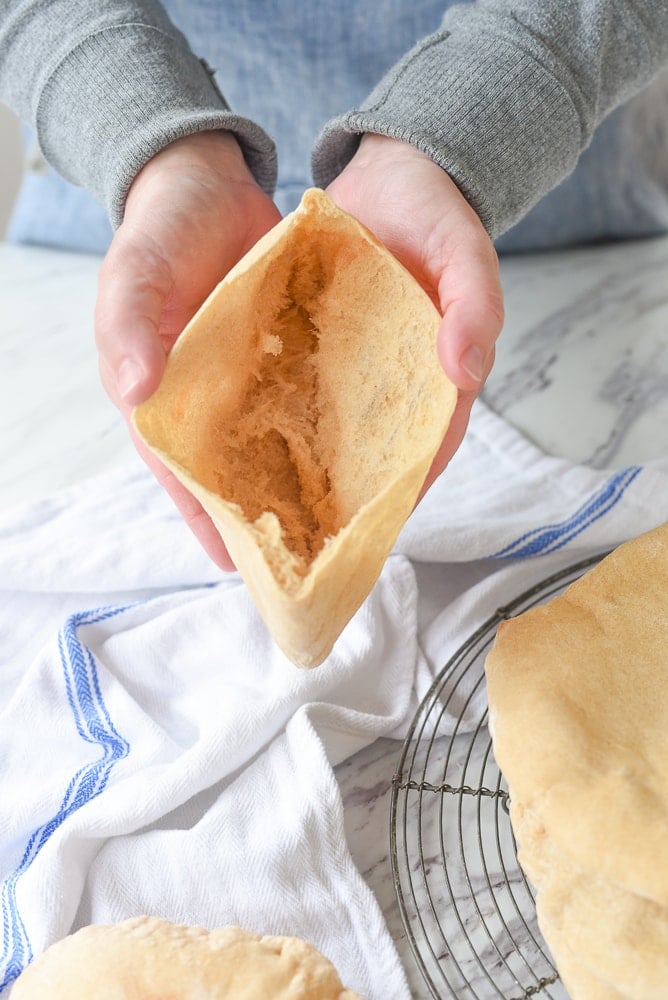
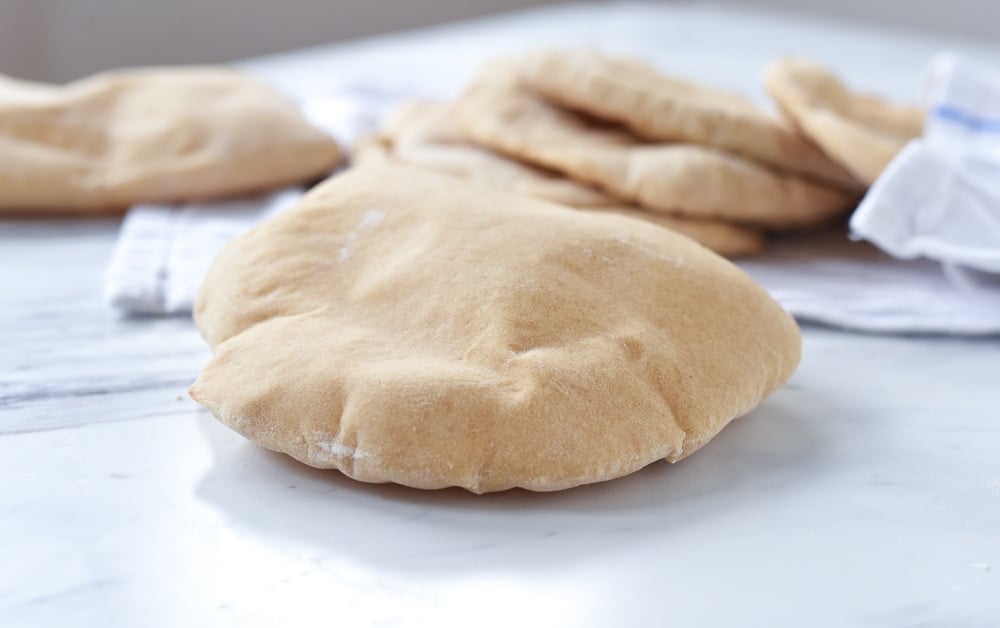
Pita Bread, or Pocket Bread, is a yeast leavened flatbread that began in the Middle East and Mediterranean area. As it bakes, the pita bread forms a pocket inside. The pita bread is cooked at a high temperature which causes the water in the dough to turn to steam and that creates the pocket. Once removed from the oven, the pocket begins to deflate. The pita can then be cut open to form a pocket.
Ingredients Needed
- All Purpose Flour
- Whole Wheat Flour, can use only all purpose flour if desired
- Active Dry Yeast
- Olive Oil
- Sugar
- Salt
How To Make Pita Bread
- Combine yeast and warm water, and allow to sit for 15 minutes until bubbly.
- Add flour, sugar, salt, and olive oil to the year mixture and stir to combine.
- Kneading pita dough for 5 minutes, I like to use my stand mixer. Dough will be tacky but not sticky.
- Place dough in an oiled bowl and allow to raise until doubled, 45-60 minutes.
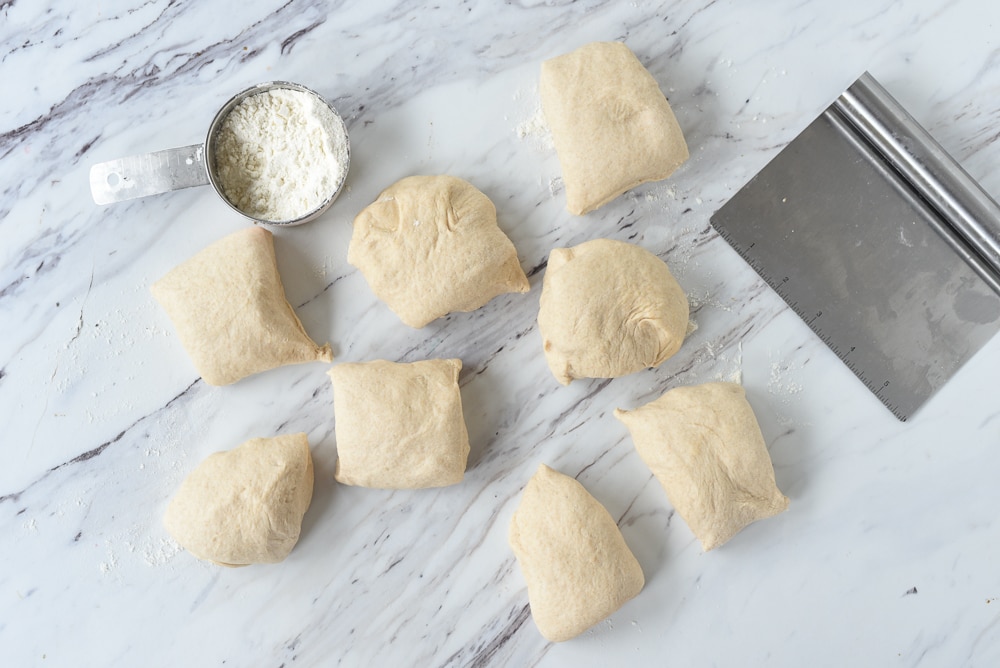
- Divided dough into 8 even pieces. or dough balls.
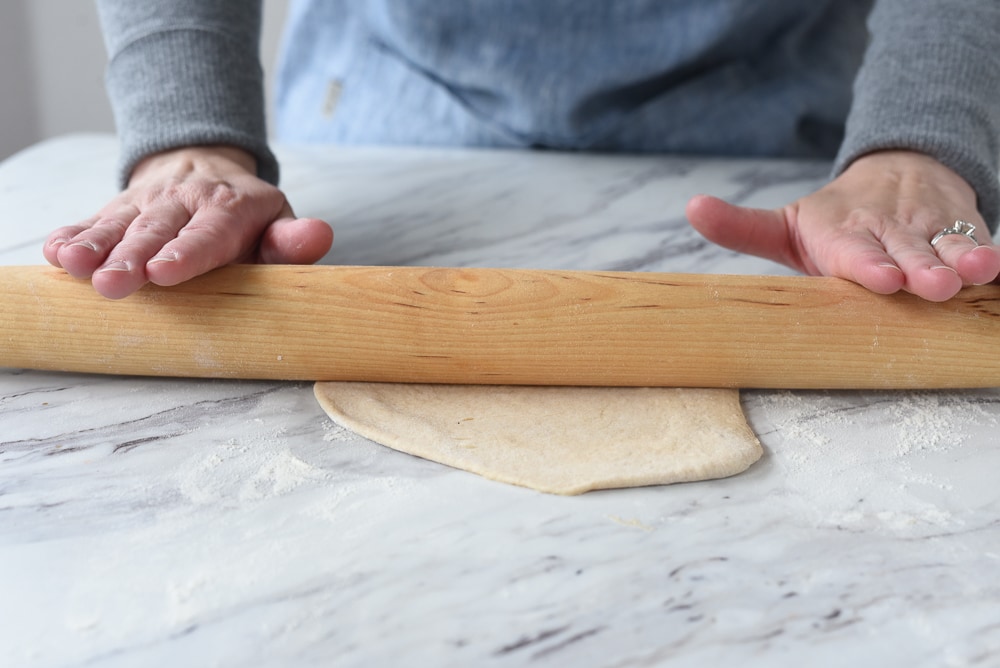
- Roll each piece into a 6-7 inch circle with a rolling pin on a lightly floured surface.
- Cover dough with a towel and allow to sit for 30 minutes.
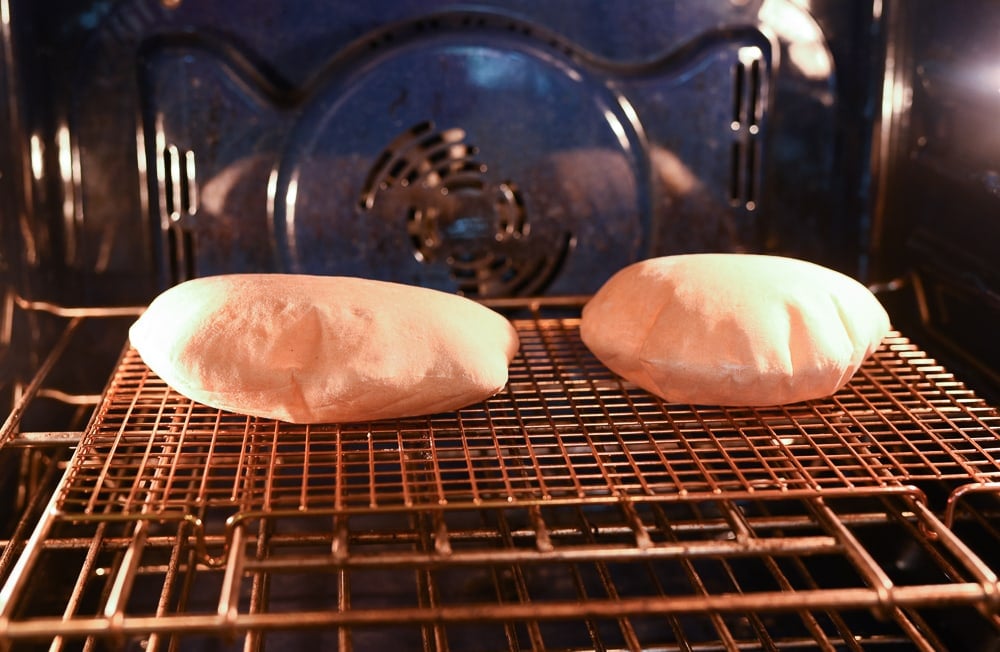
- Place a cooling rack in the oven, a pizza stone or a large cast iron skillet and place the pita on the oven rack, stone or skillet. Bake at 475 degrees F. until puffed and tops turn light brown, about 4-5 minutes
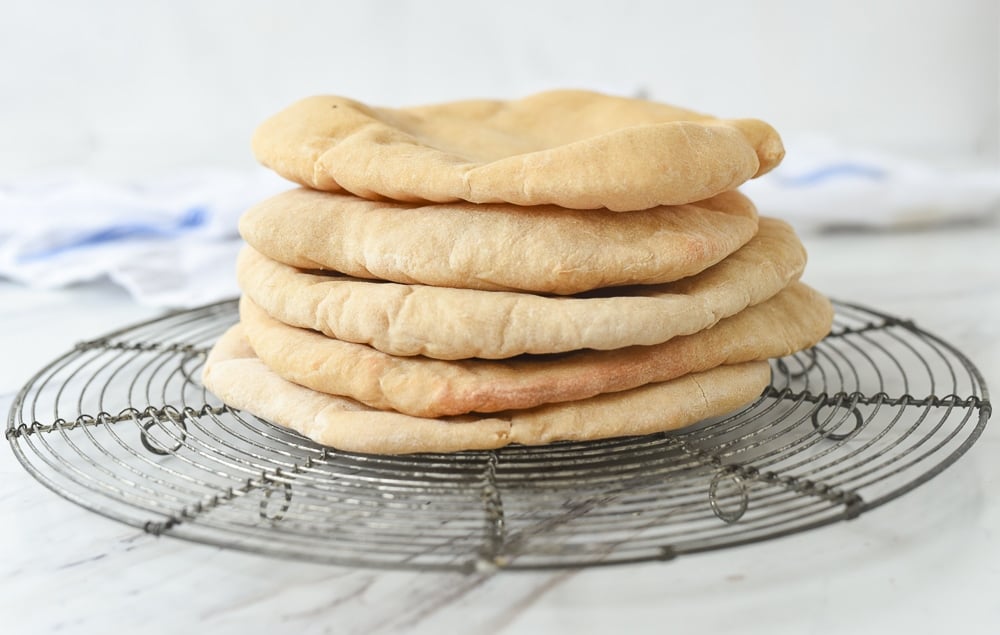
- Remove from the oven and immediately place them in a brown paper bag and fold the bag to close it. Allow to cool in the bag. This will help keep your pita bread soft. The pita bread will deflate as it cools.
Tips from leigh Anne
- To proof your yeast be sure to use 105-110 degrees F water. If you are new to working with yeast, check out my tips on how to work with yeast.
- If you would like to fill your pita, cut it in half or cut off the top edge to expose the pocket.
- Use a hot oven or skillet: For the best puff, bake at a high temperature (450–475°F) or cook on a preheated cast iron skillet. Heat is key!
- Roll evenly: Keep the dough circles uniform in thickness—too thick and they won’t puff, too thin and they may burn.
- Don’t over-flour: Use just enough flour to keep the dough from sticking. Too much can prevent pockets from forming.
- Rest the dough: Letting the dough rise and relax ensures soft, pillowy pitas
Frequently Asked Questions
Can I make pita dough ahead of time?
Yes! You can make pita dough up to a week before baking. Store the dough in an airtight container and keep it in the refrigerator for up to one week. Just pull out the amount you need, roll out the pita, allow to rest for 30 minutes and bake.
Why didn’t my pita bread puff up?
The most common reasons are not rolling the dough evenly or not having a hot enough oven/skillet. Make sure your oven is fully preheated to 450–475°F and roll the dough to an even thickness.
Can I make this homemade pita bread recipe without yeast?
Traditional pita bread uses yeast for that signature rise and pocket. You can make a flatbread version without yeast, but it won’t puff or be quite the same.
How do I store pita bread?
Keep pita in an airtight bag at room temperature for 2–3 days. For longer storage, freeze in freezer bags for up to 2 months. To reheat, remove from the freezer and warm in an oven. You do not need to thaw ahead of time.
Enjoy your pita bread with one of these recipes:
Be sure and follow me over on YouTube for weekly cooking demos.
Pita Bread
Ingredients
- 1 1/2 cups warm water 105-110 degrees F
- 2 1/4 tsp active dry yeast
- 2 cups all purpose flour
- 1 cup whole wheat flour can use 3 cups all purpose if needed
- 1 tsp salt
- 1 Tbsp olive oil
- 1 1/2 tsp sugar
Instructions
- Preheat an oven to 475 degrees F.
- Add yeast to 1/2 cup of the warm water, allow to sit for 15 minutes until bubbly.
- Add all ingredients and the yeast mixture into the bowl of a stand mixer.
- Knead for 5 minutes. Dough will be tacky but not sticky.
- Cover and let rise until doubled in size, about 1 hour.
- Divided dough into 8 even pieces.
- Roll each piece into a 6-7 inch circle. Allow to sit for 30 minutes covered with a towel.
- Place a cooling rack in the oven and place the pita on the rack. Bake for 4-5 minutes until puffed and tops turn light brown.
- Remove from oven and place in a brown paper bag, close bag and allow pita to cool in the bag. They will deflate as they cool.
- Once cool, the pita will soften. Cut in half or cut off the top edge to expose the pocket.
- Fill with favorite filling.
- Pita can be stored in a zippered plastic bag for several days or frozen for several months.
Tips & Notes:
- To proof your yeast be sure to use 105-110 degrees F water. If you are new to working with yeast, check out my tips on how to work with yeast.
- If you would like to fill your pita, cut it in half or cut off the top edge to expose the pocket.
- Use a hot oven or skillet: For the best puff, bake at a high temperature (450–475°F) or cook on a preheated cast iron skillet. Heat is key!
- Roll evenly: Keep the dough circles uniform in thickness—too thick and they won’t puff, too thin and they may burn.
- Don’t over-flour: Use just enough flour to keep the dough from sticking. Too much can prevent pockets from forming.
- Rest the dough: Letting the dough rise and relax ensures soft, pillowy pitas
Recommended Products
Nutrition Facts:
Leave a Review