This post may contain affiliate links. Please see disclosure policy here.
Step by step directions on how to proof yeast, so you can make bread perfectly every time.
Why You”ll Love This Recipe
A few weeks ago I got a text from a friend who had tried one of my recipes and it hadn’t risen. She wondered what she had done wrong. As we texted back and forth and I tried to trouble shoot I asked her if she had proofed her yeast. She didn’t know what I meant. I asked her if the yeast got bubbly. She didn’t think so. Bingo! That was the problem.
So I decided that if my friend needed a little lesson in proofing yeast maybe someone else did too. So today I’m going to walk you through, step by step, how to proof yeast so that you can make sure your bread rises and turns out perfect every time.
What is Proofing Yeast?
Proofing yeast is what you do to the yeast before you add it into the dry ingredients. It gets the yeast activated and working and is what makes the bread rise.
What is the Difference Between Active Dry Yeast and Rapid Rise Yeast?
There are two types of yeast – dry active yeast and rapid rise yeast. Your recipe will designate what type you should use. The majority of recipes will call for dry active yeast.
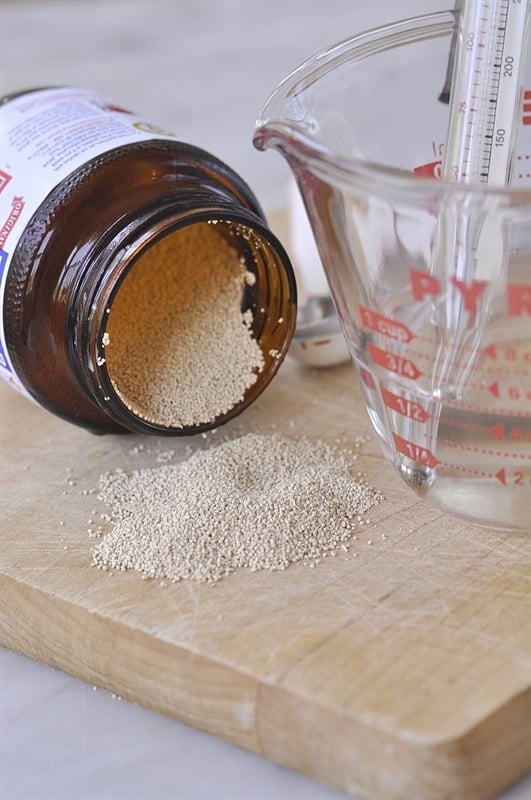
Rapid Rise Yeast does not need to be proofed. It can be added directly into the dry ingredients. The granules of rapid rise yeast are smaller than dry active yeast.
Active Dry Yeast needs to be proofed. The yeast is dormant and needs to be placed in warm water before adding it to the dry ingredients to get it activated.
How To Activate Yeast
The trick for activating yeast is making sure your water is the right temperature. Not too hot and not too cold, just right. The perfect water temperature for activating yeast is between 100 and 110 degrees F.
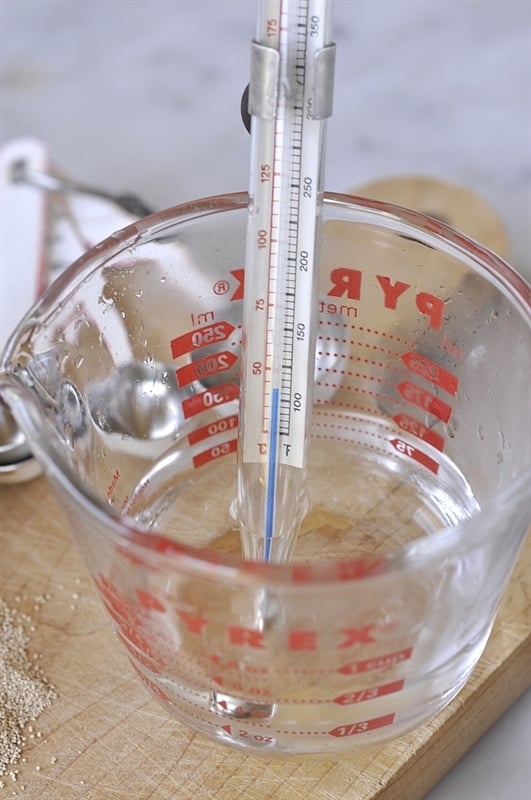
Your recipe will tell you how much water and yeast you will need.
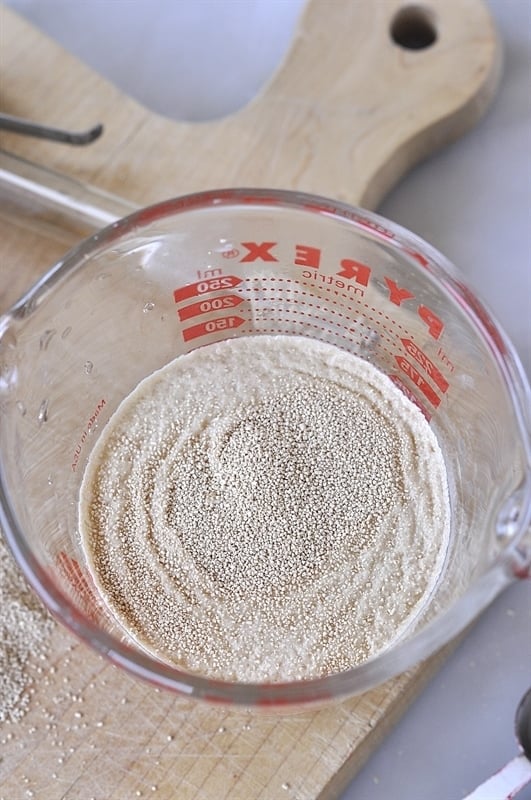
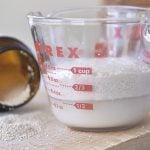
- Sprinkle your yeast on top of the water that is between 105-115 degrees F..
- Add sugar if recipe calls for it. Some recipes will have you add in some sugar with your yeast and water which helps it activate. The sugar feeds the yeast.
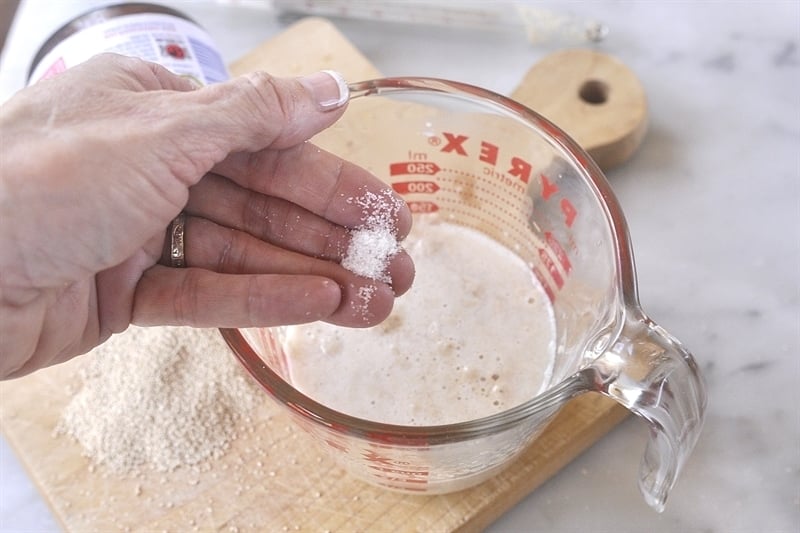
- Mix it up and cover with a towel or plate.
- Let it sit for about 5-10 minutes.
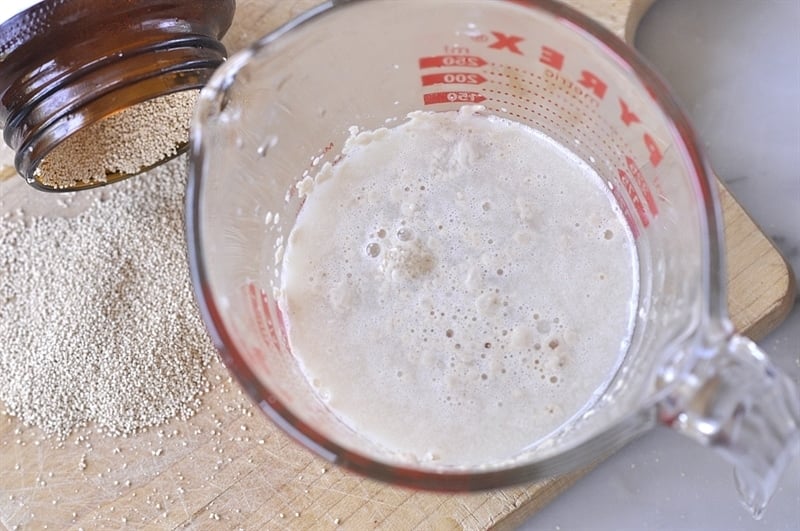
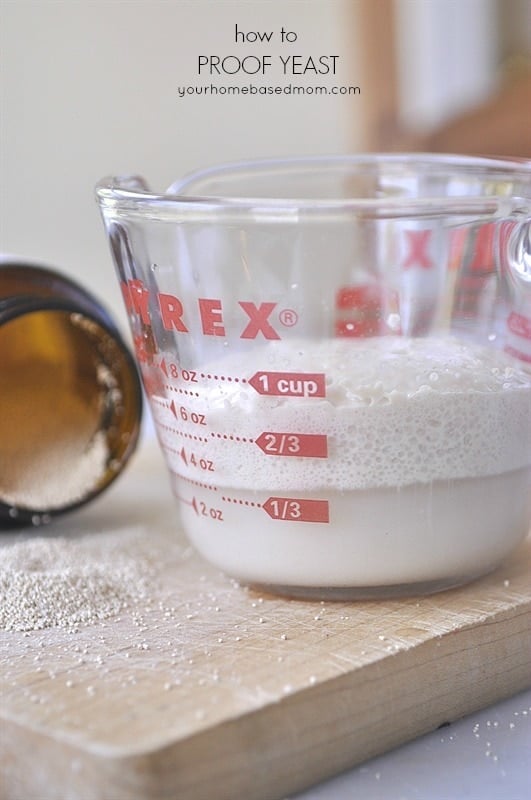
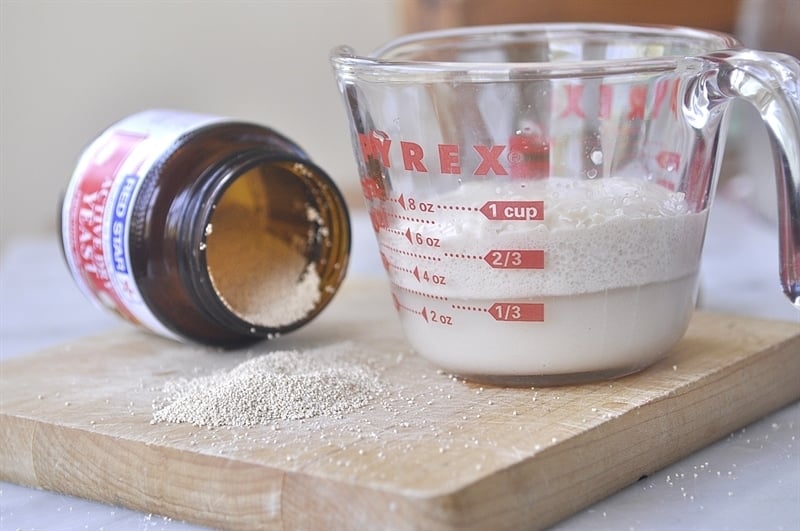
The yeast will start to activate and get nice and bubbly. It will look like this.
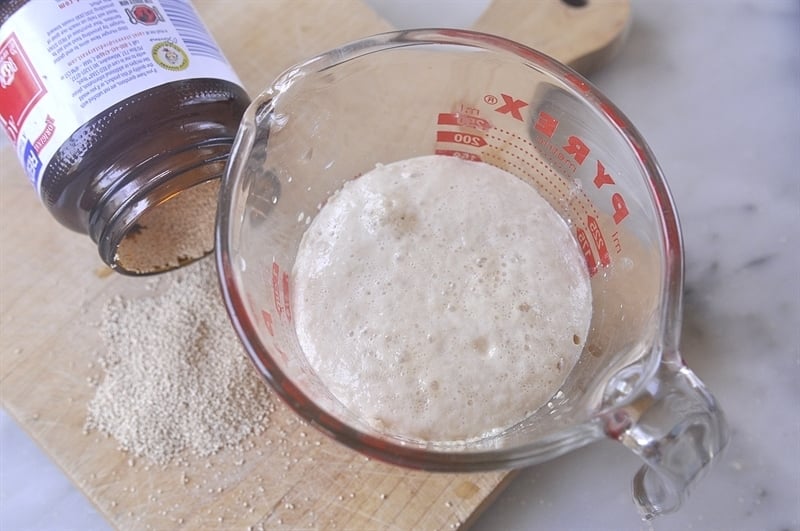
What if My Yeast Doesn’t Activate?
If your yeast and water mixture doesn’t look like this it means your water was too hot and you killed the yeast. Or it was too cold and it didn’t activate. No matter what the cause, if that happens then it’s time to start over! If your water and yeast mixture look like the photo below then it is time to add it into your dry ingredients!

Now go bake some bread! One of my favorite and easiest bread recipes is this Easy French Bread. Give it a try!
How To Store Yeast
I keep mine stored in the freezer in a zippered plastic bag if I buy it in bulk or in the jar that comes in. I just pull it out as I need it. There is no need to bring it to room temperature.
Use your new skills to bake some of the following:
For all my other favorite kitchen products and tools visit my Amazon Store.
Be sure and follow me over on You Tube for weekly cooking demos.
Cherie king says
I’m gonna try to make some bread , following your recipe, I haven’t been able to do yest rolls or bread, cause I couldn’t get my test right, but your directions seam a lot easier, so I’m gonna keep trying till I succeed at it, our Mimi told us girls that we need to learn to make bread and rolls for our man and family’s, so I’m gonna try it now ,hope to let ya know ,how I done ,thanks .