This post may contain affiliate links. Please see disclosure policy here.
Sharing my top tips for a successful Relief Society Craft Night.
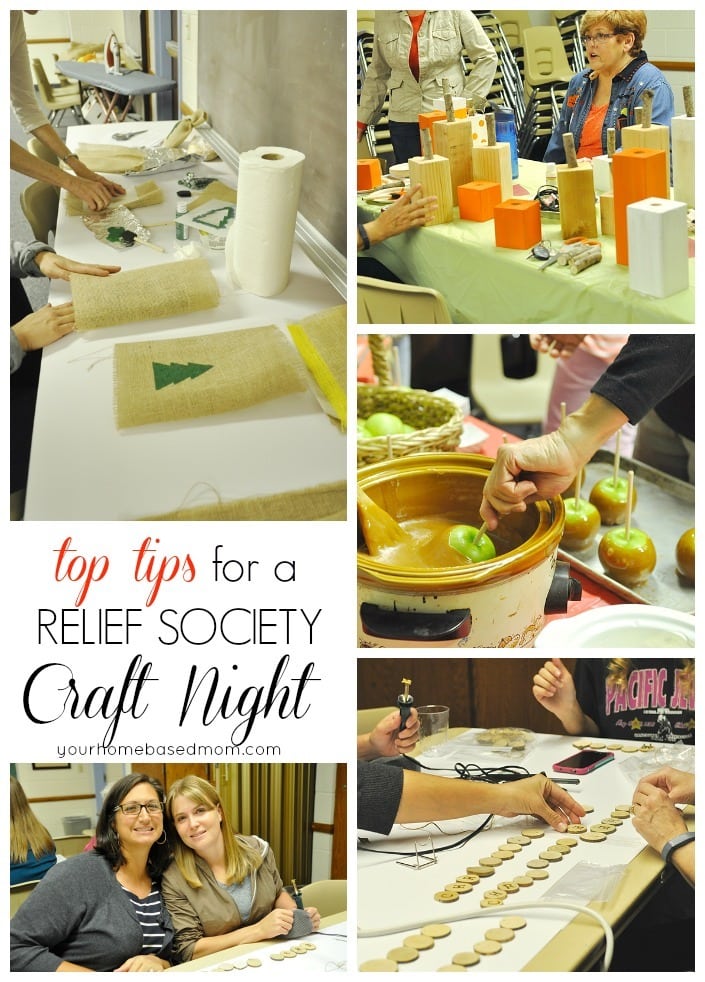
I have mentioned before that my job or calling at church is that I am in charge of activities for the women 18 years and up. It’s a great calling and a lot of fun. I have shared some of our fun activities before like our Speed Friendshipping Night and our Christmas Party and an activity we did about cooking without electricity.
A few weeks ago we had a fun Craft Night so I thought I’d share some tips.
- Plan Ahead: We had scheduled the event at the beginning of the year and then planned what we were going to do in detail a few months before. Since we were doing it in October we wanted to cover Halloween, Thanksgiving and Christmas in the projects we were doing. Each committee member was asked to bring some potential ideas to our planning meeting and we chose from those.
- Advertise: We had invitations and posters made a month ahead of time which we handed out at church and hung the poster in our Relief Scociety Room. We printed off extra invites so the women could invite their friends and neighbors.
- Divide and conquer. Have a committee and give everyone an assignment. I have a great committee and everyone pitched in to help make it a great success. Each member of the committee was over one of the projects and was there that night to help show people what to do.
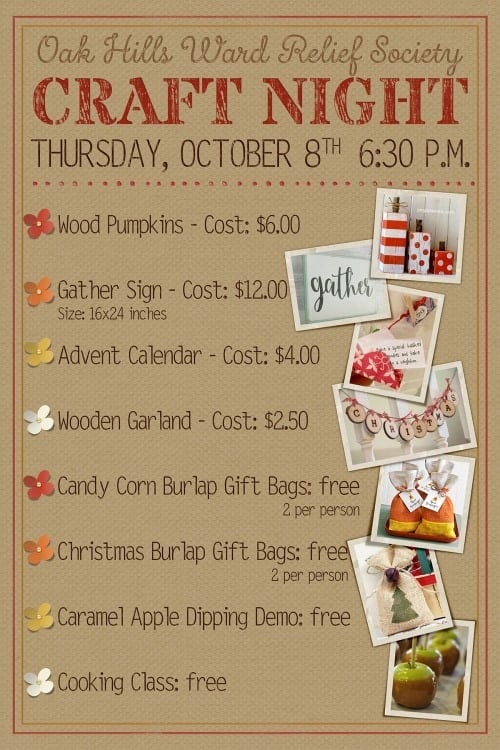
- Have a balance of activities/projects that are free and those that cost money: We had 4 free projects and 4 projects that cost money. We selected projects that were fun but yet not expensive. The most expensive project we had was $12.00. See below for more details on cost.
- Have a Display: For 2-3 weeks prior to the event we had a table set up in the hallway at church with all the items were making and signup sheets for the women to signup. We also passed around signup sheets during our Relief Society meeting. Not all women at church attend Relief Society, many are serving in Primary and Young Women’s so we took seperate signup sheets into them.
- Collect Payment Ahead: I have found this to be crucial. When people prepay they show up. We had a deadline (two weeks before) for payment to be made. Because we were ordering alot of the supplies online we needed to do that a few weeks ahead of time so the supplies would arrive on time. Designate 1-2 people to whom they can give their money.
- Delegate: We used people in the congregation who had strengths that we didn’t to help us out. We had several different men that helped us cut and prepare the wood projects, including my husband.
- Put together class kits. For the advent calender class and the wood garland class we put together kits of all the supplies they needed. It really helps the night of to have everything organized like that.
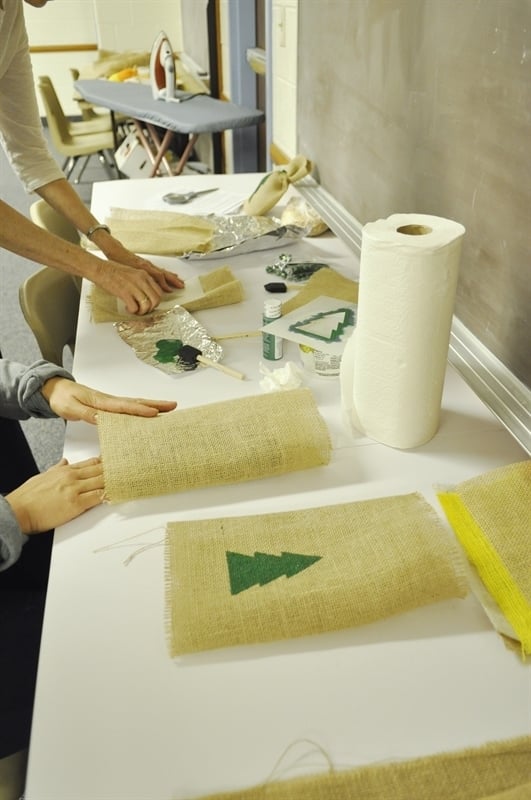
- Prep as much as you can. We had the wood cut, drilled and assembled, the burlap bags were cut and partially assembled to make it easier and quicker that night.
Here are the classes we offered:
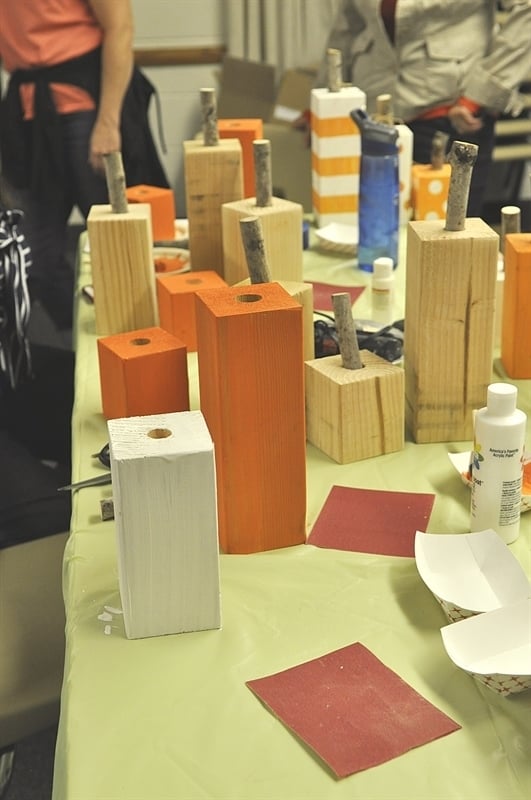
Wood Pumpkins: This darling idea came from one of my favorite craft bloggers Simply Kierste. You can check out her blog for all the details and info on how to make these stinkin’ cute pumpkins! I had Home Depot cut the wood for me. A man from church sanded them and drilled the holes in the top. I had a friend have a tree blow over before the class so we used some of the tree limbs for the pumpkin stems. Check out Kierste’s blog post for more details.

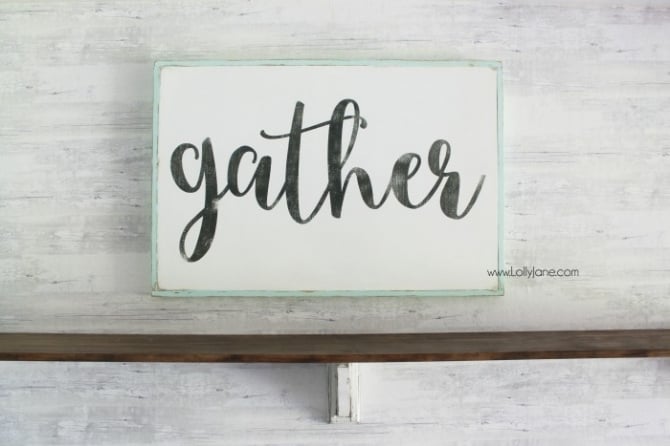
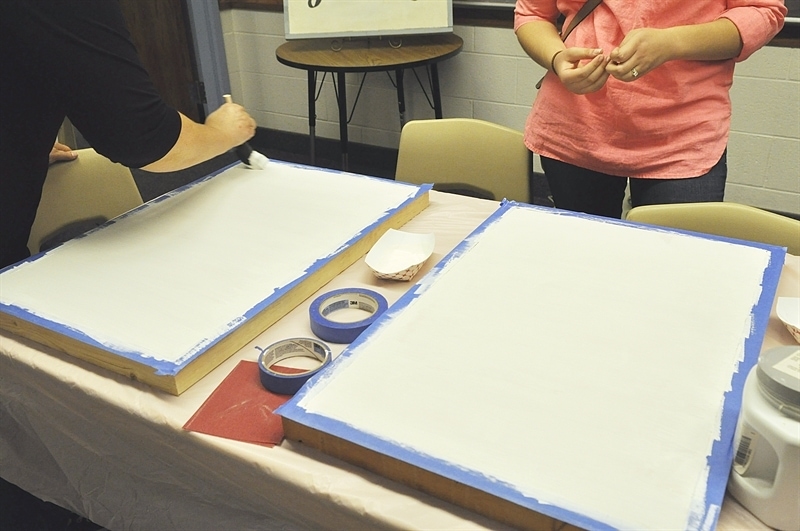
Gather Sign: I am lucky to know lots of amazing crafty bloggers and the idea for this project came from Lolly Jane. She has a great post with lots more details. We had the wooden pieces assembled that night and the women just painted them and stenciled. I used BBFrosch Chalky Powder which can be added to any paint to make it into chalk paint! It’s so great. This was my favorite project!
Advent Calender: This was an inexpensive project that was a big hit. One of the members of our committee had made one before so we just copied hers. There were little paper envelopes and inside of each envelope was a fun activity for the family to do together leading up to Christmas. The women cut out the paper and assembled it that evening.

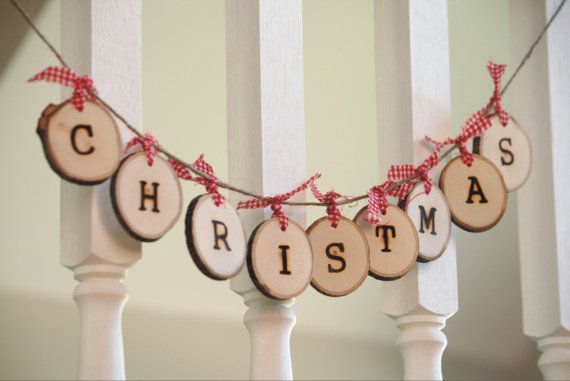
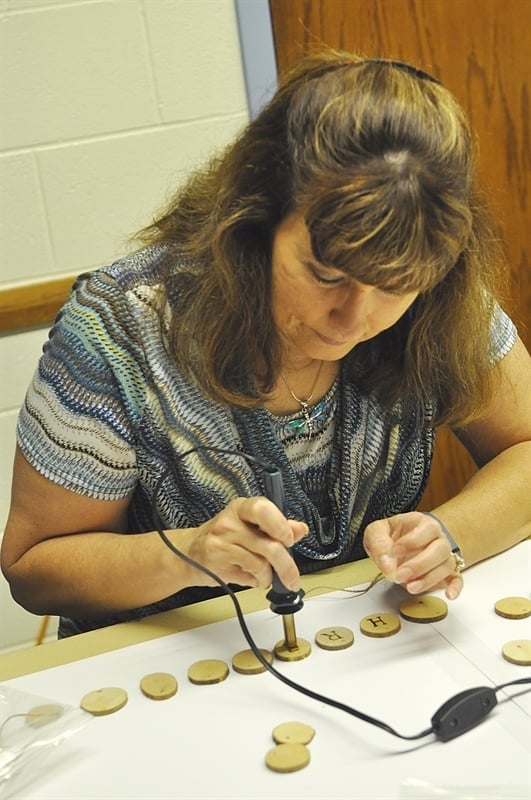
Wooden Garland: I purchased the materials for this class online. The wood slices and the burning tool and ABC’s came from Sav-on-Crafts. We also provided the twine to hang it on and the red and white twine to tie each wood piece to the string. My husband very kindly drilled all the holes in each wood slice (there were a lot of them!) One of our committee members found this idea on Pinterest.
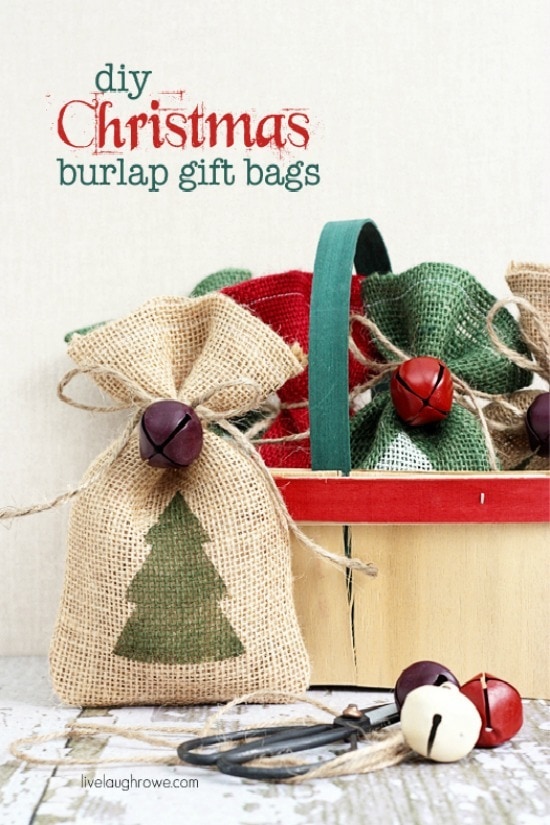
Candy Corn and Christmas Tree Burlap Bags: These were two of our free projects. We had burlap left over from our Christmas activity that we used and we purchased orange, yellow and white burlap for the candy corn bags which the church paid for. I purchased the burlap from Online Fabric Store.
Candy Corn Bag: This one we just figured out by looking at the photo. The finished bag measures 7x 11.5 inches. A member of our committee sewed the strips of white, orange and yellow together for the front of the bag ahead of time. That night they added the back (which is plain brown burlap) and hemmed the top. We had sewing machines set up for them and an ironing board. There was also a station set up for them to stencil the tree onto the bag and some blow dryers to help the drying process go fast
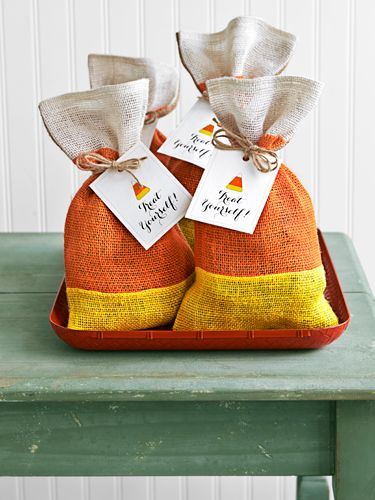
er.
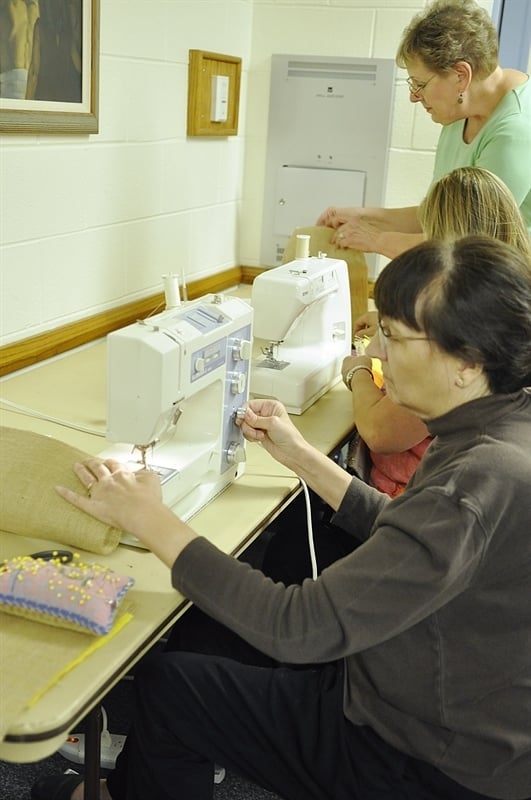
and Christmas Bag.
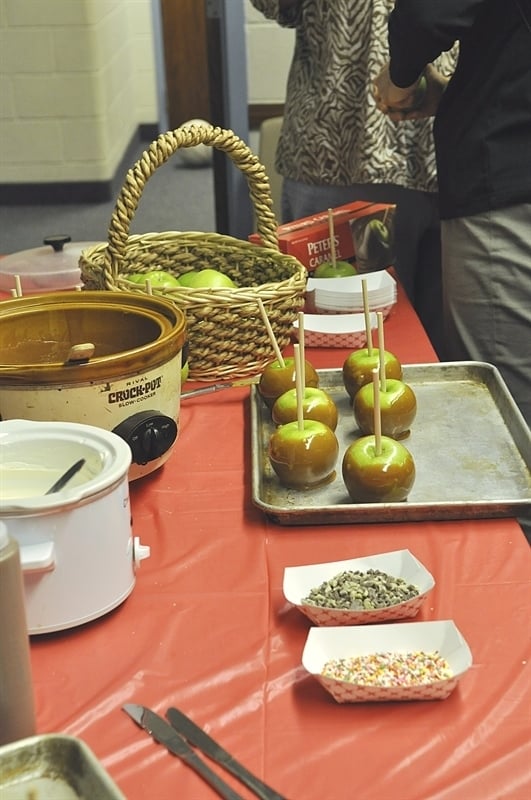
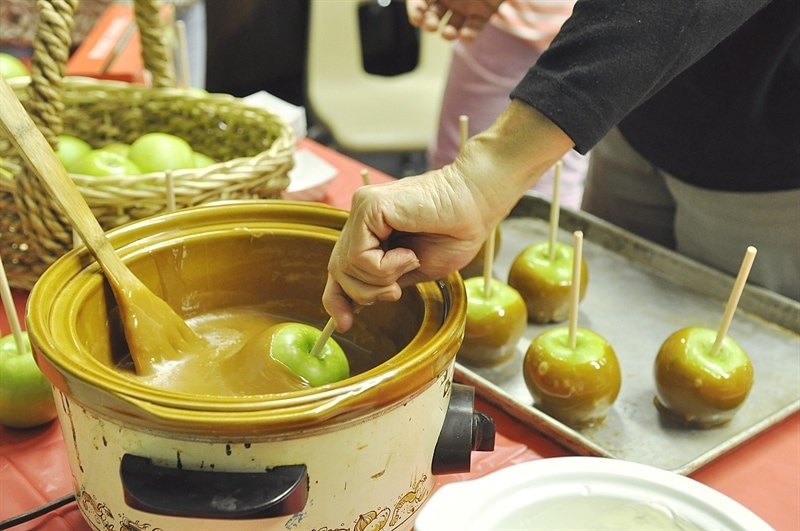
Caramel Apple Dipping: This was another free class which I did the demo for. You can read all about how I make caramel apples here. Each of the women got to dip and decorate a caramel apple to take home.
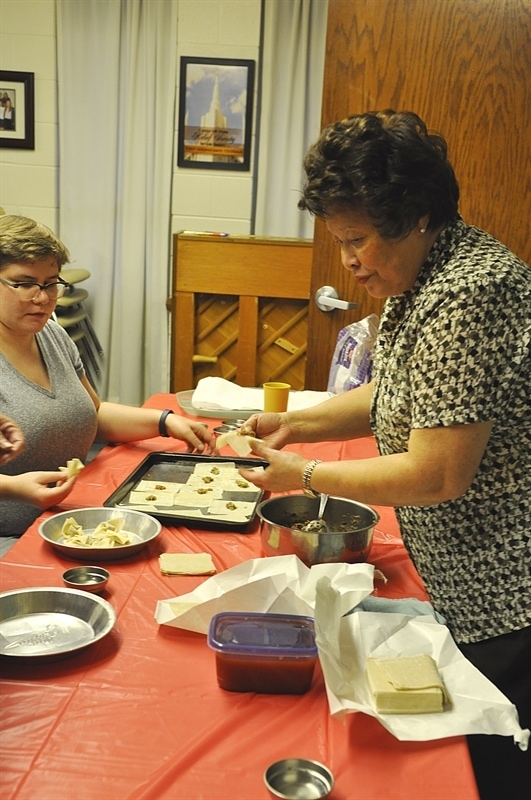
Won Ton Cooking Class: This was also a free class and a member of our ward, who is a wonderful cook demonstrated how to make won tons. The women got hands on experience and made the wontons, cooked them and then we all ate them! I didn’t get any photos of the finished project because we ate them too fast.
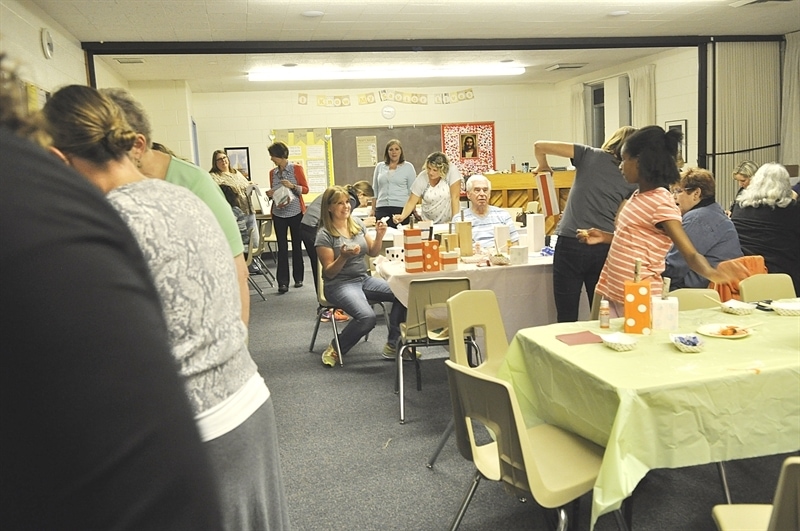
It was a great evening and everyone had such a good time being together. Several women came, not to work on projects, but to just hang out and visit with everyone!
Besides the won tons we also had hot apple cider, pumpkin sugar cookies and pumpkin pie bars. (recipe to come)
Do you have women’s craft nights at your church? I’d love to hear about them!
Shane Sellers says
Love the idea of a women’s craft night! Every idea amazingly easy and “doable” in an evening.
Charity Adams says
I feel random asking a question so long after this was originally posted, but we are doing wood burned ornaments at our craft night I’m a couple weeks and I’m realizing that it’s hard to switch the hot stamps. Did you have several wood burning tools going so you didn’t have to swap out the letters?
Leigh Anne says
We did have several but we just had a hot pad there we could use to pull the hot stamp off.
Angela Kiss says
Do you have a template for the envelopes for the advent calendar?
Leigh Anne says
sorry, I don’t.
Veronica says
Hi! Great ideas and organization 🙂 Just curious at what time your activity ended? I see you started at 6:30pm. Was it enough time to finish everything? Thanks!
Leigh Anne says
We finished up about 9:00 pm
Amanda says
Can you tell me more about how you did the Peter’s caramel in the crockpot? Our super Saturday is coming up and I’d love to know more! Can I leave it on “warm” for a few hours without it going hard? Do you actually heat it up in the crockpot? Or just use it to keep warm? So many questions! 😉 Any tips you could share would be great! Thx
Leigh Anne says
Amanda, I actually warmed it up/melted it in the crockpot on low, after it is melted then switch it to warm or leave on low for a couple of hours. Just stir in once and a while and it should be fine.