This post may contain affiliate links. Please see disclosure policy here.

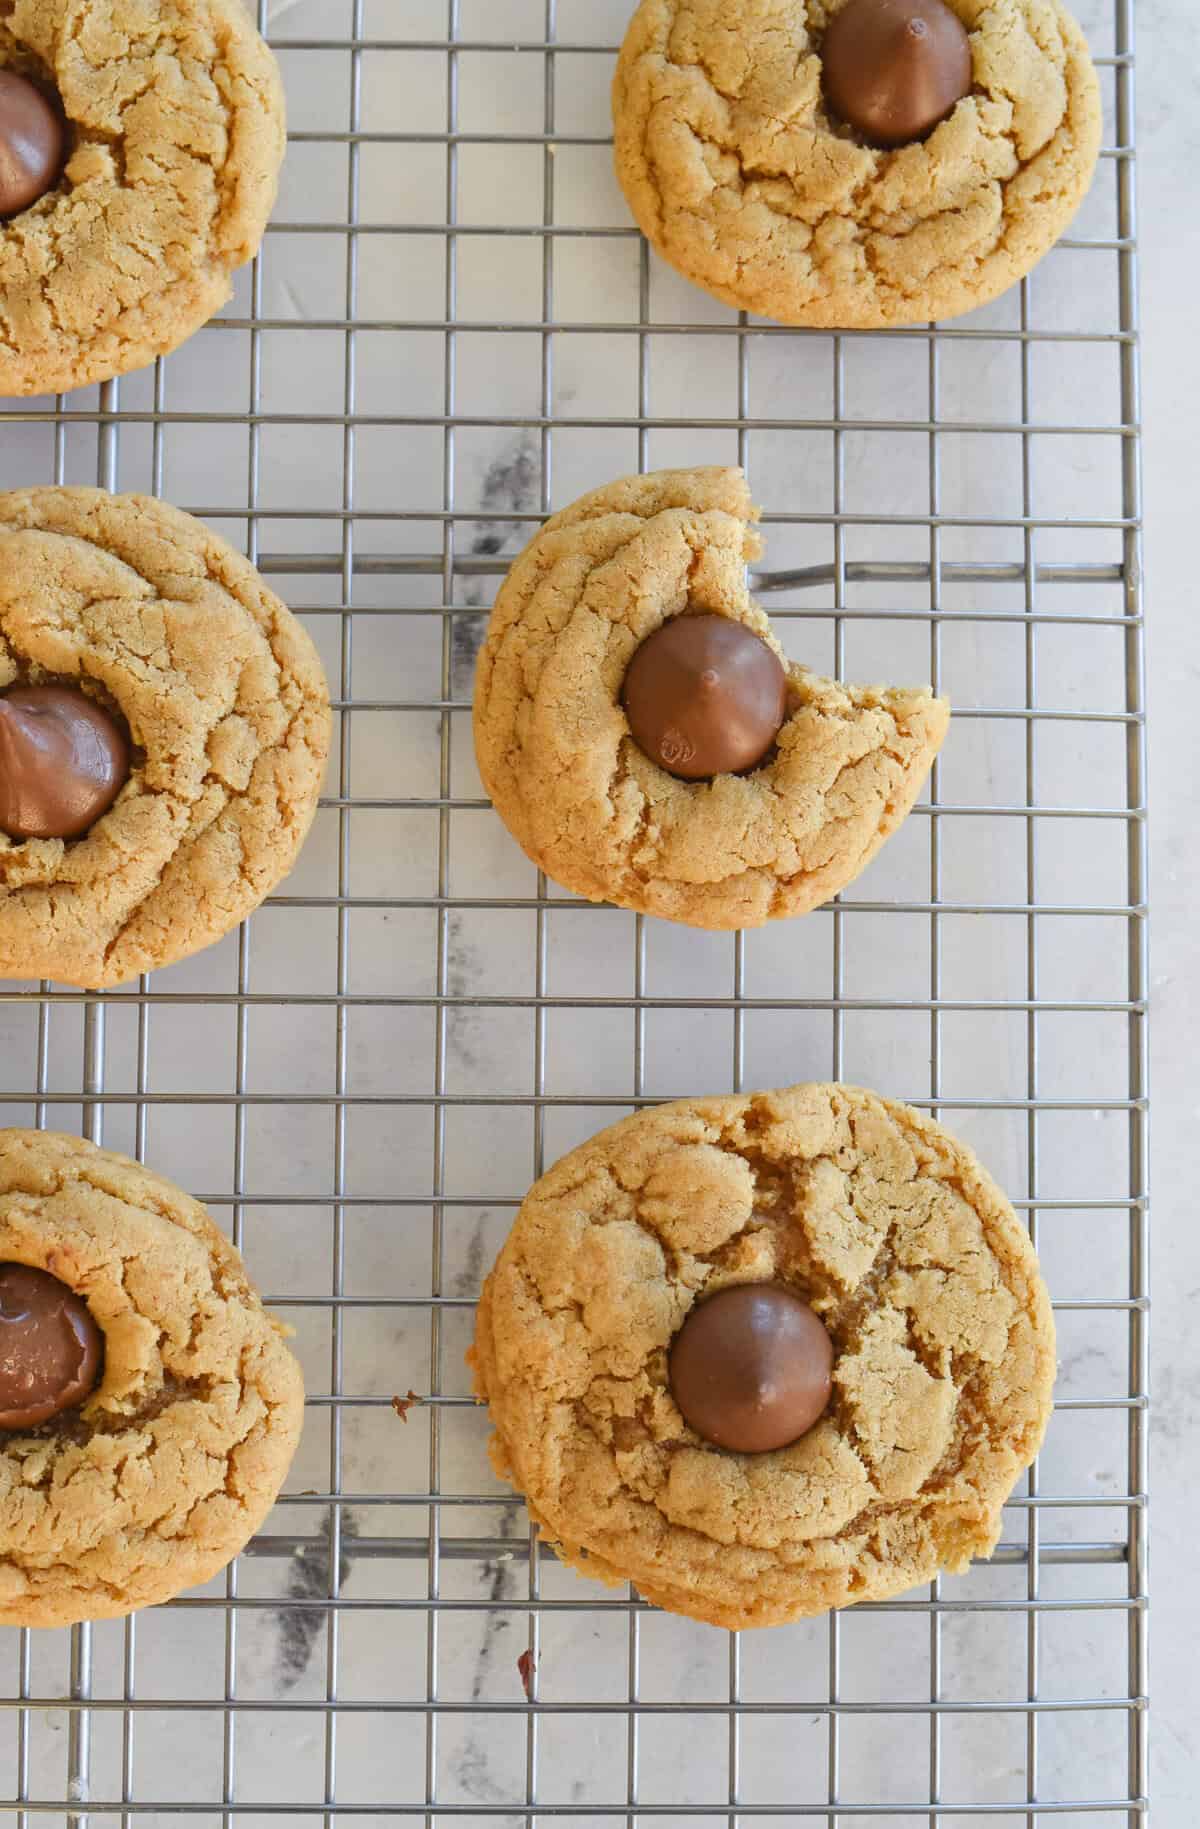
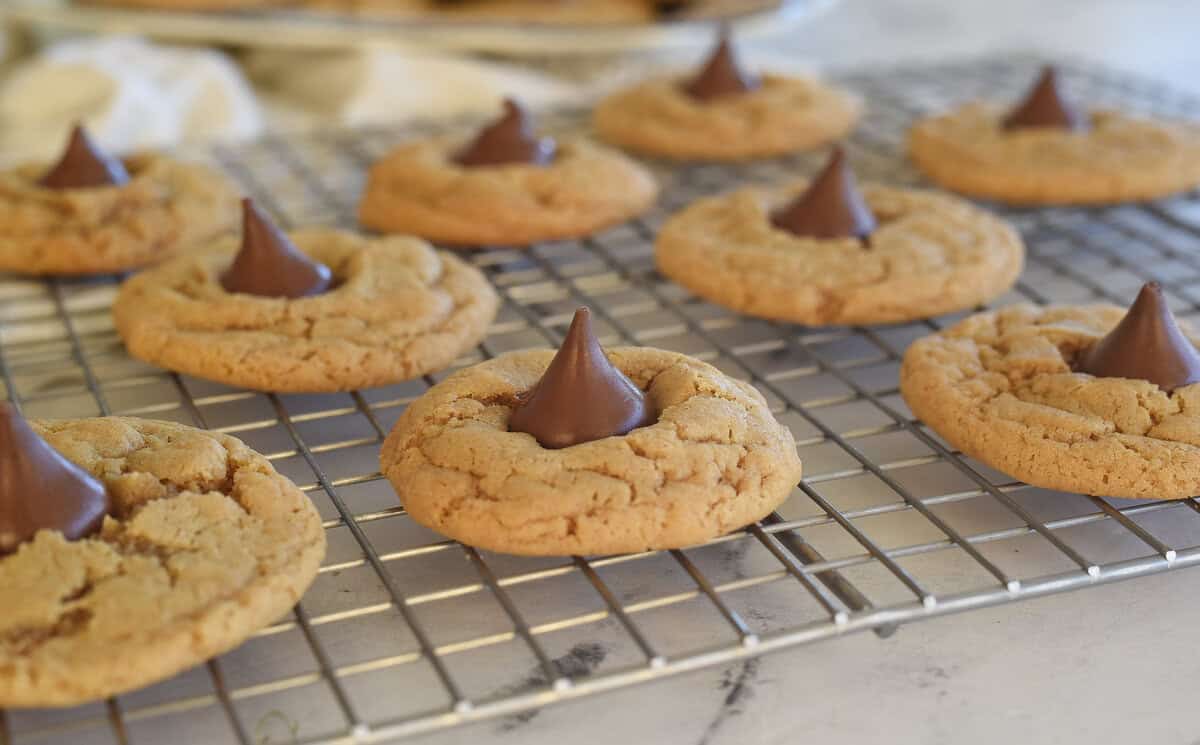
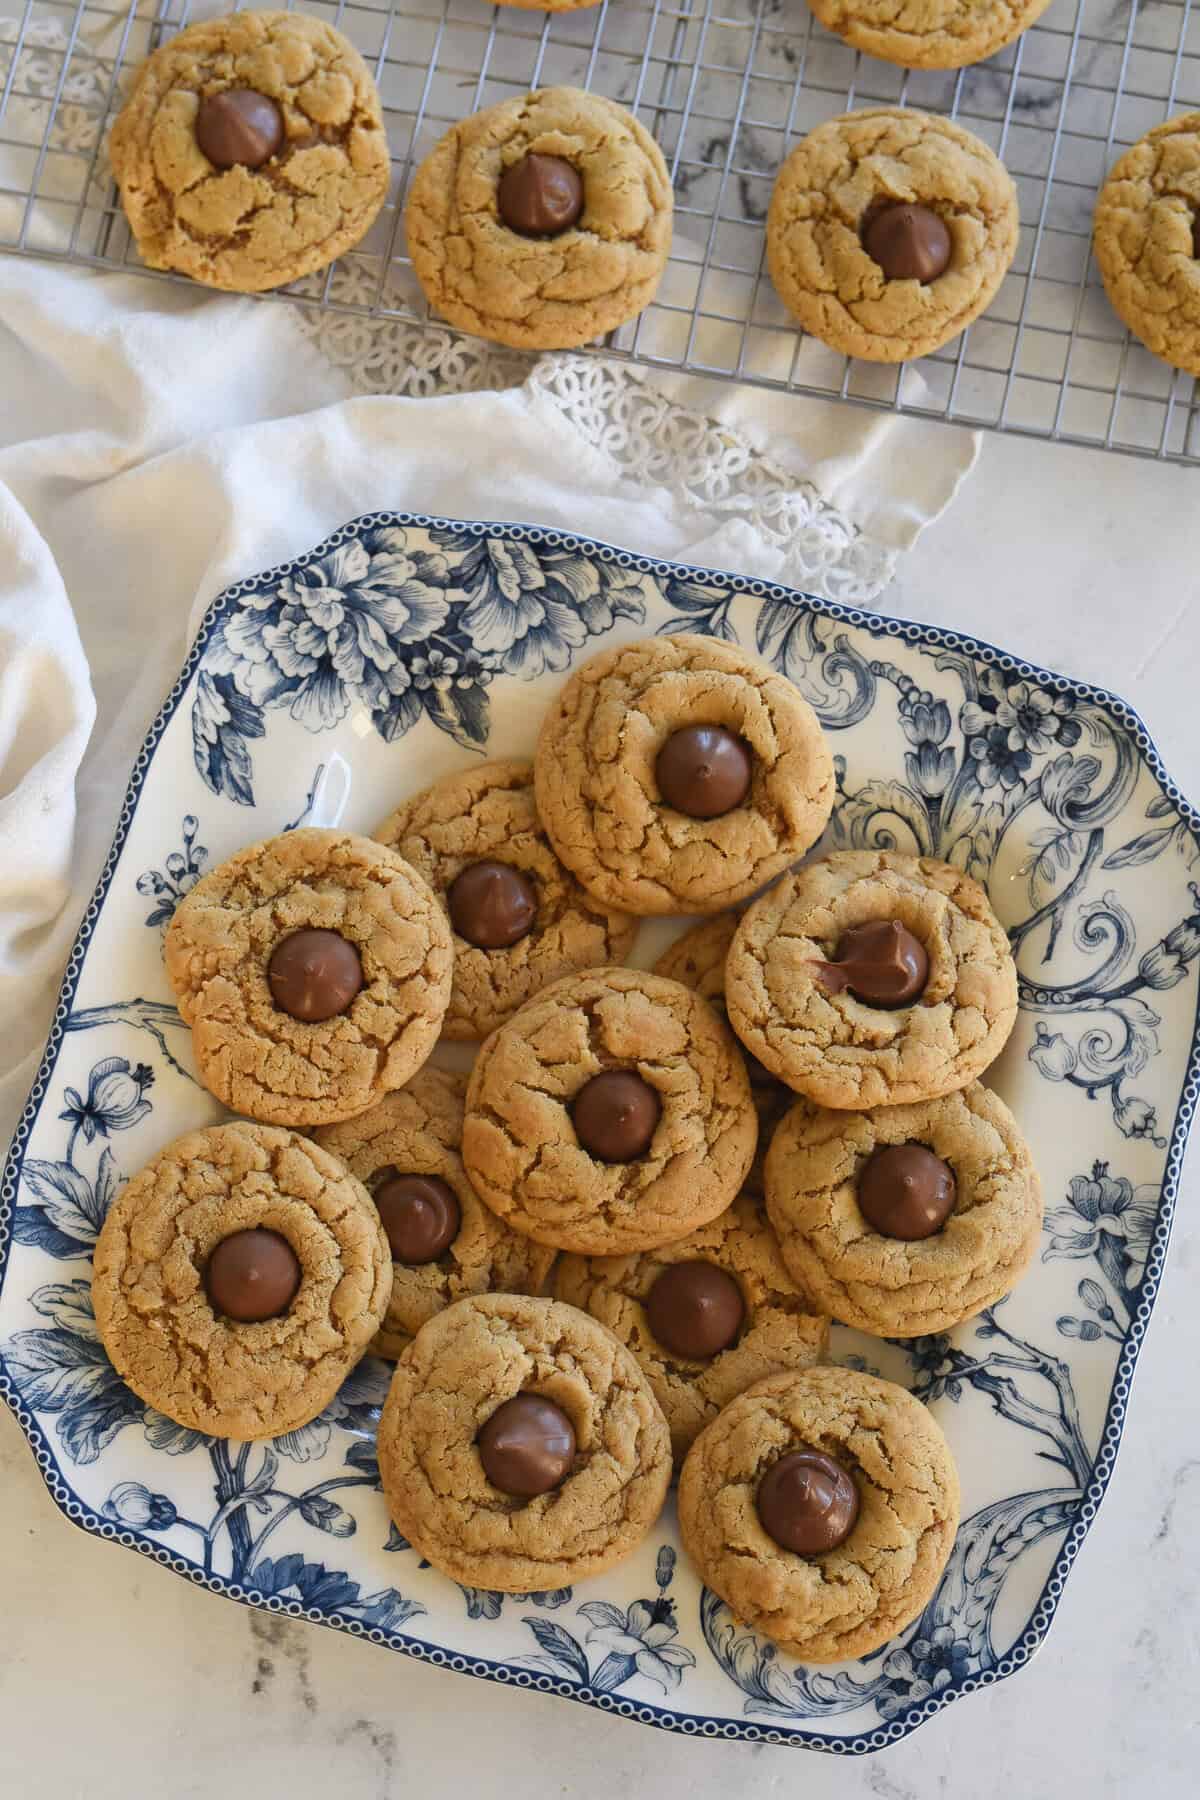
Peanut Butter Blossoms are the classic cookie everyone loves—a soft, chewy peanut butter cookie topped with a melty chocolate kiss. They’re simple, nostalgic, and perfect for holiday baking, cookie exchanges, or anytime you need an easy crowd-pleasing treat.
Why You’ll Love This Recipe!
You’ll love these best Peanut Butter Blossoms because they’re everything a classic holiday season cookie should be—soft, chewy, and full of rich peanut butter flavor. The warm chocolate kiss on top melts just slightly into the cookie, giving you the perfect bite every time.
This recipe is extra special because it comes from my husband’s aunt, and it truly holds up—these cookies stay soft and delicious for days. They’re easy to make with simple ingredients, always a hit on cookie trays, and bring that nostalgic, old-fashioned charm everyone loves.
Ingredients Needed
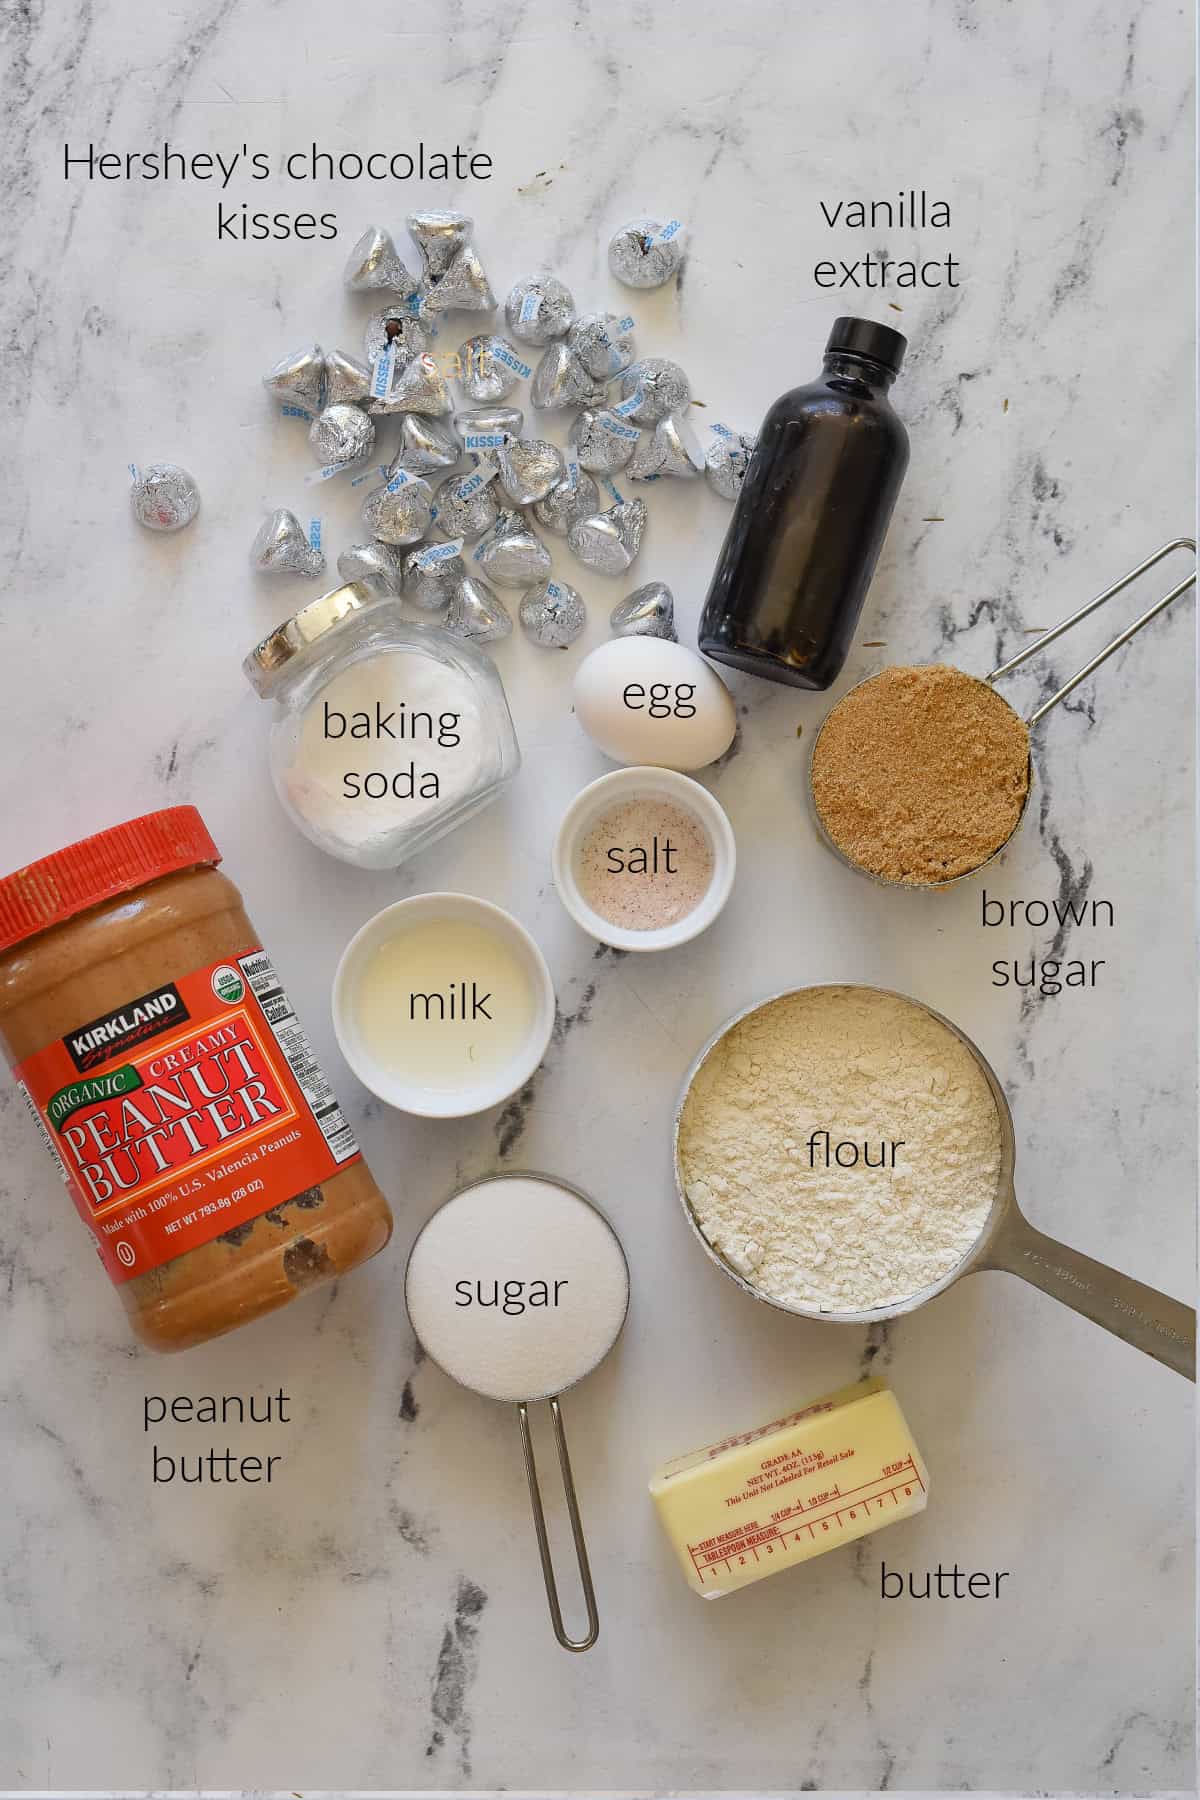
- All purpose Flour
- Sugar, granulated sugar and brown sugar
- Butter, salted
- Egg
- Creamy Peanut Butter
- Milk
- Baking Soda
- Salt
- Vanilla Extract
- Hershey’s Chocolate Kisses
How to Make Peanut Butter Blossom Cookies
- Preheat oven to 350 degrees F.
- Cream butter and sugars together. I like to use a stand mixer with the paddle attachment, but you can also use an electric mixer.
- Add in peanut butter, egg, milk and vanilla extract. Mix until creamy.
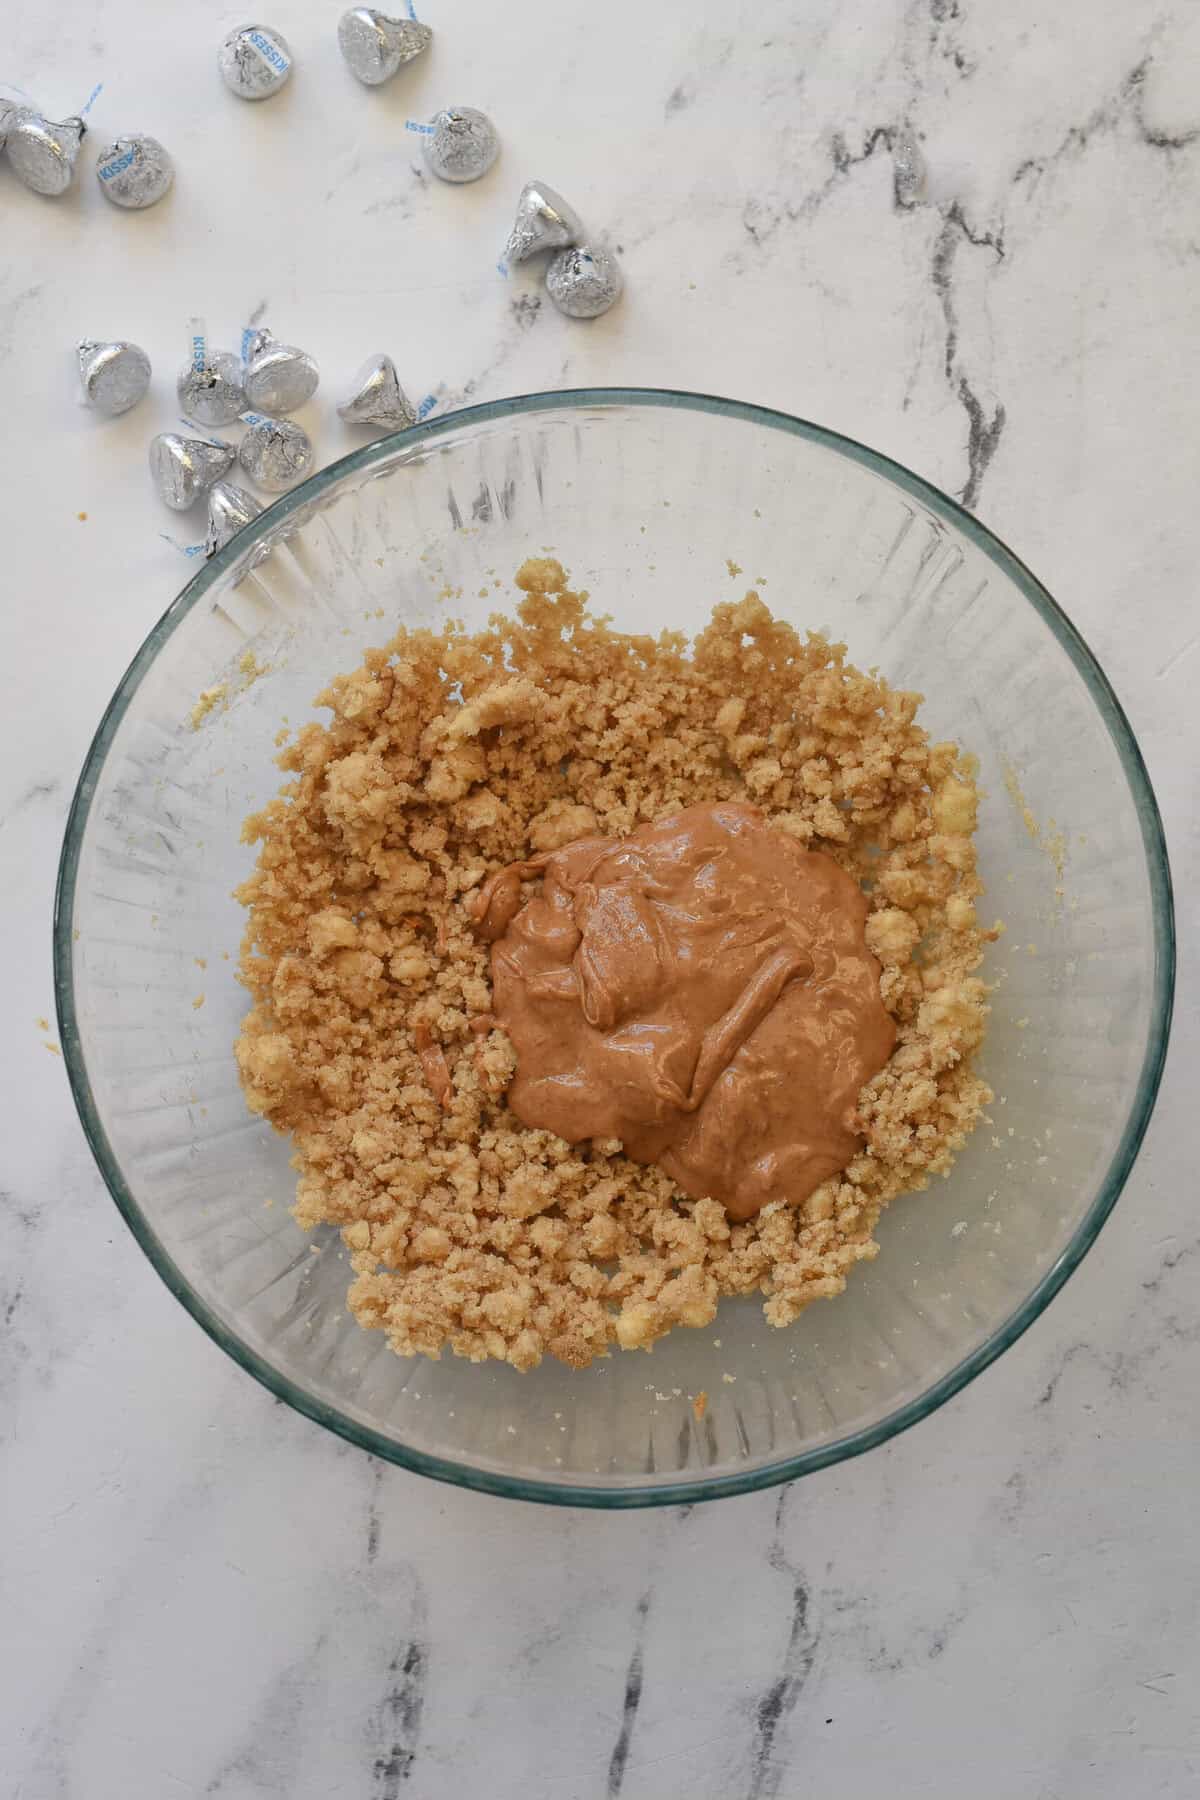
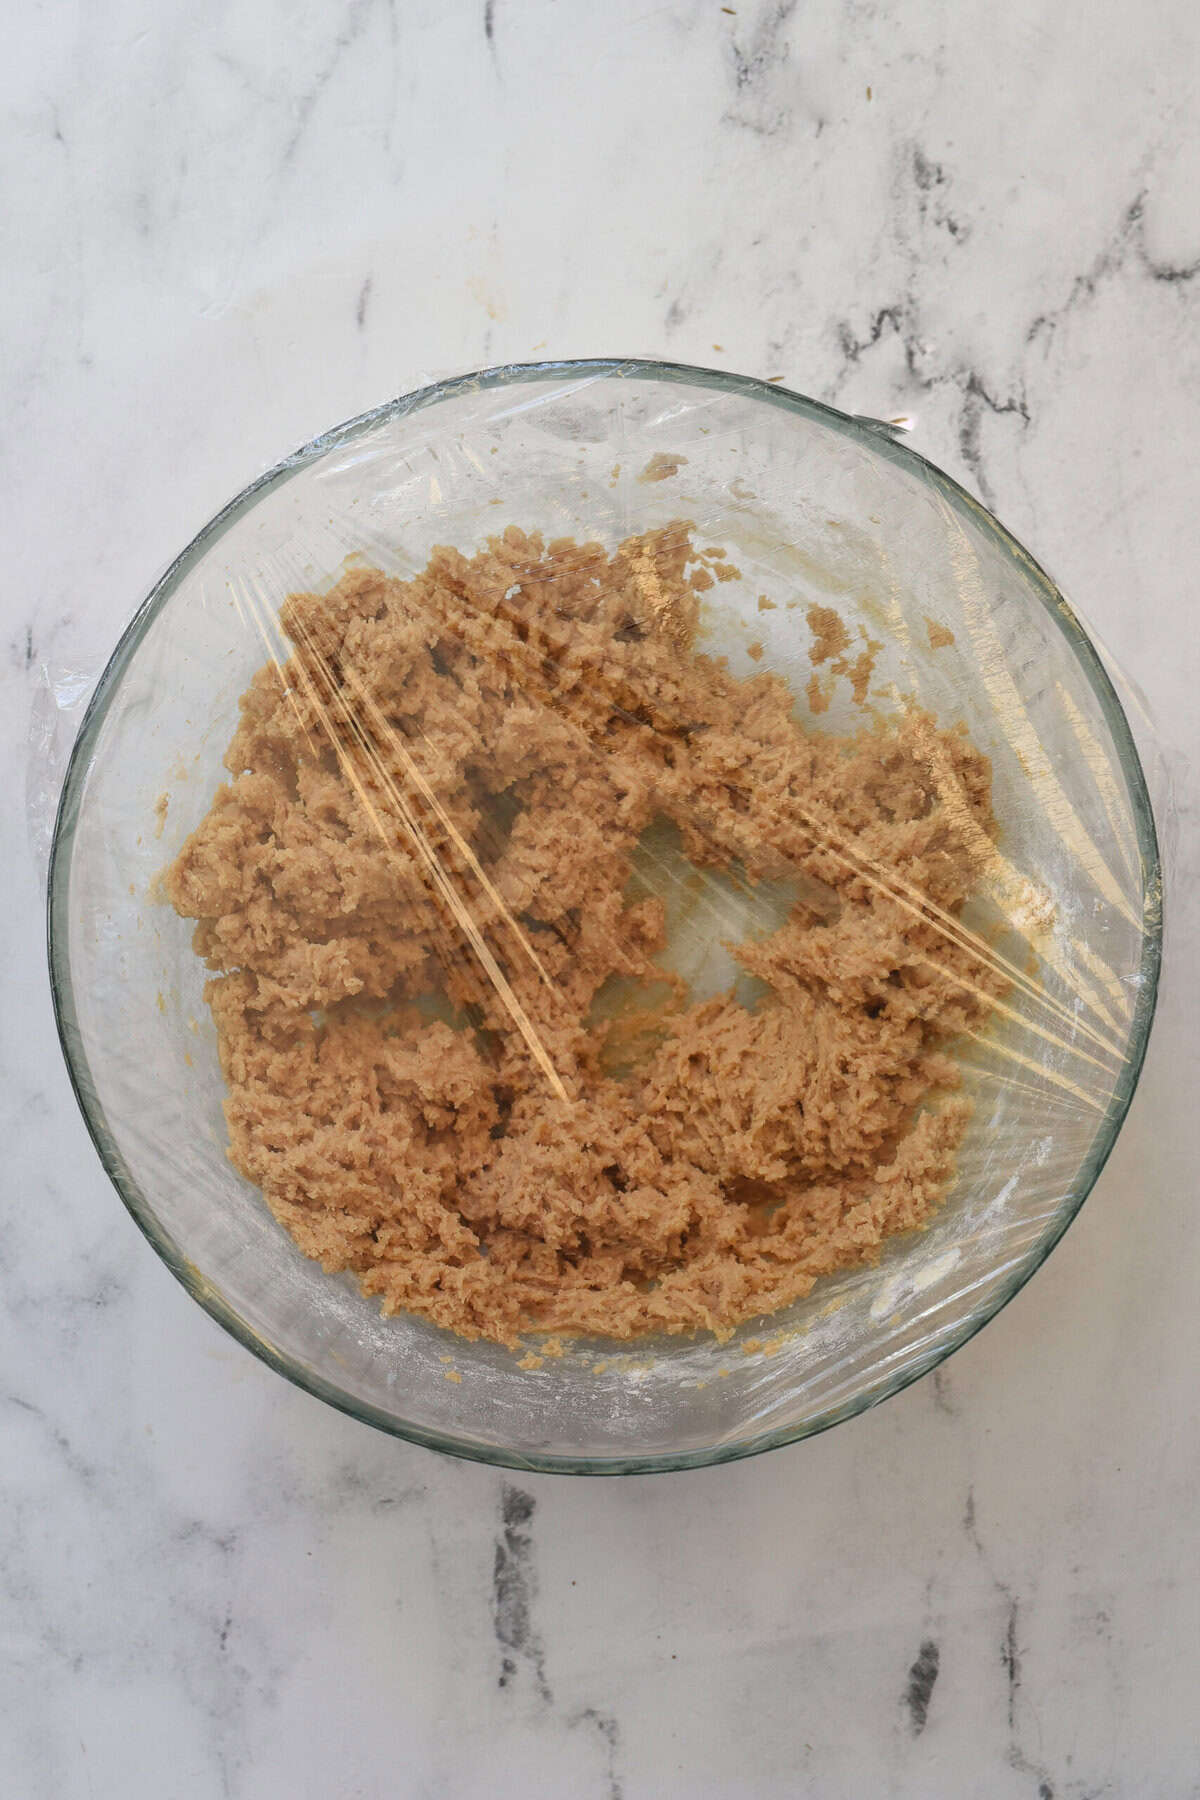
- Add in dry ingredients into wet ingredients and mix just until combined.
- Cover dough with plastic wrap and chill for 30 minutes.
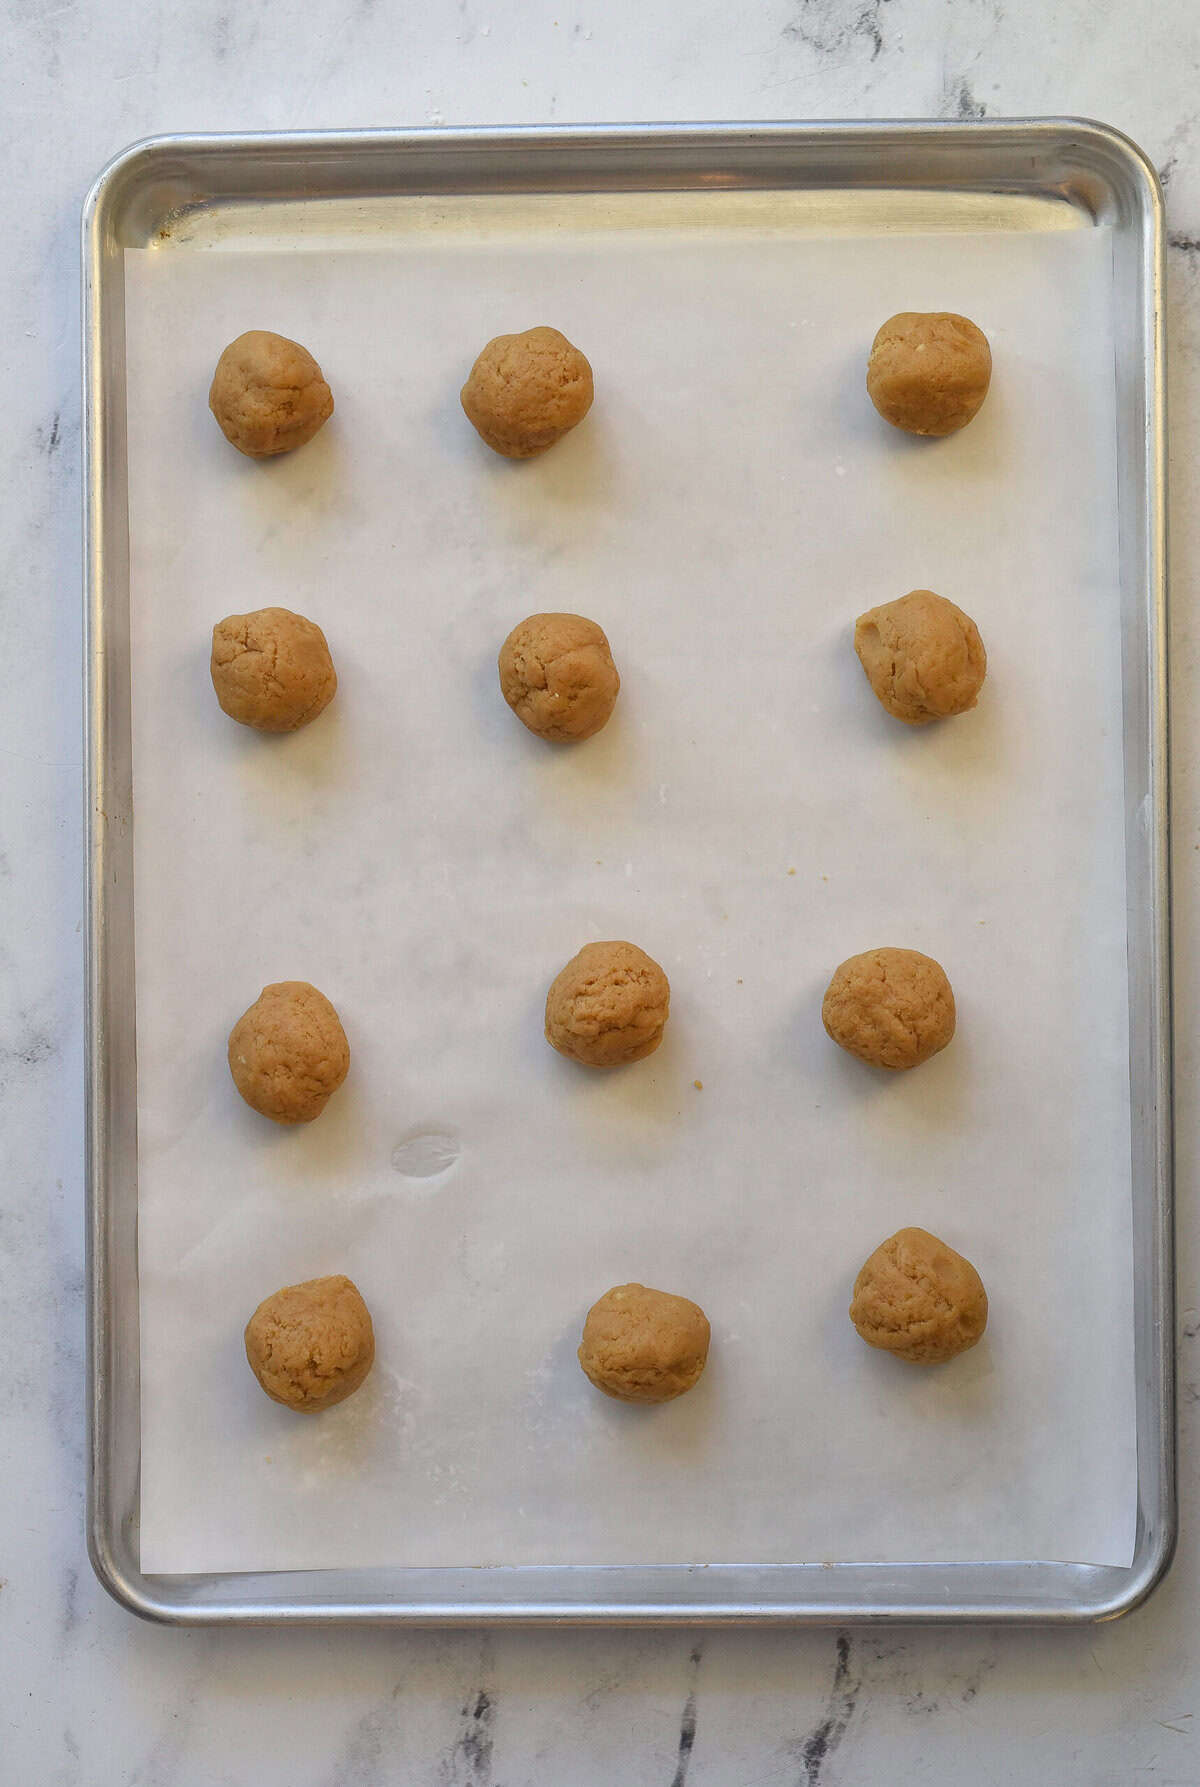
- Roll dough into 1-inch balls and place on a parchment paper lined cookie sheet.
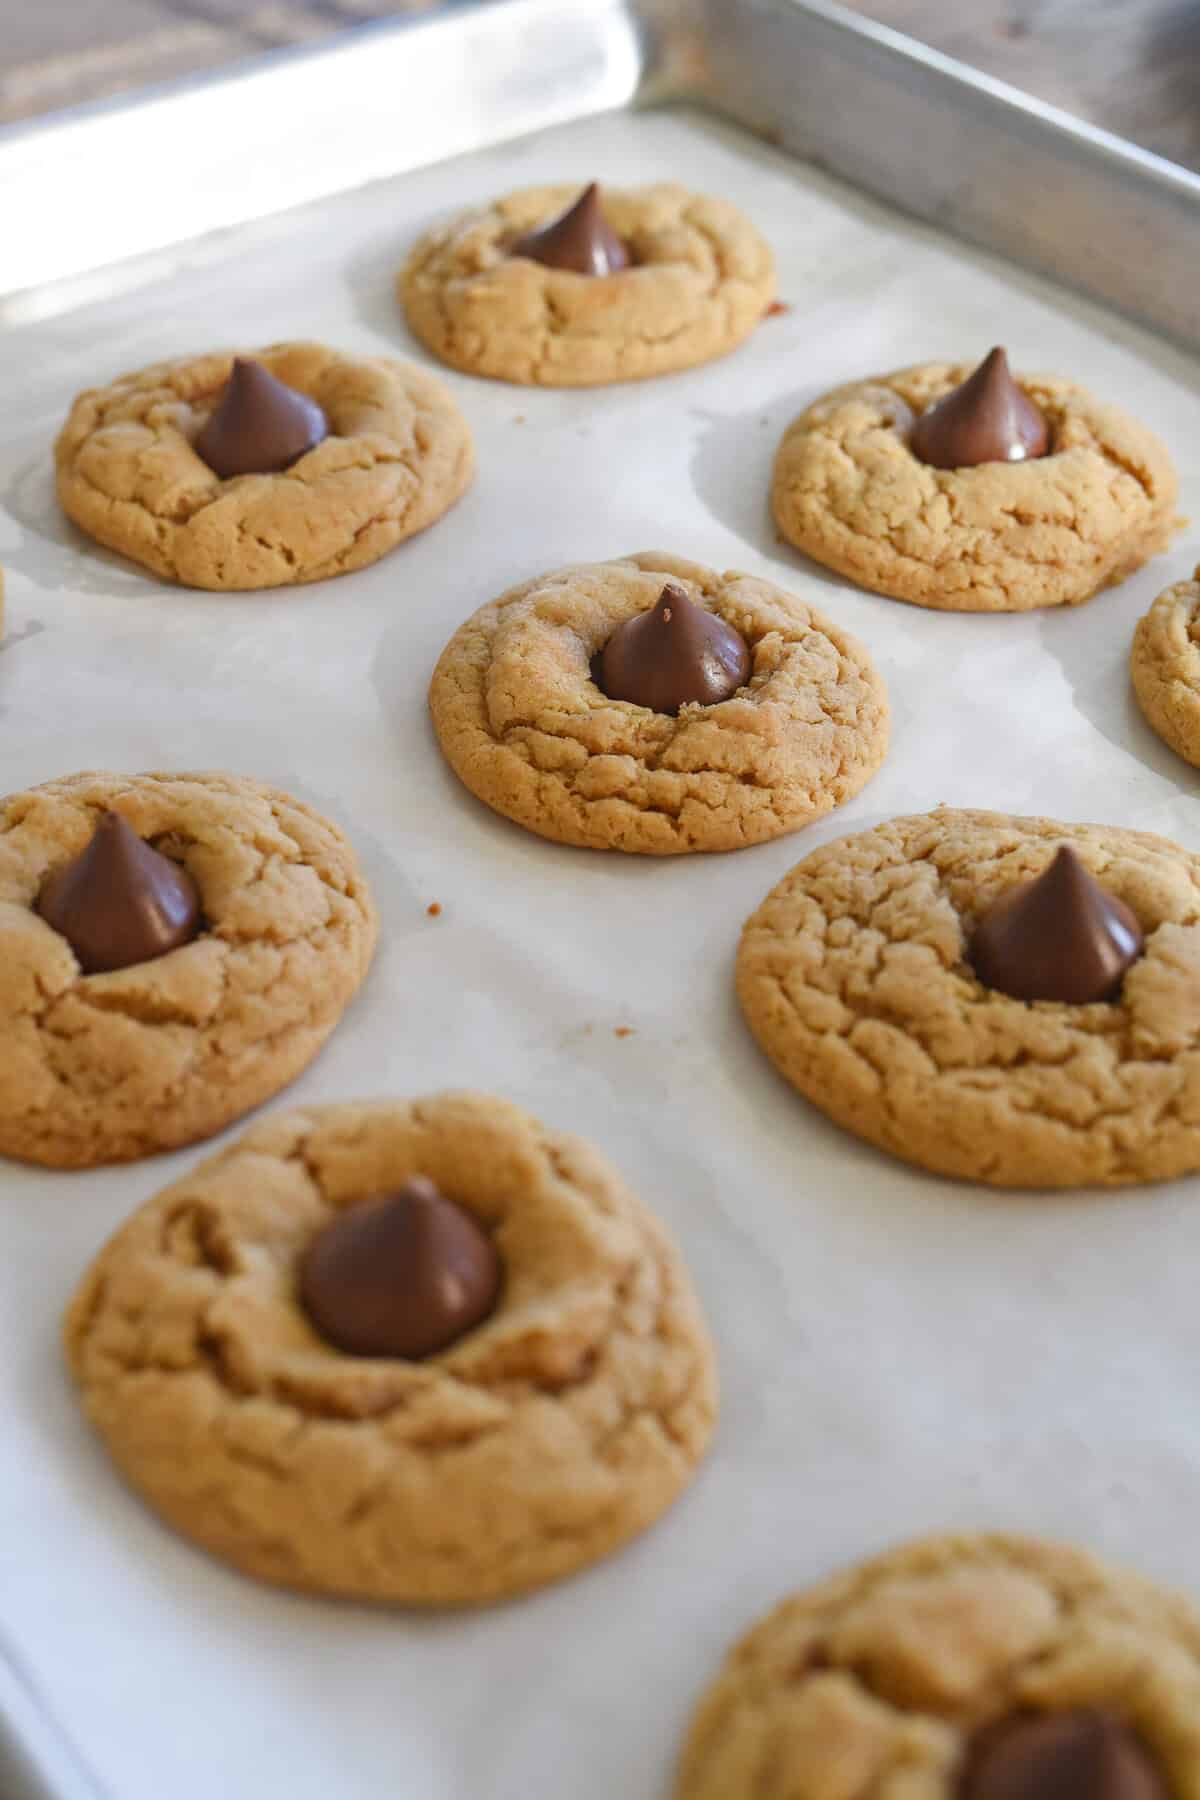
- Bake for 6-8 minutes or until edges just begin to turn golden brown and crack.
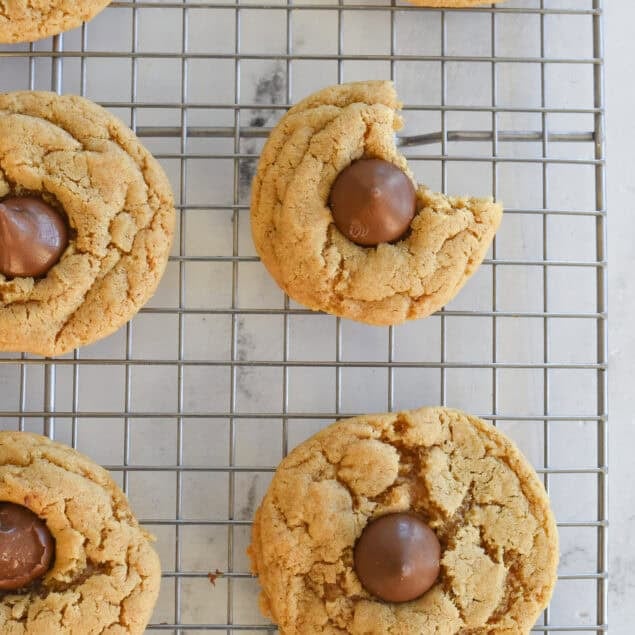
- Remove from oven and gently press unwrapped chocolate kiss into the center of each cookie.
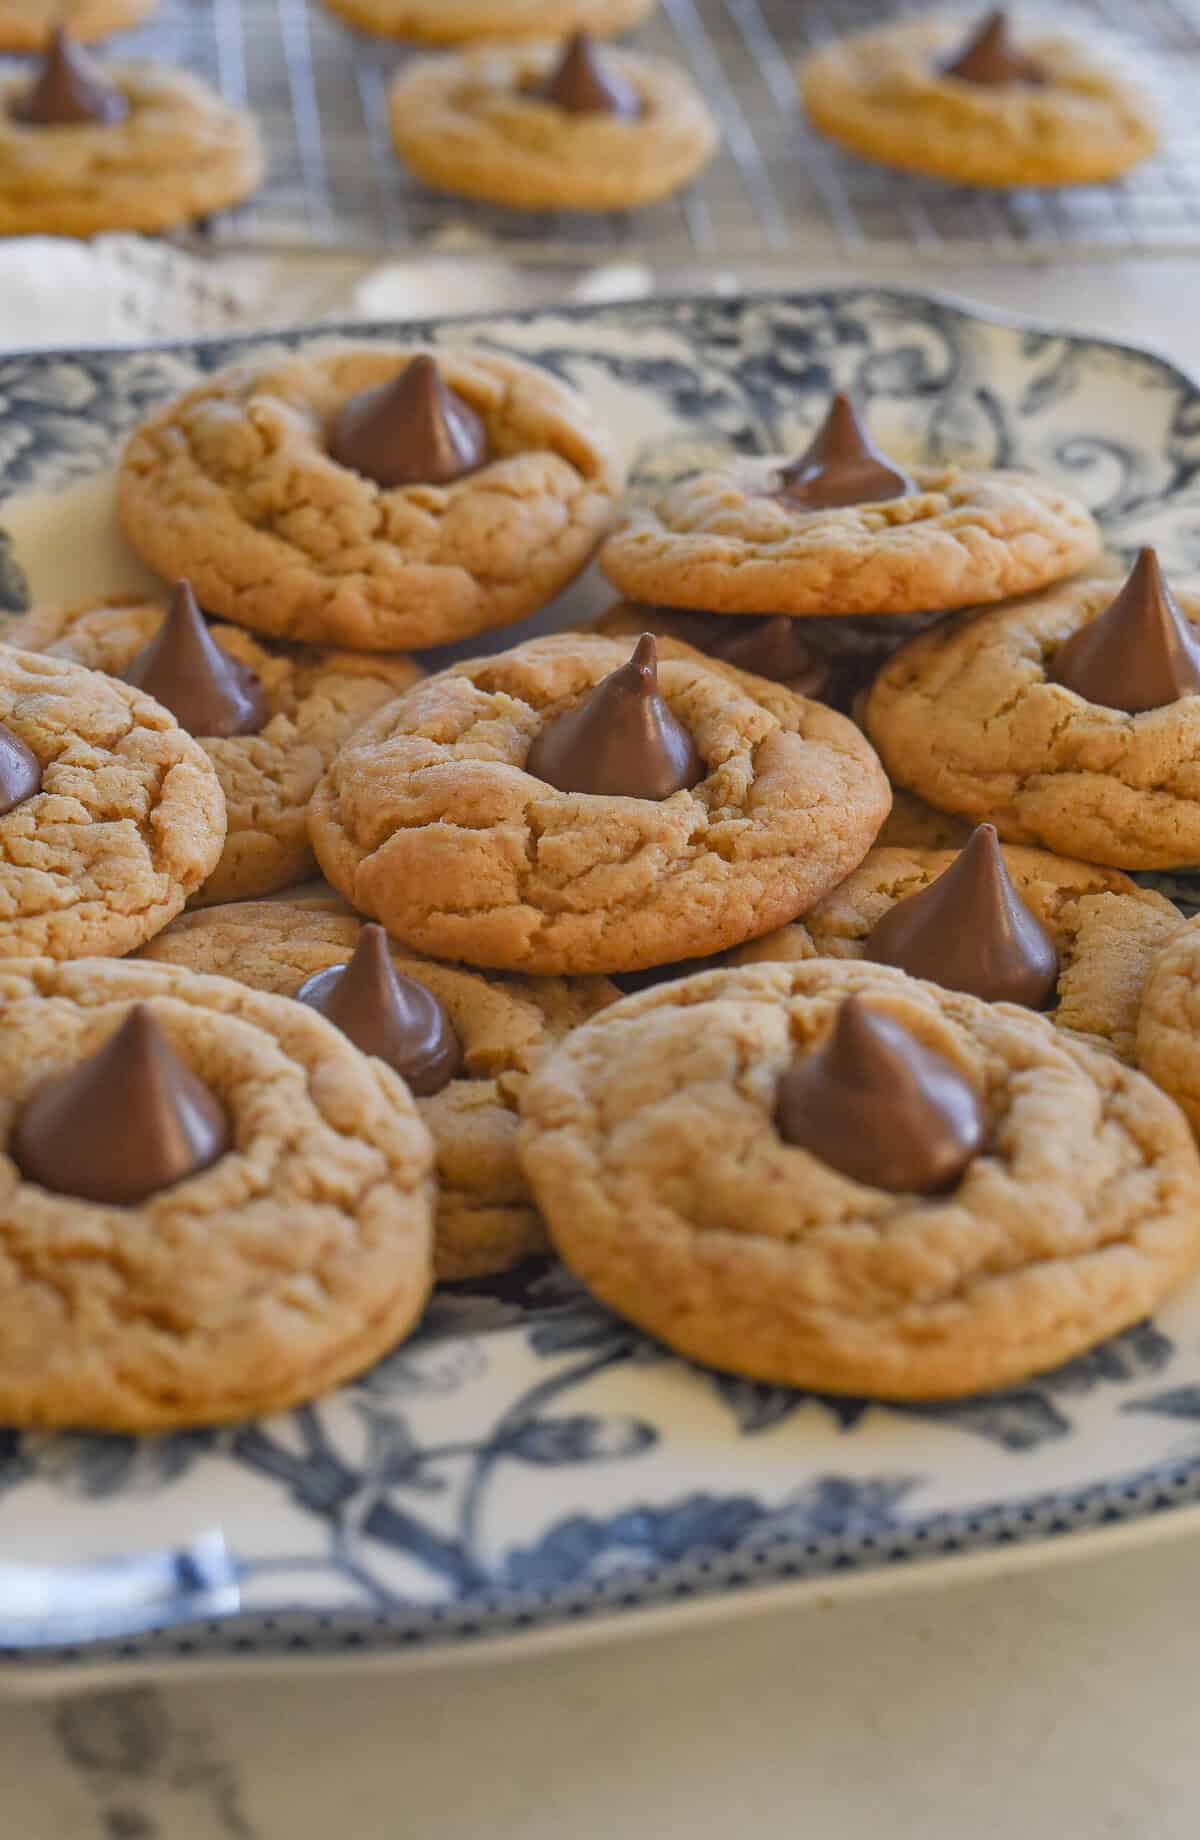
- Place on a wire rack and cool completely.
Tips from leigh Anne
- Chill the dough if it’s sticky. Even 20–30 minutes in the fridge makes rolling and shaping much easier.
- Unwrap the chocolate kisses ahead of time. Have them ready so you can press them in while the cookies are warm.
- Press the kisses in immediately after baking. The heat from the cookie melts them just slightly so they stick perfectly without losing their shape.
- Don’t overbake! The cookies should still look soft when you take them out. They’ll finish setting on the pan.
- Roll your dough balls evenly to ensure all cookies bake at the same rate and look uniform on your cookie tray.
- Store in a single layer or separate with parchment. This keeps the chocolate from smudging.
- These stay soft for days, which makes them perfect for gifting or prepping ahead for cookie exchanges.
- Use a variety of candy in the middle of the cookie for a festive touch.. Chocolate kisses are the classic but I also love to slice on a salted peanut roll and use it. Hershey’s makes a lot of different flavor kisses so experiment with some different ones.
How to Put Together The Perfect Cookie Plate.
There are four things that you should consider for the perfect cookie plate:
- Flavor. you want a balance of flavors on your cookie plate. Even though we all love chocolate it is nice to have a plate of cookies that isn’t all chocolate! I like to have a balance of flavors including: chocolate, caramel, nut, citrus, fruity, molasses, peanut butter, cinnamon, and almond to name a few.
- Shape. it is fun to have a variety of shapes. Not all circle, not all square. Of course a shaped sugar cookie is always fun but don’t forget about sandwich cookies
- Texture. I love texture. Having a combination of soft, chewy, and crispy makes for a perfect cookie plate.
- Shelf Life. Some cookies taste best the day they are made. I tend not to put those on my cookie plate because sometimes it takes me a day or two to get them delivered and I want everything to still taste fresh and good. A lot of cookies actually taste better a few days later so I like to use those.

Frequently Asked Questions
Can I use natural peanut butter?
It’s not recommended. Natural peanut butter separates and affects the texture. Regular creamy peanut butter works best.
Why did my cookies crack too much?
A few cracks are normal (and cute!), but excessive cracking can happen if the dough is too dry and you’ve added too much flour.
How long do peanut butter blossoms last?
They stay soft for about 5 days as long as they are in an airtight container. Store them in a single layer and then place a layer of wax paper over that layer before adding another layer. If you are using chocolate kisses as your candy this will help prevent the tips of the kisses from breaking.
Can I freeze these cookies?
Yes! You can store baked cookies in the freezer in a freezer container or freeze the dough balls and bake as needed. Add the chocolate kisses after baking.
Can I use something other than peanut butter?
You can use your favorite nut butter such as almond butter or cashew butter.
These Peanut Butter Blossoms are everything a classic Christmas cookie should be—soft, chewy, nostalgic, and anchored by that perfect chocolate kiss on top. Made from my husband’s aunt’s beloved family recipe, they’re the kind of cookies that stay delicious for days and bring a little extra warmth and tradition to every holiday tray. Whether you’re baking for a cookie exchange, gifting to friends, or simply carrying on a family favorite, these timeless peanut butter cookies are guaranteed to be a hit year after yea
Check out more of my favorite peanut butter dessert recipes:
Be sure and follow me over on YouTube for weekly cooking demos.
Peanut Butter Blossoms Recipe
Ingredients
- 1/2 cup butter softened
- 1/2 cup peanut butter creamy
- 1/2 cup sugar
- 1/2 cup brown sugar
- 1 egg
- 2 Tbsp milk
- 1 tsp vanilla
- 1 3/4 cups all purpose flour
- 1 tsp baking soda
- 1/2 tsp salt
- 24 Hershey chocolate kisses
Instructions
- Preheat oven to 375 degrees F
- Cream butter and sugars together.in the bowl of a stand mixer with the paddle attachment or use an electric mixer.
- Add in peanut butter , egg, milk and vanilla. Mix until creamy.
- Add in dry ingredients and mix until just combined.
- Cover dough with plastic wrap and chill for 30 minutes.
- Roll dough into 1 inch balls and place on a parchment paper lined cookie sheet.
- Bake for 6-8 minutes or until edges begin to turn golden brown and crack.
- Remove from oven and immediately press a piece of candy into warm cookie.
Tips & Notes:
- Chill the dough if it’s sticky. Even 20–30 minutes in the fridge makes rolling and shaping much easier.
- Unwrap the chocolate kisses ahead of time. Have them ready so you can press them in while the cookies are warm.
- Press the kisses in immediately after baking. The heat from the cookie melts them just slightly so they stick perfectly without losing their shape.
- Don’t overbake! The cookies should still look soft when you take them out. They’ll finish setting on the pan.
- Roll your dough balls evenly to ensure all cookies bake at the same rate and look uniform on your cookie tray.
- Store in a single layer or separate with parchment. This keeps the chocolate from smudging.
- These stay soft for days, which makes them perfect for gifting or prepping ahead for cookie exchanges.
- Use a variety of candy in the middle of the cookie. Chocolate kisses are the classic but I also love to slice on a salted peanut roll and use it. Hershey’s makes a lot of different flavor kisses so experiment with some different ones.
Recommended Products
Nutrition Facts:
Monica says
These look very interesting with the salted nut roll on top! Does the salted nut roll somewhat “melt” into the cookie like the Hershey kisses? Does it stay put? So looking forward to trying these! Thank you for sharing!
Leigh Anne Wilkes says
The nut roll is placed on after the cookie is baked. It doesn’t melt .
Monica says
Thank you so much!
Emily says
Yummy! I am hoping to start your cookie day tradition with my girls and some of their friends, these would be on my plate.
Leigh Anne says
You totally should – wish I was close enough to join in!
Janice Harrison says
Hi, I have a friend looking for Creative Memories pages & see the sad news about CM.
Do you or anyone you know still have product you are selling? Would be much appreciated.
I am very upset as I can not open up any of my photos taken while being a CM consultant so I guess all of my photos I did not print out are gone. I know I know I should have printed them out. Any idea’s as how to get them to open? Thank you so much for taking your time to answer these quistions.
Janice
Leigh Anne says
Where are your photos that you can’t open? Were they uploaded to the digital center? I resigned from CM over a year ago so don’t have current info on product etc. You can find CM product on ebay I know.