This post may contain affiliate links. Please see disclosure policy here.

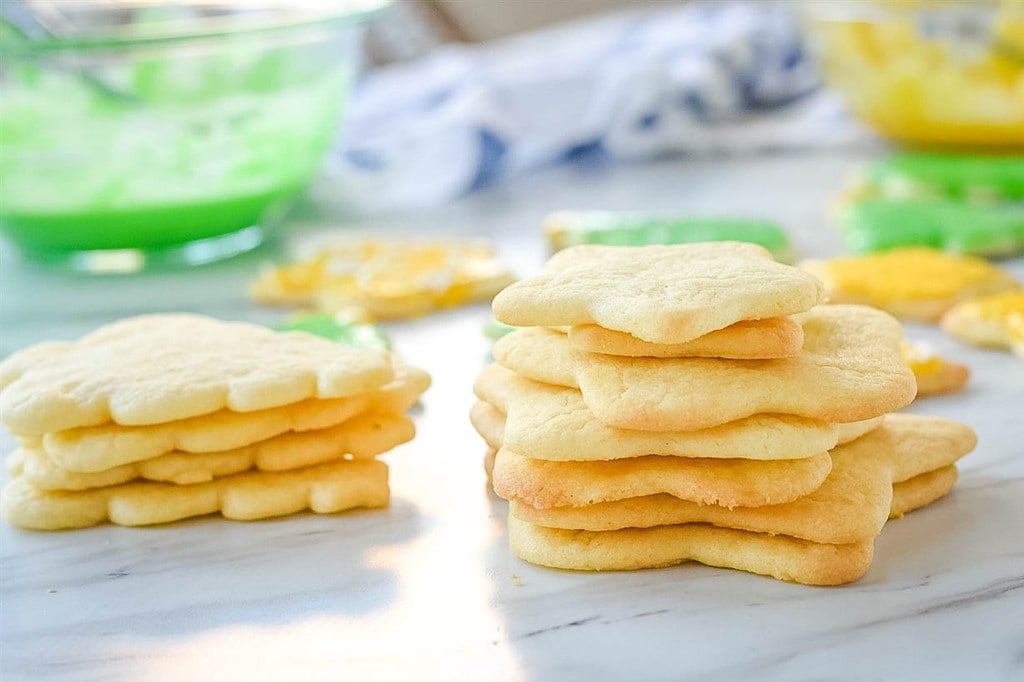
This decorated sugar cookie recipe has been my go to recipe for years. It is delicious, easy to make and decorate. The perfect easy sugar cookie recipe for your holiday baking.

Why You’ll Love This Recipe!
I have always been the sugar cookie maker in my home. Even when I was growing up, it was my job at Christmas time to make the sugar cookies. My mom must not have liked making them. The recipe I used back then came from a little cookbook from the Wisconsin electric company. I always made the decorated sugar cookies in the shape of a wreath because that is what they showed in the cookbook. I eventually branched out from those wreath cookies to other shapes.

Ingredients
- Butter. Always use butter for the best flavor. I use salted butter
- Granulated Sugar
- Extract. I use vanilla extract or almond extract. My favorite though is almond, I love the flavor of almond in my sugar cookies!
- Flour. I use unbleached all purpose flour for all my baking.
- Baking Powder
- Eggs
- Milk. I use whipping cream or whatever milk I have on hand
Sugar Cookie Icing Recipe
- Powdered sugar
- Milk or whipping cream
- Corn syrup. This is what gives the icing a shine.
- Food coloring. I prefer to use a gel food coloring for best results and color. If you use a liquid or powder food coloring you won’t get as vibrant a color but they will work.
How to Make Decorated Sugar Cookies
- Cream together your butter and sugar in the bowl of a stand mixer with the paddle attachment. You can also use an electric hand mixer. Start with room temperature butter. Beat until light and fluffy.
- Add in eggs, milk and extract. Mix to combine.
- Add in dry ingredients. Mix just to combine, don’t over mix.

- Wrap dough in plastic wrap and chill for at least an hour.
- Use flour or powdered sugar on your work surface to keep the dough from sticking when rolling dough out.
- Work the dough as little as possible. Overworking the dough makes for tough sugar cookies.
- Line your baking sheet with parchment paper. It makes the cookies easier to remove and helps prevent breakage. You can also use a silicone mat.
- Bake in a 350 degree F oven for 9-10 minutes or until edges begin to turn golden brown. The thickness of your cookie will affect the bake time.

- Cool completely on a wire rack before frosting and decorating.
Tips
- Chill your dough for at least 30 minutes. Working with chilled dough is much easier and it won’t stick to your counter or hands.
- To get your dough an even thickness use two clean, paint sticks under your rolling pin. If you want thicker cookies double up your paint sticks. You can get them for free at your local paint store. I prefer my cookies thinner so I roll mine out using one set of sticks which is about 1/4″ thick.
- Don’t overcook. Bake them just until you start to see a little golden brown around the edges.
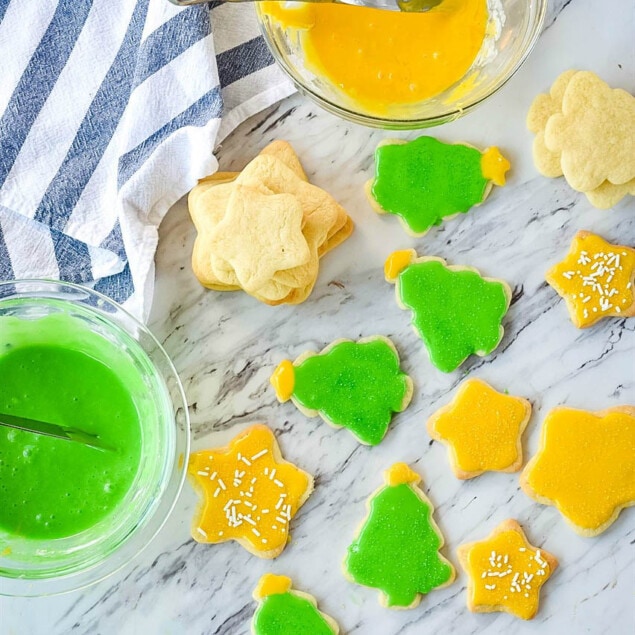
How to Decorate Sugar Cookies:
I have two different recipes I like to use for decorated sugar cookies. If I am doing the decorating I use the recipe below for icing. The icing is thinner than frosting and gives the cookies a glazed look but is a little more difficult to work with. It is similar to a royal icing. If I have smaller children helping decorate I prefer to use a more traditional buttercream frosting.

Perfect Sugar Cookie Icing
Consistency. The icing shouldn’t be too runny or it will run right off the edges of the cookies. You want it to pool on top of the cookie. After adding the food coloring, if the icing is too thin, add some more powdered sugar. And if it is not thin enough or not spreading smoothly, add a little more liquid.
Application. I use a spoon to place a spoonful of icing in the middle of the cookie. I do not use a piping bag. Then, I use a knife or offset spatula to spread the icing to within about 1/4 inch of the edge of the cookie. It will then spread a little bit more on its own.

This icing is the best for decorated sugar cookies because it will dry firm and stay shiny. It also makes nice, bright colors. I love the way it looks and tastes. The icing will set up quickly, so if you want to add sprinkles or other decorations, do it right after icing the cookie.
You can find more decorating tips, including tips on piping icing, on my post about sugar cookie cut outs.

Frequently Asked Questions
Can I freeze decorated sugar cookies?
The cookies can be frozen before or after frosting. If they are frosted I like to flash freeze them first using these directions.
Layer the frosted cookies between sheets of wax paper to prevent them from sticking to one another. They will last for up to two months in an airtight container in the freezer.
Check out more of my favorite Christmas cookies:
Be sure and follow me over on YouTube for weekly cooking demos.
Sugar Cookies And Icing Recipe
Ingredients
Sugar Cookie Recipe
- 1 cup butter softened
- 2 cups sugar
- 2 eggs
- 4 Tbsp milk or whipping cream
- 2 tsp vanilla or almond extract
- 4 cups flour
- 4 tsp baking powder
Sugar Cookie Icing Recipe
- 2 cups powdered sugar
- 2 Tbsp milk or whipping cream
- 2 Tbsp corn syrup
- food coloring
Instructions
Sugar Cookies
- Beat together butter and sugar.
- Add in eggs, milk and extract and beat until light and fluffy.
- Mix in dry ingredients and mix until just combined. Don’t over mix.
- Wrap dough in plastic wrap and chill for at least an hour.
- Roll out dough on floured surface in an even layer (1/4 “) and cut using cookie cutters.
- Place on a parchment lined cookie sheet and bake at 350 degrees F. for 9-10 minutes depending on thickness of dough, just until edges are lightly browned.Cool completely before adding icing.
Sugar Cookie Icing
- Combine powdered sugar and corn syrup in bowl.
- Add in milk (if using liquid food coloring you will need slightly less liquid)
- Add in food coloring and stir to incorporate.
Tips & Notes:
Layer the frosted cookies between sheets of wax paper to prevent them from sticking to one another. They will last for up to two months in an airtight container in the freezer.
Nutrition Facts:
Jenn says
I had to use waaaay more than 2 tablespoons of whipping cream to even get the glaze to mix. Is that really the correct amount?
Leigh Anne Wilkes says
The thickness of your whipping cream can totally effect how much you have to use, if you are using thick, heavy whipping cream it will take more whipping cream to get to the right consistency.
Ellie says
I’ve just made the dough up and it’s quite loose/sticky. I’ve never made these before so don’t know if this is normal?
Leigh Anne Wilkes says
If it is too sticky, add a little additional flour, just a little at a time until you can handle the dough.
Penny Tyson says
This is the same wonderful frosting recipe that I have used for 50 years! You are a wonderful baker!
Kathleen St Ann says
Thank you❤️Best recipe ever!
Jan says
love it