This post may contain affiliate links. Please see disclosure policy here.
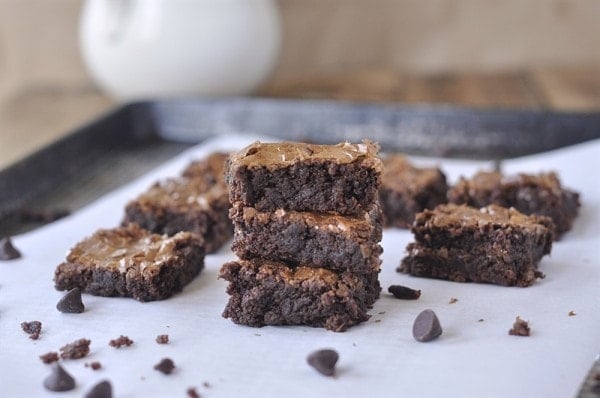
Rich, fudgy gluten-free brownies with crackly tops and chewy centers. An easy, flourless recipe everyone will love—no one will miss the gluten!
Why You’ll Love This Recipe
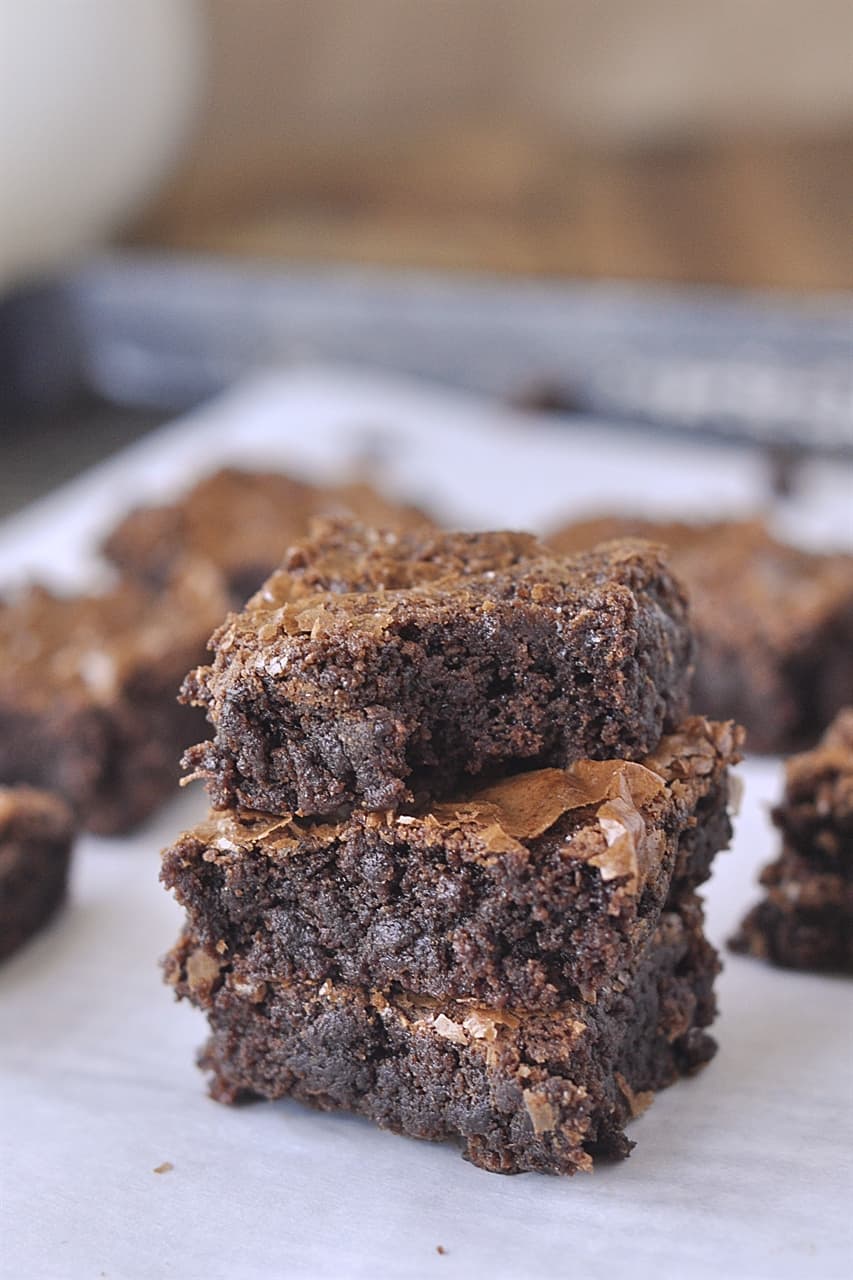
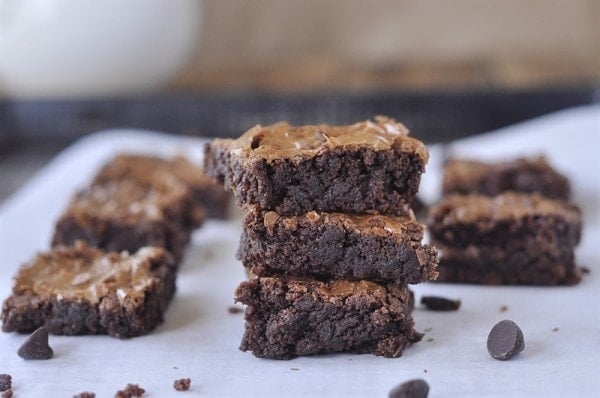
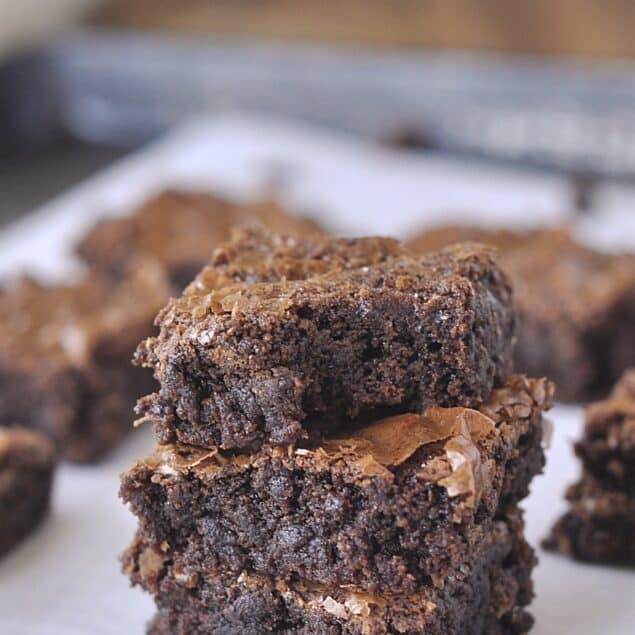
Fudgy brownies – rich chocolate flavor with chewy edges and gooey centers. The best gluten free brownies you’ll ever have! The fudgy texture is amazing, this is not a cakey brownie.
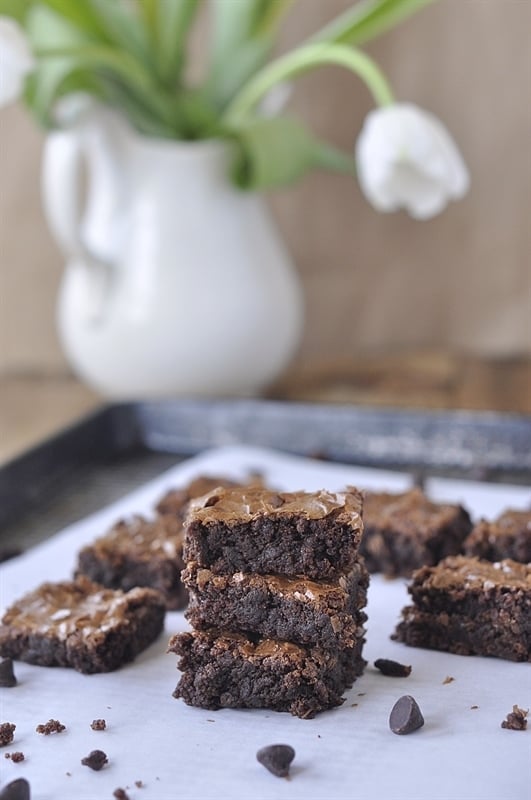
Crackly tops – just like classic bakery-style brownies.
Customizable – add nuts, chocolate chips, or a swirl of peanut butter for extra indulgence.
Ingredients Needed
- Gluten Free Flour Mix. I make my own mix using this recipe but you can use your favorite gluten-free flours.
- Sugar
- Butter, salted. If using unsalted butter add in a pinch more salt.
- Whipping Cream
- Chocolate Chips, semi sweet and milk
- Eggs
- Vanilla Extract
- Baking Soda
- Salt
How to Make Gluten Free Brownies
- Melt sugar, butter and cream in a sauce pan on the stove top. Cook over medium heat until it begins to boil.
- Add in chocolate chips and stir until melted. It may look like your melted chocolate is seizing up but trust me it will be o.k.
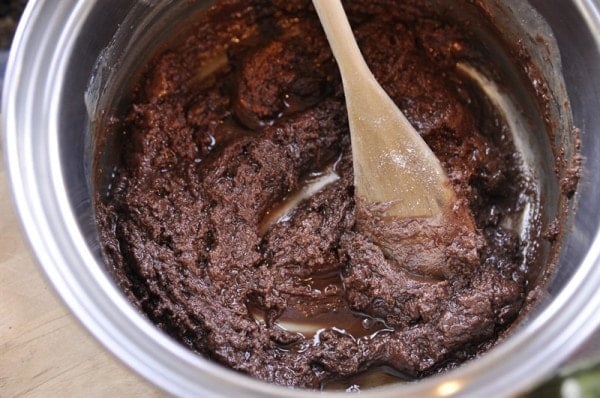
- Add in eggs and vanilla and keep stirring.
- Mix in the dry ingredients including flour, baking soda and salt and stir until smooth.
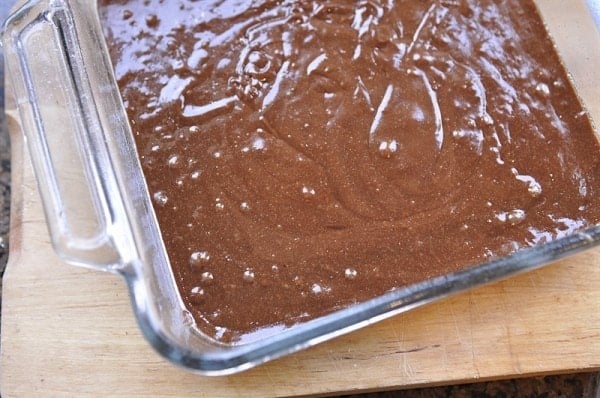
- Pour batter into your greased 8 x 8 prepared pan.
- Bake at 325 for about 25 minutes or until a tooth pick comes out clean. Don’t overbake.
Tips from leigh Anne
- Use high-quality chocolate chips– it makes a big difference in rich chocolate flavor.
- Don’t overbake – brownies should look slightly underdone in the center; they’ll set as they cool.
- Let them cool before slicing – this helps them firm up and gives you clean edges when you slice them.
- Line your baking pan with parchment – makes removing and cutting much easier.
- Mix gently – overmixing can make brownies tough instead of fudgy.
- Store properly – keep in an airtight container at room temp for up to 3 days or refrigerate for up to a week.
Frequently Asked Questions
Can you freeze gluten free brownies?
These brownies freeze beautifully. I like to cut the brownies into individual slices, wrap them in plastic wrap and store in a freezer bag or airtight container.
Can I make these brownies dairy-free too?
Absolutely. Substitute dairy-free butter and chocolate, and they’ll turn out just as delicious.
How do I know when brownies are done?
They’re ready when the edges are set, the top is crackly, and a toothpick comes out with a few moist crumbs (not wet batter).
Do gluten free brownies taste different?
Not at all—these are rich, fudgy, and indulgent. Most people won’t even know they’re gluten-free!
Do I need to refrigerate gluten free brownies?
No, they can be stored in an airtight container at room temperature.
For other gluten free goodness try:
Be sure and follow me over on YouTube for weekly cooking demos.
Gluten Free Brownie Recipe
Ingredients
- 1/2 cup granulated sugar
- 2 Tbsp butter
- 2 Tbsp whipping cream or half & half
- 1 cup semi sweet chocolate chips
- 1 cup milk chocolate Chips
- 2 eggs
- 1 tsp vanilla extract
- 2/3 cup gluten free flour mix
- 1/4 tsp baking soda
- 1/4 tsp salt
Instructions
- Preheat oven to 325 degrees. Grease an 8 x 8 pan
- In a saucepan combine sugar, butter and cream.
- Cook over medium heat until it comes to a boil.
- Remove from heat and stir in chocolate chips and stir until melted.
- Add in eggs and vanilla.
- Add in flour, baking soda and salt.
- Stir until mixture is smooth and pour into greased pan.
- Bake for 25 minutes or until a toothpick comes out clean. Do not overbake.
Tips & Notes:
- Use high-quality cocoa powder – it makes a big difference in rich chocolate flavor.
- Don’t overbake – brownies should look slightly underdone in the center; they’ll set as they cool.
- Let them cool before slicing – this helps them firm up and gives you clean edges when you slice them.
- Line your pan with parchment – makes removing and cutting much easier.
- Mix gently – overmixing can make brownies tough instead of fudgy.
- Store properly – keep in an airtight container at room temp for up to 3 days or refrigerate for up to a week.
Nutrition Facts:
Lauren @ For the Love of Dixie says
Love this but I will have to wait to try them because I’m off dairy for breastfeeding my daughter right now 🙁
Amy Kathleen Kelsch says
Hello! I am looking forward to trying these out- they look delicious. I have been on a gluten-free diet for many years and the options out there just keep getting better and better!
Boog's Mommy says
This sounds great! Thank you for posting it. My son is GF 🙂
Emily says
I’ve gone gluten free and also dropped 10 lbs pretty easily. I’m trying to convince my husband he should do the same, but he isn’t convinced (yet wants to loose 20 lbs… men!). Can’t wait to try these, maybe I’ll make them for him and then tell him they are gluten free and that I’ll keep making them if he goes gluten free!
Leigh Anne says
My husband is at 15 lbs.!!
Joni says
Thank you for the awesome recipe. I live in the Willamette Valley and make special trips to Bob’s Red Mill. Love your flour mix. Thank you for sharing.
Leigh Anne says
It’s a fun place isn’t it! Love to have lunch there too.