This post may contain affiliate links. Please see disclosure policy here.
Create your own Easter decor easily with this DIY Moss Covered Egg tutorial. They are a fun and easy addition to your holiday decor.
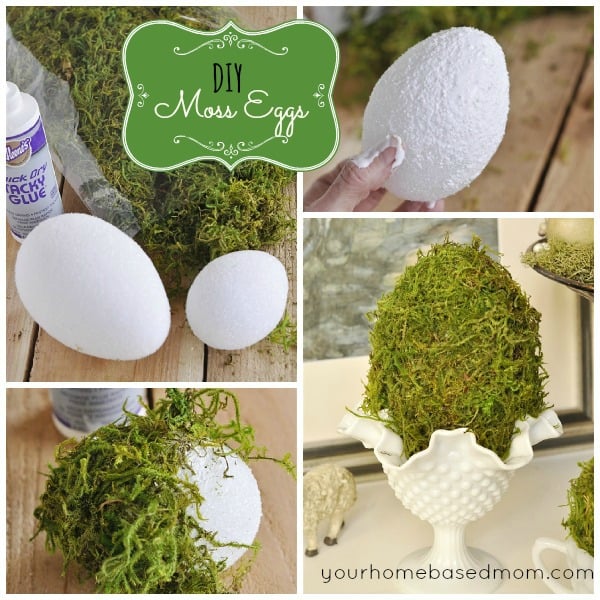
I love decorating for Easter. One of my favorite ways to decorate is by growing my own Easter Grass. For more info on how I do that, check out my tutorial on Grow Your Own Easter Grass.
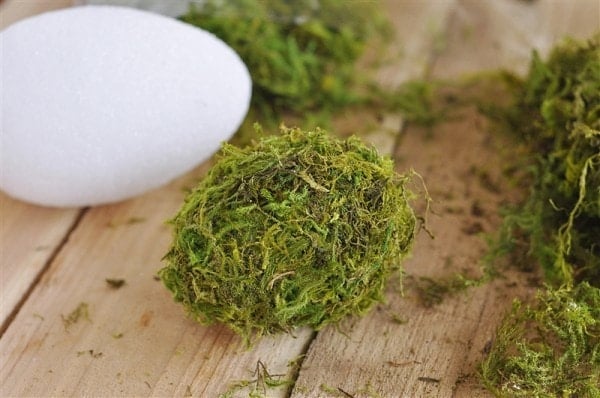
Each year I like to add a little something new to my Easter decor. This year I had been noticing some fun moss covered eggs on etsy. I decided I could make my own so I headed to the craft store.
Moss Covered Eggs Supplies
- Styrofoam Shaped Eggs. I used 3″, 5″ and 8 “
- Green Moss
- Quick Drying Glue
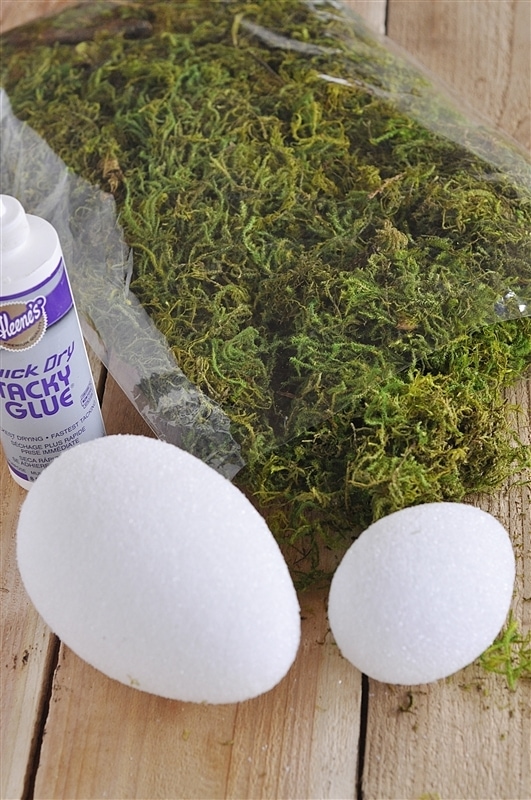
How to Make Moss Covered Eggs
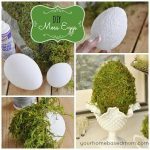
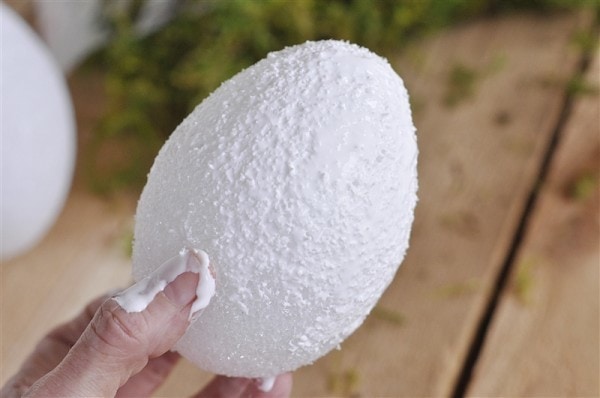
- Coat the styrofoam egg with glue. Only put glue on half of the egg to start with so you have someplace without glue to hold onto! You can brush the glue on or just use your finger like I did.
- Press the moss onto the egg. Try to make sure none of the white sytrofoam is showing.
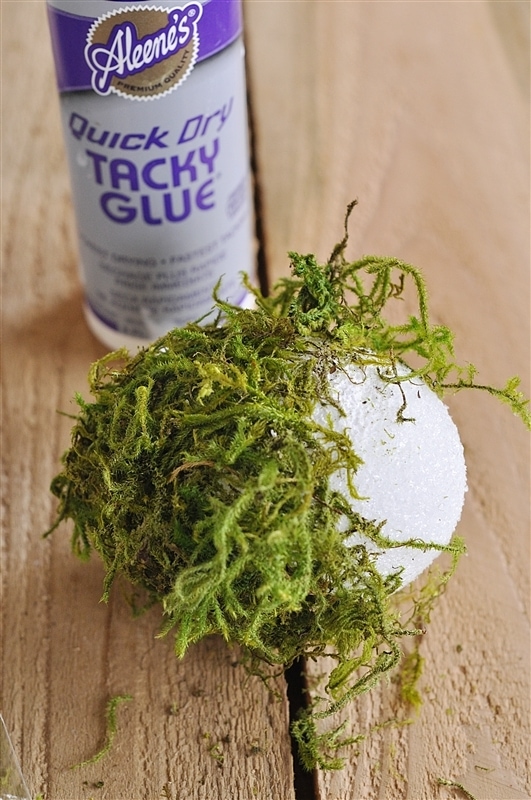
- After you have the first half covered, add glue to the bottom half and add the moss there. Use your hands to press the moss into the egg. You can also give it a bit of a hair cut and trim off any long pieces of moss.
After the moss covered eggs are dry you are ready to decorate with them. You can fill a basket with them or I put mine into some of my milk glass collection.
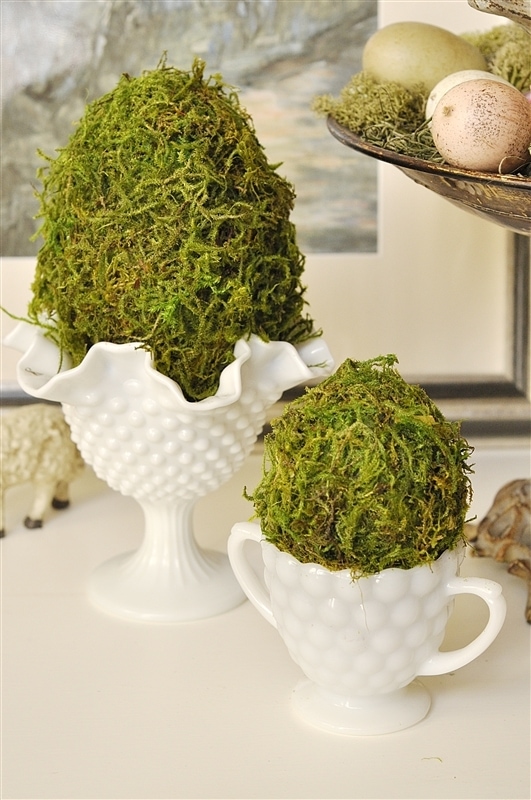
It is an inexpensive and easy way to dress up your Easter decor quickly.
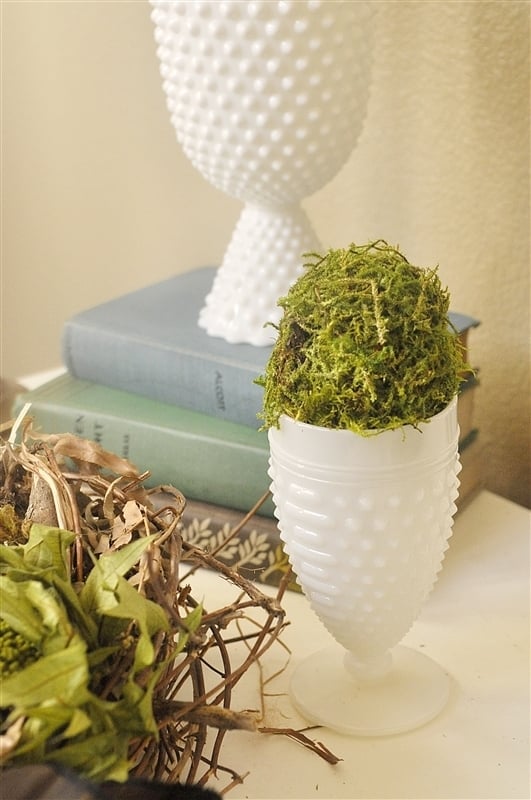
They can fill in just about any where! And make just a nice extra little touch to an arrangement.
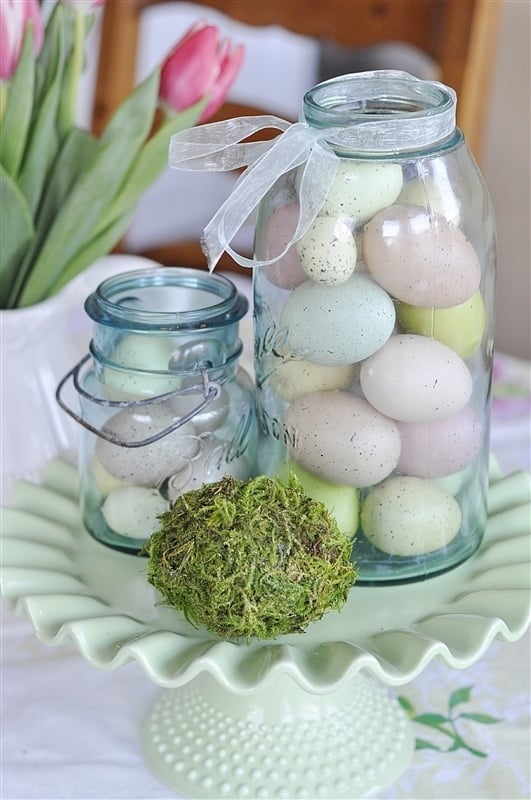
For other Easter ideas be sure to check out:
astara says
I love those eggs I made a very big one.
Thanks for sharing this.