This post may contain affiliate links. Please see disclosure policy here.
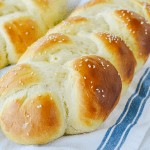
Challah bread is a delicious, rich, touch of sweet, braided loaf that is traditionally made for the Jewish Sabbath and special holidays. You can create your own with this easy to follow step by step tutorial
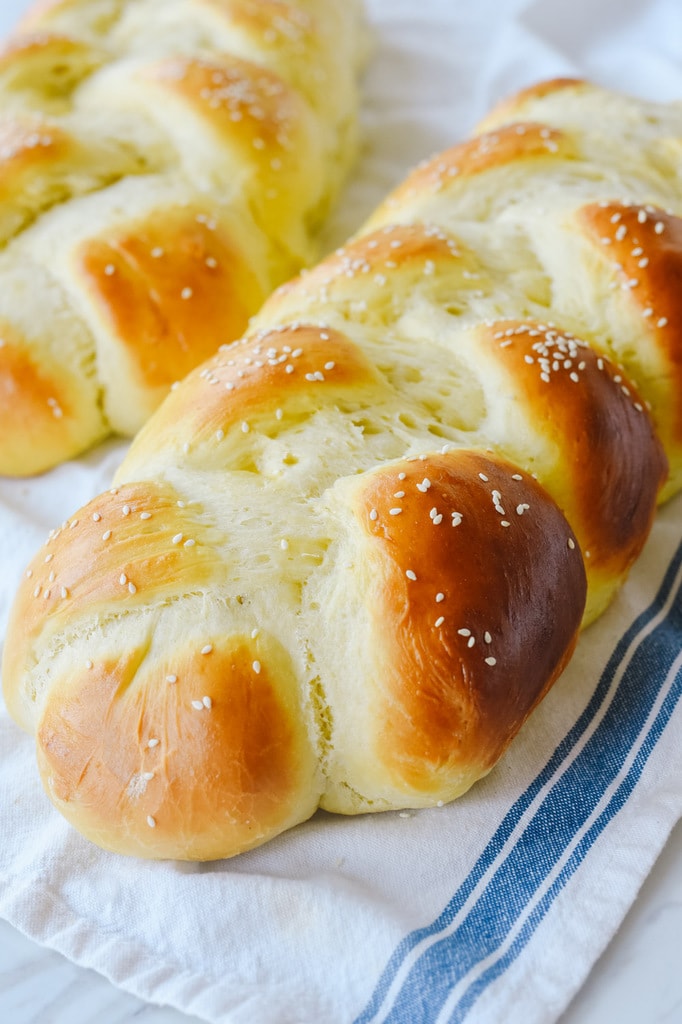
Challah Bread is a traditional Jewish style bread that is often served on the Jewish Sabbath and other major Jewish holidays. It is a soft, enriched dough with just a touch of sweetness. It’s beautiful presentation is what really makes it special. The dough is divided into pieces and then braided together and brushed with an egg wash for a beautiful golden color.
Ingredients Needed
- Yeast. Use active dry yeast. You can also use rapid rise yeast (see below for directions)
- Sugar. May substitute. honey if preferred
- Salt
- Oil. I use vegetable oil or canola oil, any mild oil will do. Butter can be used but then the bread is no longer kosher.
- Eggs.
- Flour. Unbleached all purpose flour is my preference. You can also use bread flour.

How to Make Challah Bread
- Dissolve yeast in warm water and allow yeast to proof.
- Add sugar, salt, oil eggs and flour in with yeast mixture and mix until slightly sticky. I do this in my Kitchen Aid with the dough hook, kneading for about 3-5 minutes at low speed. You can also make dough in a large bowl with a wooden spoon.
- Cover with a cotton towel and let rise in a warm place until doubled in size.

- Divide dough in half. Take each half and divide into 3 pieces. Place on a lightly floured surface.
- Roll each piece of dough into a rope.
- Braid 3 ropes together on a greased cookie sheet.

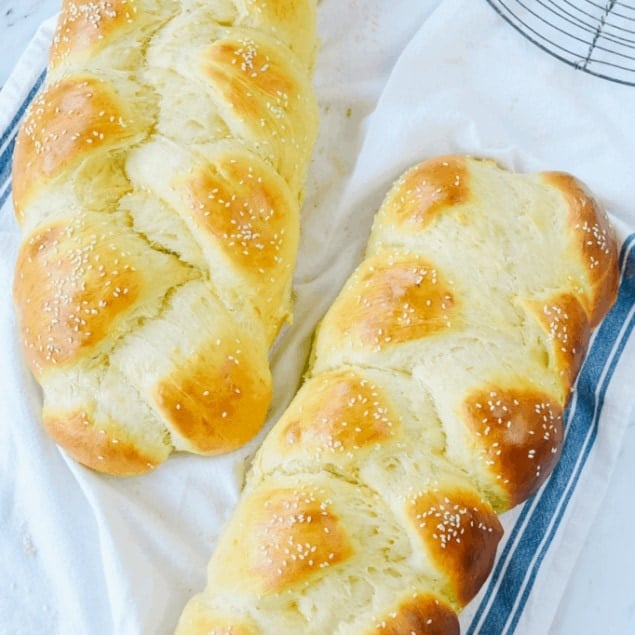
- Repeat with the rest of your dough and place both loaves on a parchment paper lined baking sheet, side by side.
- Allow dough to rise, about 30-60 minutes.

- Brush with the beaten egg wash.

- Bake at 350 degrees F until braid is golden brown, about 20-25 minutes.
Tips
- Be sure and use fresh yeast, check the expiration date on the package.
- After brushing with butter, you can add sesame seeds or poppy seeds if desired.
- Freeze the extra loaf by wrapping it in plastic wrap and foil and keep in the freezer for up to 3 months.
- If you are not worried about keeping it kosher, butter can be used instead of the oil in the recipe.

Frequently Asked Questions
How do I store Challah Bread?
Keep any leftover bread in an airtight container, or wrapped in plastic wrap. Bread does not need to be refrigerated.
The bread can also be kept in the freezer, since the recipe makes two loaves you can wrap one, once completely cooled, in plastic wrap and then foil and freeze for up to 3 months. Allow to thaw at room temperature.
What makes Challah bread different?
The bread is enriched with eggs which is similar to a brioche. The difference between challah and brioche is that brioche uses butter and challah uses oil which makes it Kosher.
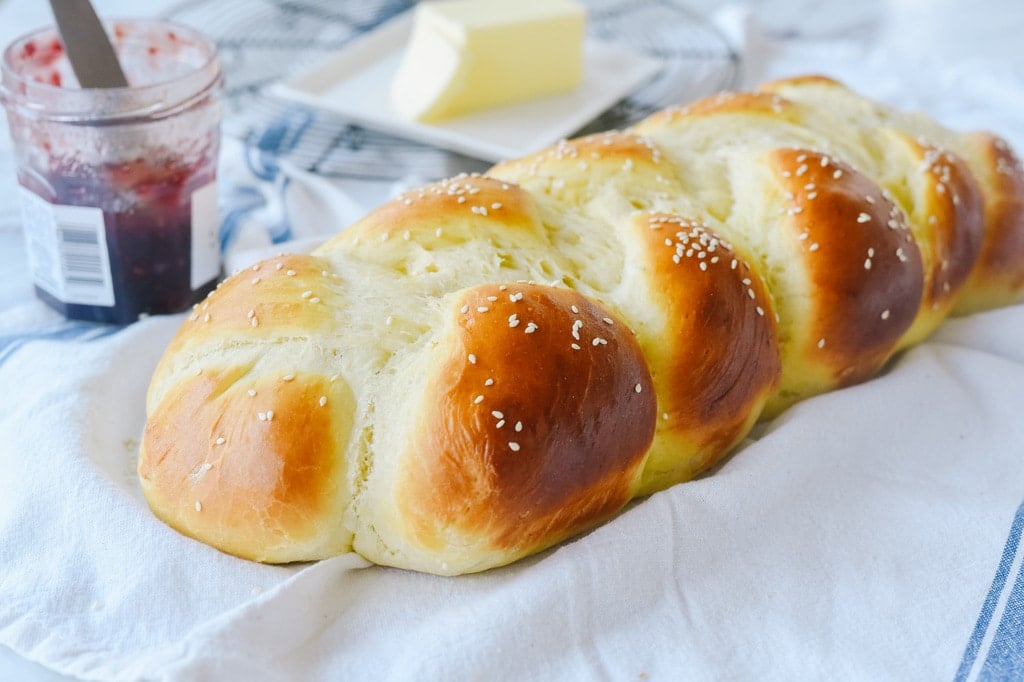
What can I do with leftover bread?
Leftover Challah bread is great for french toast, sandwiches, and bread pudding.
Other delicious recipes you may enjoy:
Be sure and follow me over on YouTube for weekly cooking demos.
Challah Bread Recipe
Ingredients
- 4.5 tsp active dry yeast 2 packages
- 2 1/2 cups water warm
- 6 Tbsp sugar
- 2 tsp salt
- 1/3 C vegetable oil or canola oil
- 3 eggs plus white of one additional egg for glaze
- 8.5 cups flour add until dough is slightly sticky 6 1/2 to 8 1/2 cups
Glaze
- 1 egg white
- 1 tsp water cold
Instructions
- Dissolve yeast in warm water and allow yeast to proof (bubble)
- Add sugar, salt, oil eggs and flour in with yeast mixture and mix until slightly sticky. I do this in my Kitchen Aid about 3-5 minutes.
- Cover and let rise in a warm place until doubled in size.
- Divide dough in half. Take each half and divide into 3 pieces.
- Roll each piece into a rope and brain 3 ropes together on a greased cookie sheet.
- Place both braids on cookie sheet and allow to rise a second time for 30-60 minutes.
- Brush loaves with glaze.
- Sprinkle with sesame seeds or poppy seeds if desired.
- Bake at 350 degrees for 20-25 minutes until bread is golden brown.
Tips & Notes:
- Be sure and use fresh yeast, check the expiration date on the package.
- Freeze the extra loaf by wrapping it in plastic wrap and foil and keep in the freezer for up to 3 months.
- If you are not worried about keeping it kosher, butter can be used instead of the oil in the recipe.
Recommended Products
Nutrition Facts:
Rachel says
Gorgeous I made one braided loaf and nine bags , my family loves them !
Donna says
How long do you knead the dough in the Kitchenaid??
Leigh Anne Wilkes says
About 3-5 minutes, the dough should be slightly sticky
Scarlett says
Thanks again for this recipe!!! It is my favourite bread and it always turns out perfectly
Cristina says
Can you make a 6 braid with this recipe as well?
Betty says
Do we need to knead the dough?. Just wanna make sure. Thanks=)
Leigh Anne says
Betty, the mixing in the kitchen aid is the kneading part, you don’t need to knead by hand. the dough will be soft and slightly sticky.