This post may contain affiliate links. Please see disclosure policy here.
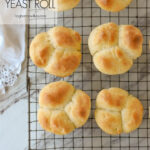
Soft, fluffy cloverleaf yeast rolls with a golden buttery finish—easy to make and perfect for holiday dinners or everyday meals.

Why You’ll Love This Recipe!
If you’re a fan of soft, fluffy dinner rolls, these cloverleaf yeast rolls are about to become your new favorite. Not only is there butter in the dough, but each little dough ball gets dipped in butter before baking and then brushed with even more melted butter straight out of the oven.
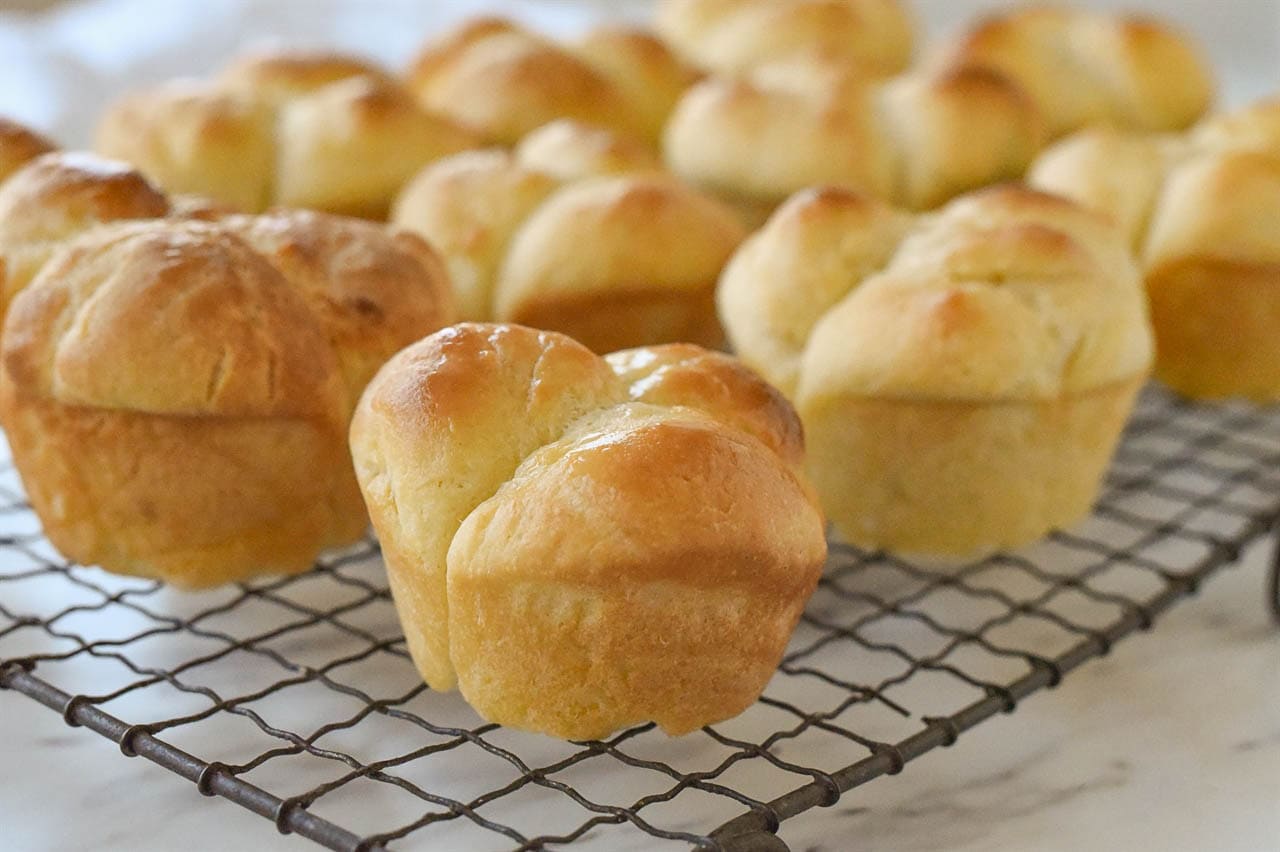
The result? Incredibly tender, pull-apart rolls with a rich, buttery flavor in every bite. They bake up golden brown with those signature cloverleaf tops that make them as pretty as they are delicious. Perfect for holiday dinners, Sunday suppers, or anytime you want a warm, homemade roll that feels extra special.
Ingredients Needed
- Flour, I prefer unbleached all purpose flour
- Eggs
- Active Dry Yeast
- Milk
- Sugar
- Butter, salted
- Salt
How to Make Buttery Yeast Rolls
- Preheat oven to 350 F
- Heat milk in a small pan, do not allow to boil and add butter and salt. Turn off heat and allow butter to melt.
- Cool in refrigerator until it comes to room temperature.
- Dissolve yeast in warm water and add 1 tsp sugar. Allow to proof.
- Beat 3 eggs in the bowl of a stand mixer. Then add 1/3 C sugar.
- Pour cooled milk and yeast mixture to egg mixture.
- Add flour, one cup at a time kneading (using paddle attachment no the dough hook) with mixer constantly. This will be slightly thicker than cake batter.
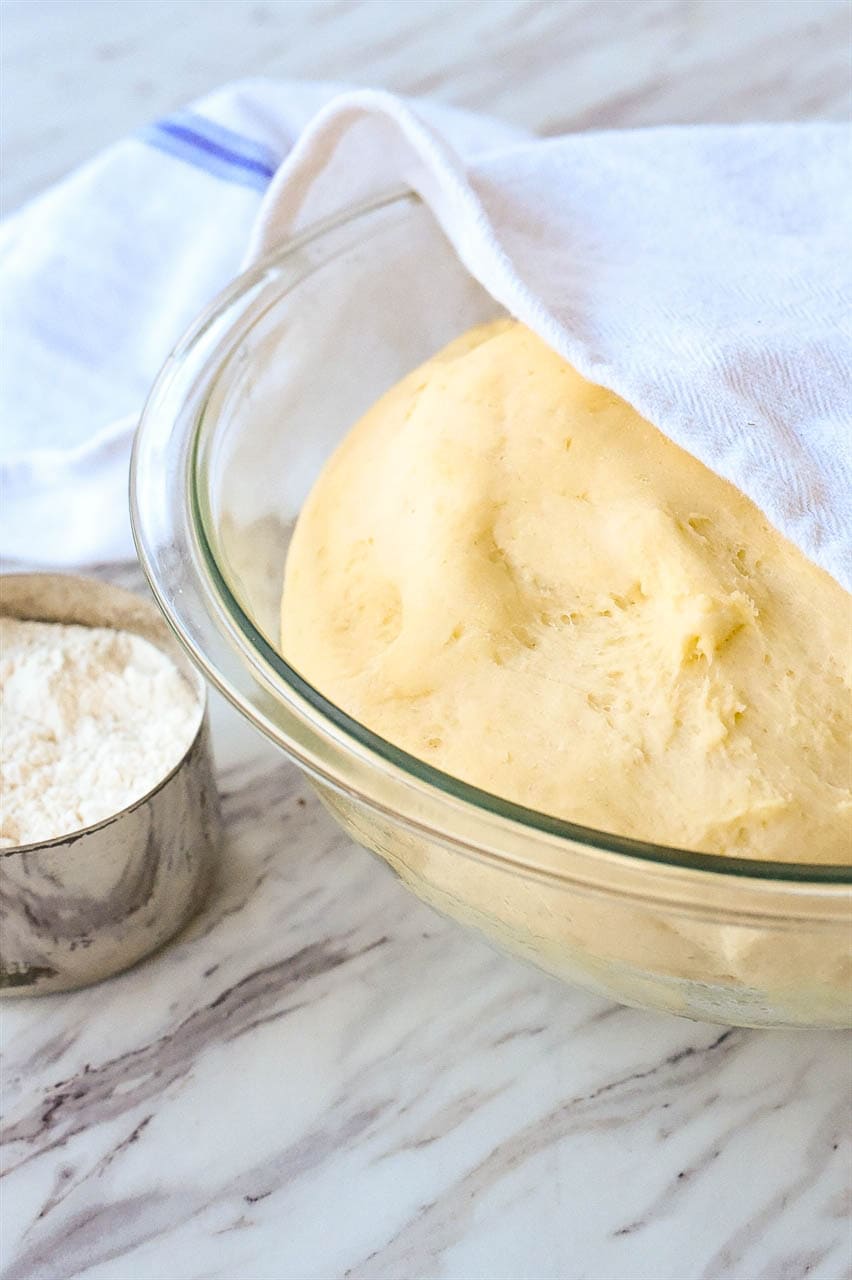
- Cover batter with a towel or plastic wrap and allow to rise until double, about 1 hour in a warm place.
- Flour work surface generously or spray it with non stick cooking spray and transfer dough to floured or sprayed surface (remember the dough will be sticky! Do not add more flour unless it is just too sticky to handle.
- Form dough into small, 1 inch size equal pieces, rolling into balls.
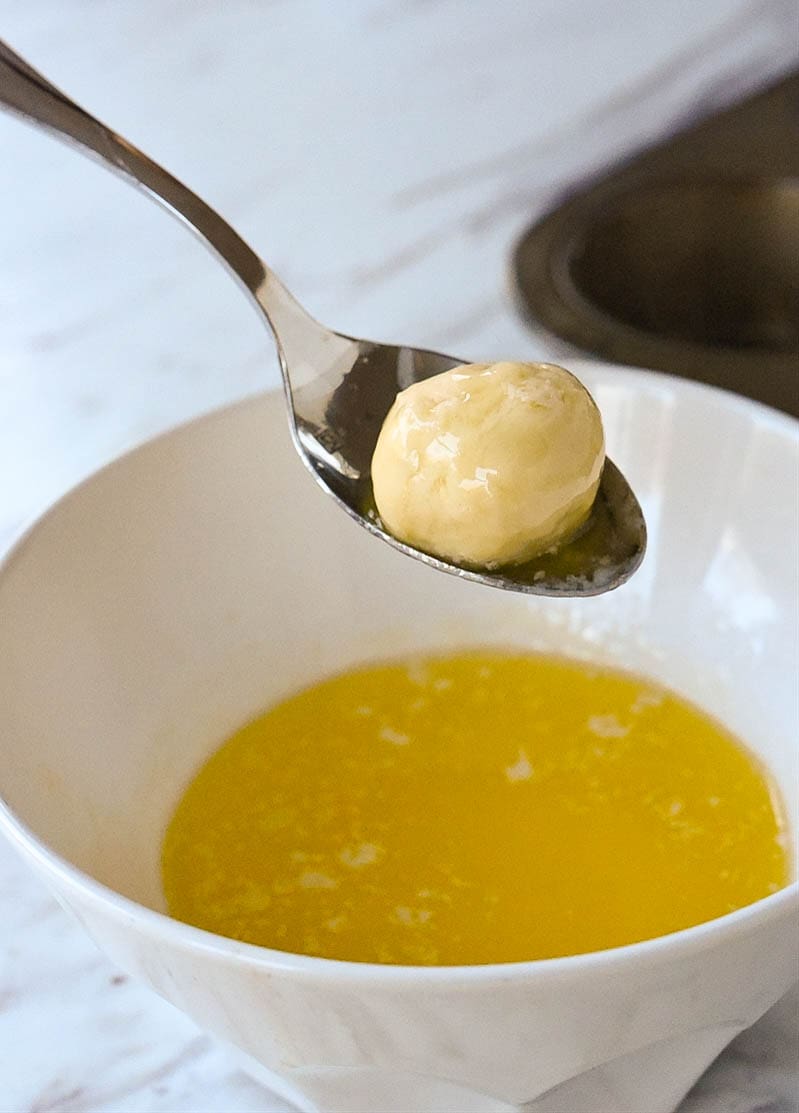
- Melt 1/2 C butter and dip each ball into butter.
- Put three balls into each greased muffin tin to form cloverleaf rolls and let rise until doubled in size. Use a standard 12-cup muffin tin.

- Bake at 350 degrees F until they are nice and golden brown, about 12-15 minutes.
- Remove baked rolls from the oven and brush or spread more butter over the top. You can spread it on with a knife or melt the butter and brush it on. It will melt and fill in all the cracks.

Tips and Tricks from Leigh Anne.
- Use fresh yeast for best results. Make sure your yeast is active—if it doesn’t get foamy during proofing, it’s time to replace it.
- Warm, not hot liquids. When activating yeast, your liquid should be warm to the touch (about 105–110°F). Too hot can kill the yeast, and too cool won’t activate it properly. Be sure and check out my post with all my top tips for working with yeast here.
- Don’t over-flour the dough. The dough should be soft and slightly tacky, not dry. Adding too much flour can make your rolls dense instead of light and fluffy. If you are at a high altitude you may need to add additional flour.
- Butter generously (it’s the point!). Dip each dough ball in melted butter before placing it in the pan, and don’t skip the final brush of butter after baking—this is what gives these rolls their signature flavor.
- Even dough portions matter. Try to keep each of the three dough balls the same size so your cloverleaf rolls bake evenly and look uniform.
- Create the perfect rise environment. Let your dough rise in a warm, draft-free spot. If your kitchen is cool, try placing the bowl in your oven with just the light on or preheating your oven to 150 degrees F and then turn it off once it is preheated. Place your pan of yeast rolls into the oven and let them rise until doubled.
- Don’t overbake. Bake just until the tops are golden brown. Overbaking can dry them out, and you want these rolls soft and tender.
- Make ahead option. Shape the rolls and refrigerate them overnight. Let them come to room temperature and rise slightly before baking the next day—perfect for holidays or Sunday dinner prep!

Frequently Asked Questions
Can I use rapid rise yeast instead?
If you use rapid rise yeast, just add yeast directly in with the flour, skip the proofing step. You will still need to add in the 1/4 water. Add in when you add the milk mixture. You can also use 1/4 cup more milk instead of water if you prefer.
Can I make the dough ahead of time?
Refrigerator Method: Before the last rise, wrap the muffin pan with the rolls formed with plastic wrap and place it in the fridge for up to 24 hours. When ready to bake, remove the rolls from the refrigerator and let them sit on the counter for 90 minutes or until doubled in size.
Freezer Method: You an also freeze the rolls after you bake them. Let them cool completely and then put them into a large freezer zippered plastic bag. Remove as much air as possible. When ready to serve, allow them to thaw on the counter and then to warm them return them to a hot oven for a few minutes before serving.
Why are they called cloverleaf rolls?
Each roll is made by placing three small balls of dough into one muffin cup. As they bake, they puff up into a shape that looks like a clover—hence the name!
Do I have to use a muffin tin?
A muffin tin gives you that classic cloverleaf shape, but you can place the dough balls in a baking dish instead. They may not have the same defined shape, but they’ll still taste delicious.
Why didn’t my rolls rise?
This is usually due to inactive yeast or a kitchen that’s too cold. Make sure your yeast is fresh and give the dough a warm, draft-free place to rise.
How do I keep my rolls soft?
Don’t overbake them, and be sure to brush them with melted butter right after they come out of the oven. Store leftovers in an airtight container to keep them soft.
There’s just something special about a pan of warm, homemade rolls fresh from the oven, and these buttery cloverleaf yeast rolls truly deliver. Soft, fluffy, and layered with rich buttery flavor in every bite, they’re the kind of roll everyone reaches for first—and then goes back for seconds. Whether you’re serving them for a holiday meal or a cozy Sunday dinner, these rolls are guaranteed to become a favorite at your table.
I have so many amazing roll recipes on the blog, don’t miss these:
Be sure and follow me over on YouTube for weekly cooking demos.

Buttery Yeast Rolls
Ingredients
- 2 1/4 tsp active dry yeast
- 1 tsp sugar
- 1/4 cup warm water
- 1 cup milk
- 1/2 cup butter salted, softened
- 1 tsp salt
- 1/3 cup sugar
- 3 eggs
- 4 1/2 cups all purpose flour
- 1/2 cup butter melted for dipping
Instructions
- Preheat oven to 350 F
- In a small pan bring milk to a low boil and add butter and salt. Turn off heat and allow butter to melt. Cool in the refrigerator until it comes to room temperature.
- In a small bowl dissolve yeast in warm water and add 1 tsp sugar. Allow to proof.
- In another larger bowl beat 3 eggs; add 1/3 C sugar and mix together.
- Add cooled milk and yeast to egg mixture.
- Add flour, one cup at a time beating with mixer constantly. This will be slightly thicker than cake batter.
- Cover batter with a towel and allow to rise until double, about 1 hour.
- Flour counter top and place dough on counter. Do not add more flour unless it is just too sticky to handle.
- Form dough into small, 1 inch size balls.
- Melt 1/2 C butter and dip each ball into butter before placing in pan. Put three balls into each muffin tin to form cloverleaf rolls. Let rise until double
- Bake at 350 for about 15 minutes or until golden brown
Tips & Notes:
- Use fresh yeast for best results. Make sure your yeast is active—if it doesn’t get foamy during proofing, it’s time to replace it.
- Warm, not hot liquids. When activating yeast, your liquid should be warm to the touch (about 105–110°F). Too hot can kill the yeast, and too cool won’t activate it properly. Be sure and check out my post with all my top tips for working with yeast here.
- Don’t over-flour the dough. The dough should be soft and slightly tacky, not dry. Adding too much flour can make your rolls dense instead of light and fluffy. If you are at a high altitude you may need to add additional flour.
- Butter generously (it’s the point!). Dip each dough ball in melted butter before placing it in the pan, and don’t skip the final brush of butter after baking—this is what gives these rolls their signature flavor.
- Even dough portions matter. Try to keep each of the three dough balls the same size so your cloverleaf rolls bake evenly and look uniform.
- Create the perfect rise environment. Let your dough rise in a warm, draft-free spot. If your kitchen is cool, try placing the bowl in your oven with just the light on or preheating your oven to 150 degrees F and then turn it off once it is preheated. Place your pan of yeast rolls into the oven and let them rise until doubled.
- Don’t overbake. Bake just until the tops are golden brown. Overbaking can dry them out, and you want these rolls soft and tender.
- Make ahead option. Shape the rolls and refrigerate them overnight. Let them come to room temperature and rise slightly before baking the next day—perfect for holidays or Sunday dinner prep!
Recommended Products
Nutrition Facts:
Diane Lilleg says
Years ago an elderly lady gave me this recipe–then I lost it! I am pretty sure this is it and am so happy to have found it!
Ramona says
I’ve been looking for a yeast roll recipe that was close to my late mom’s. Yours is pretty close. Thank you
pam says
I will let the dough balls soak a little longer in the butter before dropping them in the muffin tins. There will be no need to butter the rolls after baking.