• Skip to primary navigation
  • Skip to main content
  • Skip to primary sidebar
Free Instant Pot Recipe Guide! download now!

FREE 5 Instant Pot Meals in 5 Minutes E Course!


Thank you for subscribing!


Formerly Your Homebased Mom

  • About
  • Latest
  • Contact
NEW! Watch on youtube!

Your Homebased Mom

Leigh Anne Wilkes

  • Recipes
    • Course
      • Appetizers
      • Beverages
      • Bread
      • Breakfast and Brunch
      • Dessert
        • Bars and Brownies
        • Cake
        • Candy and Treats
        • Cookies
        • Ice Cream
        • Pie
      • Main Dishes
      • Salads
      • Sandwiches and Burgers
      • Sauces and Dressings
      • Side Dishes
      • Soup
    • Cooking Method
      • Crock Pot
      • Grilling
      • Instant Pot
      • One Pan
      • Oven
      • Quick and Easy
      • Recipes for Two
    • Ingredients
      • Beef
      • Eggs
      • Pasta
      • Pork
      • Poultry
        • Chicken
        • Turkey
      • Seafood
      • Vegetarian
      • Gluten Free
    • Cuisine
      • American
      • Asian
      • European
      • Indian
      • Italian
      • Mediterranean
      • Mexican
    • Holiday
      • New Year’s Eve
      • Valentine’s Day
      • St. Patrick’s Day
      • Easter
      • 4th of July
      • Halloween
      • Thanksgiving
      • Christmas
  • Travel
    • Europe
    • United States
      • New York City
      • Portland
    • What To Wear
  • Life
    • Home
    • Party Ideas
    • Empty Nesters
    • Church
      • Activity Day
      • Relief Society
    • Organizational Tips
    • Recommended Reads
  • New? Start Here
  • Subscribe for weekly recipes

    FREE 5 Instant Pot Meals in 5 Minutes E Course!


    Thank you for subscribing!


Recipe Finder

  • Course
    • Appetizers
    • Beverages
    • Bread
    • Breakfast and Brunch
    • Dessert
    • Main Dishes
    • Salads
    • Sandwiches and Burgers
    • Sauces and Dressings
    • Side Dishes
    • Soup
  • Cooking Method
    • Oven
    • Crock Pot
    • Grilling
    • Instant Pot
    • One Pan
    • Quick and Easy
  • Ingredients
    • Beef
    • Eggs
    • Pasta
    • Pork
    • Poultry
    • Seafood
    • Vegetarian
    • Gluten Free
  • Cuisine
    • American
    • Asian
    • European
    • Indian
    • Italian
    • Mediterranean
    • Mexican
  • Holiday
    • New Year’s Eve
    • Valentine’s Day
    • St. Patrick’s Day
    • Easter
    • 4th of July
    • Halloween
    • Thanksgiving
    • Christmas
Home / Latest Posts / Recipes / Course / Dessert / Cake / Peanut Butter Chocolate Cupcakes

Peanut Butter Chocolate Cupcakes

Jump to Recipe Print Share
Share on:
By: Leigh Anne WilkesPosted: 5/21/21Updated: 6/14/21

This post may contain affiliate links. Please see disclosure policy here.

cupcakes on a cooling rack

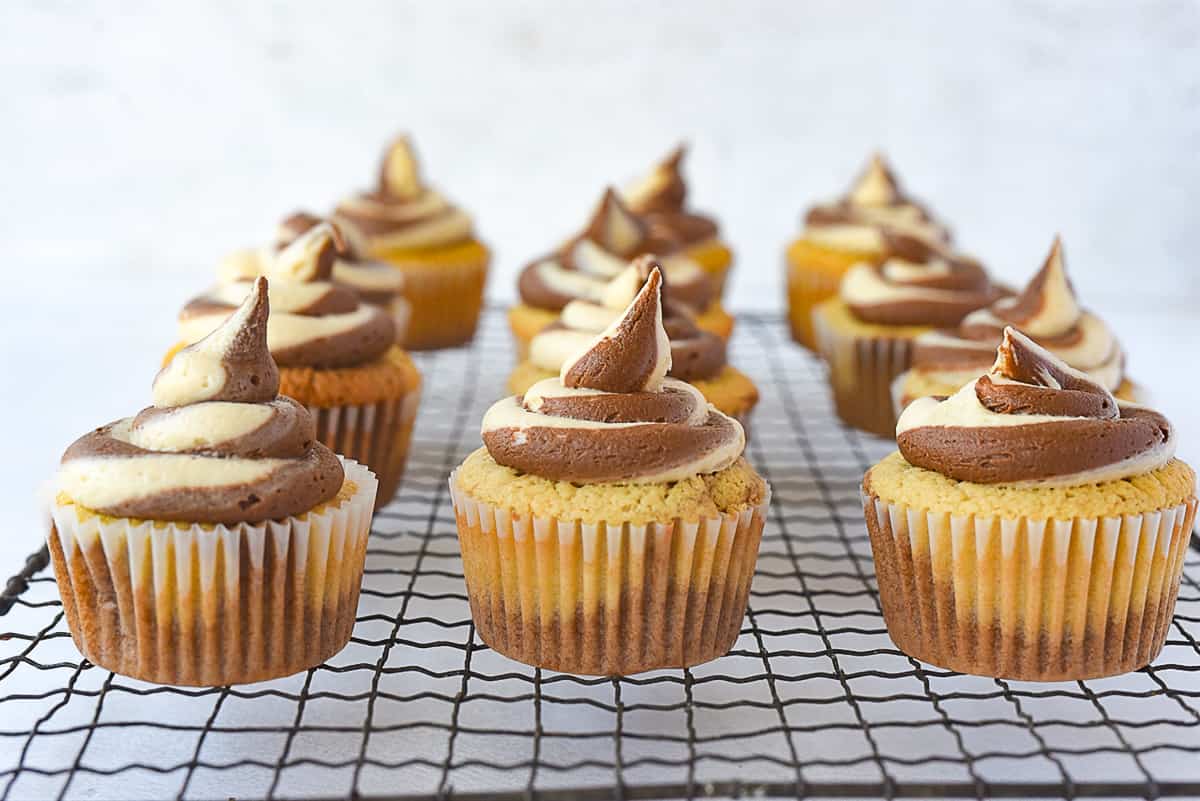
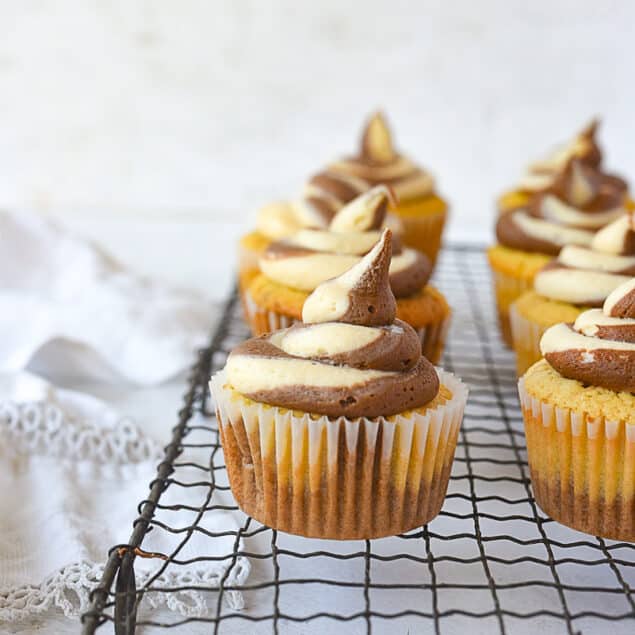
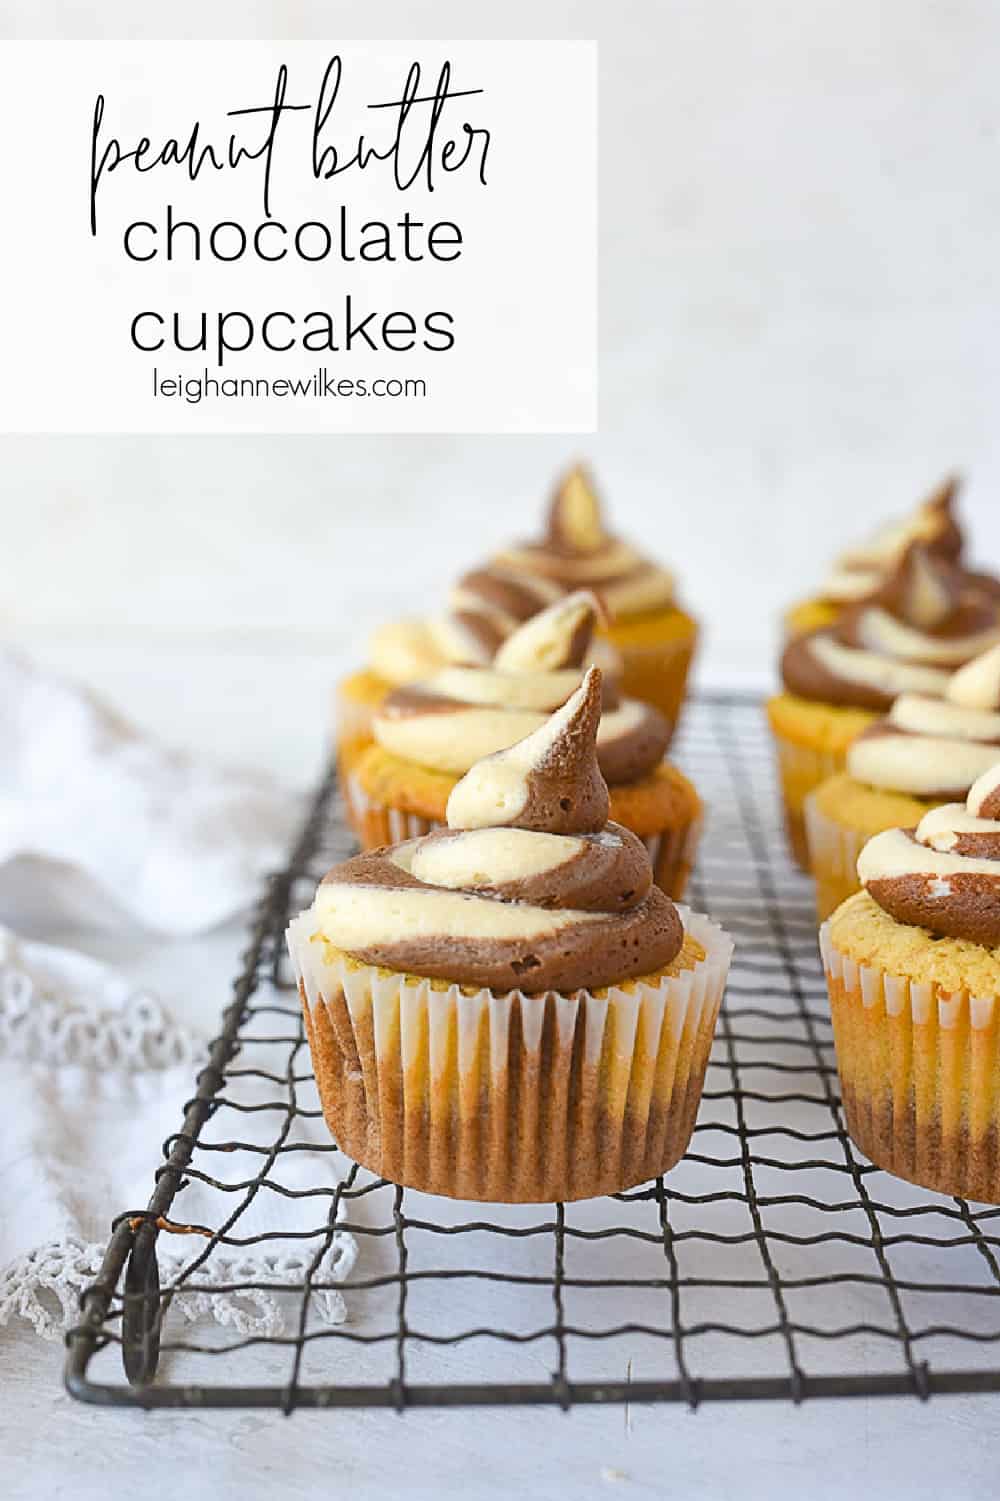
These peanut butter chocolate cupcakes are a perfect flavor combo. They taste delicious and look amazing and are easier to make than you think.

Some other favorite recipes that combine peanut butter and chocolate include my amazing Peanut Butter Chocolate Chip Cookies, Peanut Butter Pie and Peanut Butter Cheesecake Brownies.

peanut butter chocolate cupcakes on a cooling rack

Peanut Butter Cupcakes

Peanut Butter and Chocolate is a match made in heaven and a perfect flavor combinations. Not only are the two flavors combined in the frosting on these cupcakes but in the cake too.

The cake is basically a peanut butter cake and then you add some chocolate into half of the peanut butter cake batter and you’ve got heaven!

peanut butter chocolate cupcakes on a cooling rack

How to Make Chocolate Peanut Butter Cupcakes

  • Mix peanut butter cupcake batter.
  • Divide batter into two bowls.
  • Add melted chocolate to one bowl and stir to combine.
  • Line muffin tin and add a scoop of peanut butter batter, 1/3 full.
adding cupcake batter to muffin tin
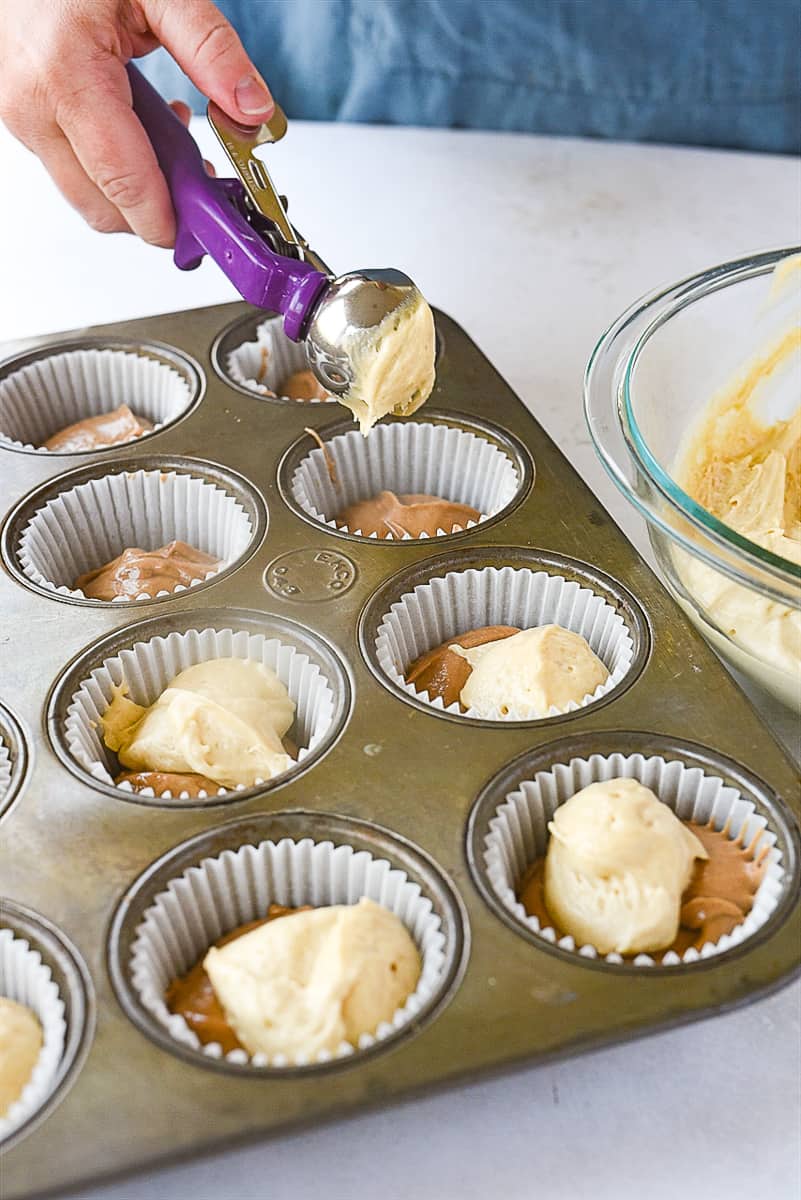
  • Add another scoop of chocolate batter. Cup should now be about 2/3 full.
  • Use a knife to swirl the batters together.
swirling cupcake batter with knife
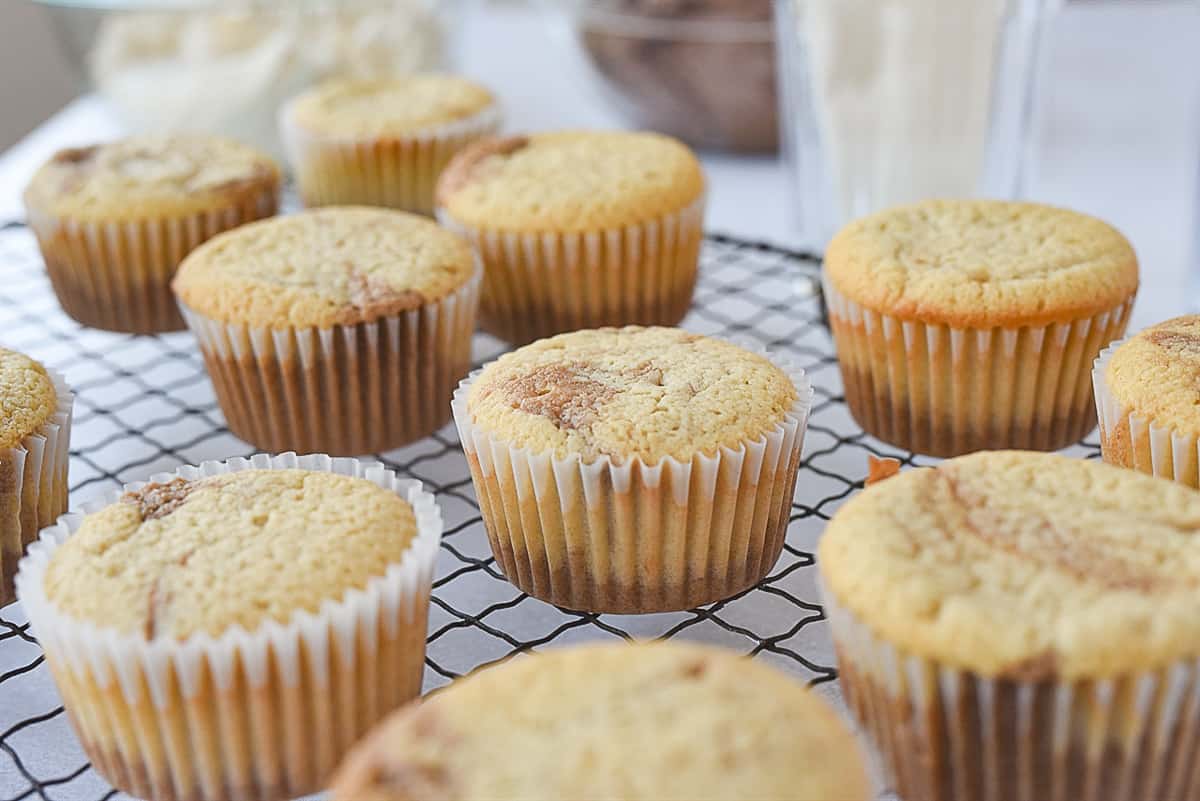
  • Bake at 375 degree F oven for 15-18n minutes or until a toothpick comes out clean.
  • Cool on a baking rack before frosting.
cupcakes cooling on rack

Peanut Butter Chocolate Frosting

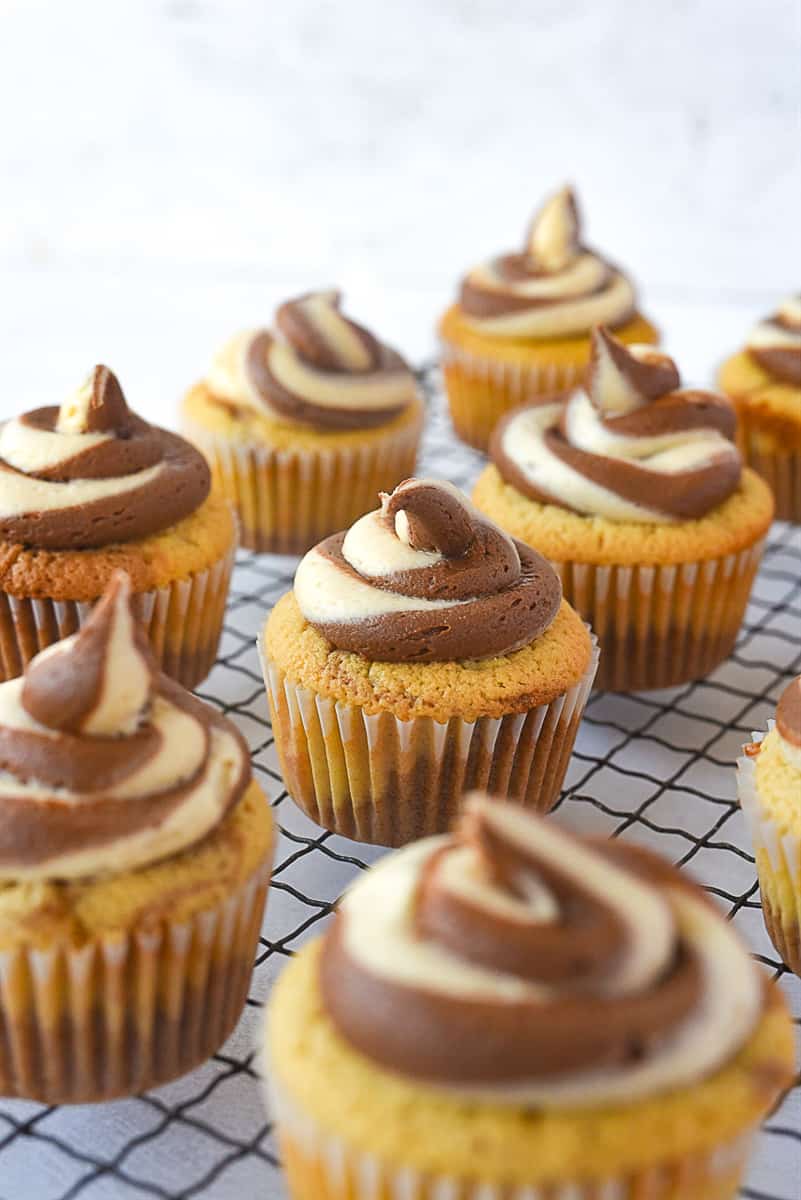
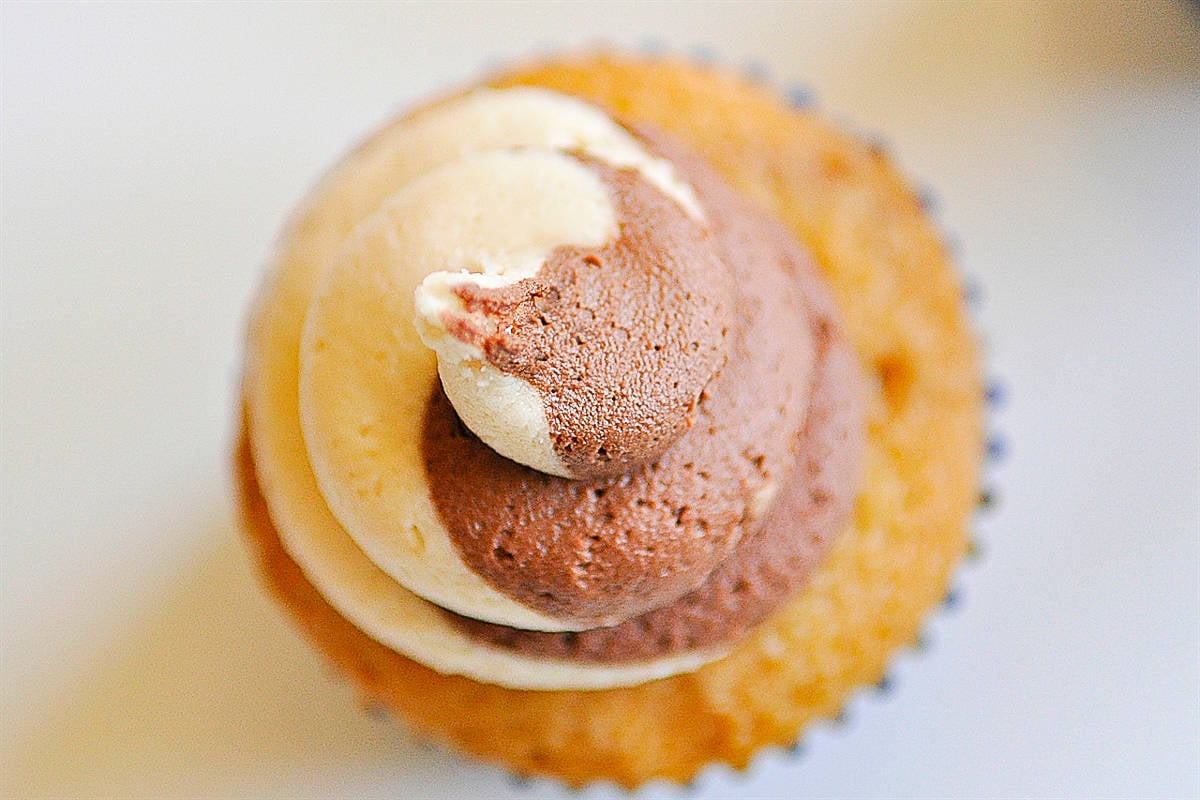
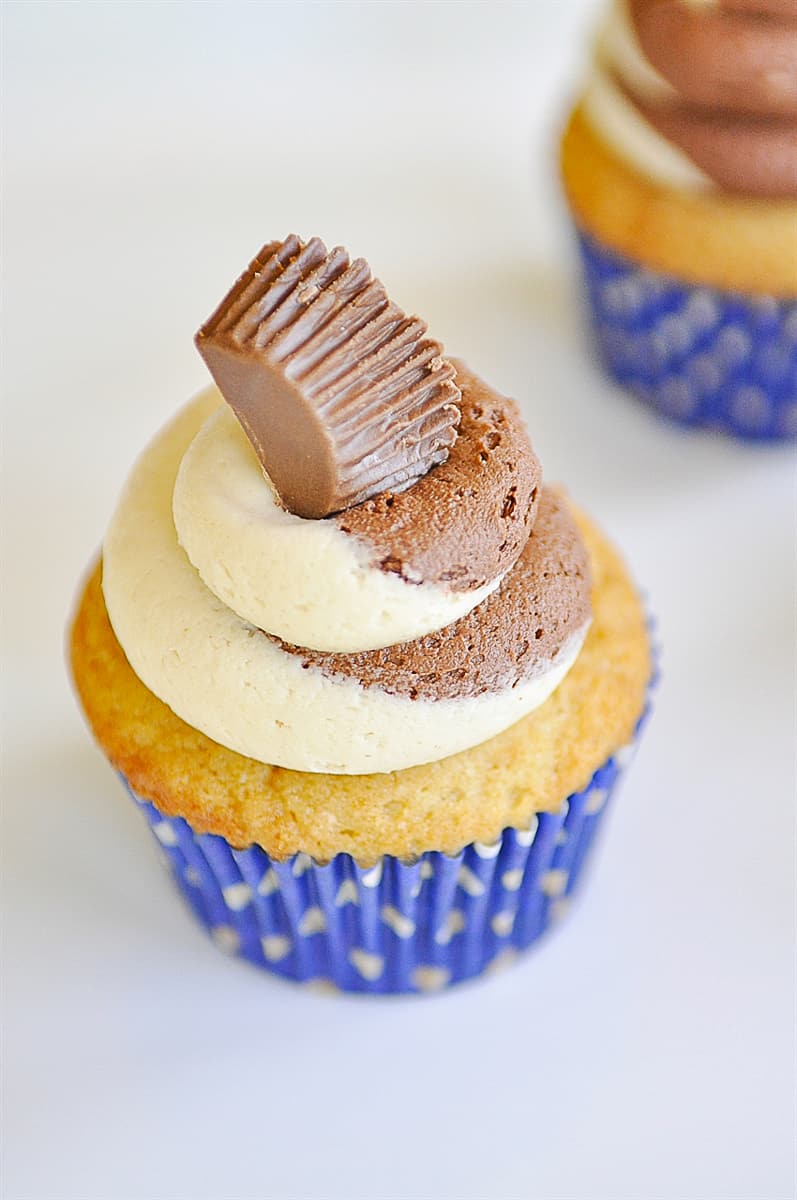
Now it’s time to add the amazing frosting that tastes delicious too. The frosting is the crowning glory of this cupcake, not only is it delicious but it looks amazing too. We are going to swirl peanut frosting together with chocolate frosting and it’s easier than you thinK!

chocolate peanut butter cupcakes on a cooling rack

How to Swirl Multiple Frostings Together

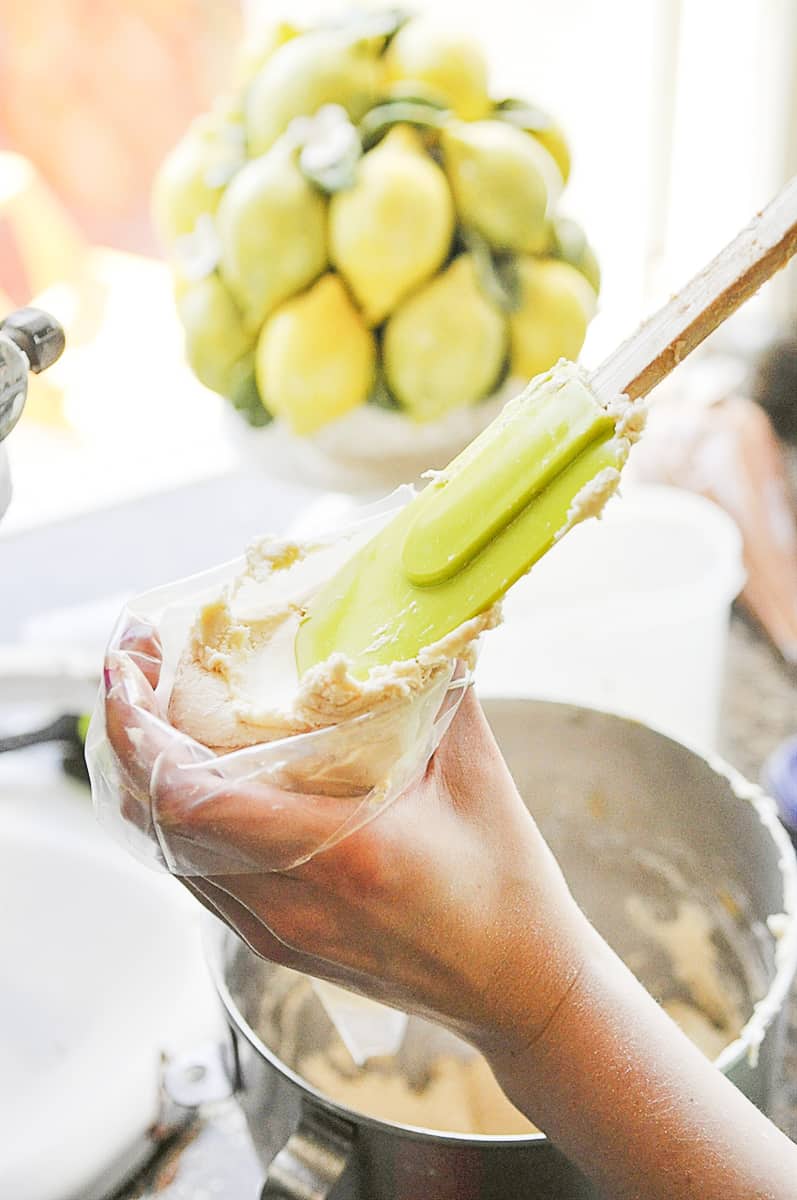
  • Mix together peanut butter frosting.
  • Remove half into another bowl and add 1/2 cup of cocoa.
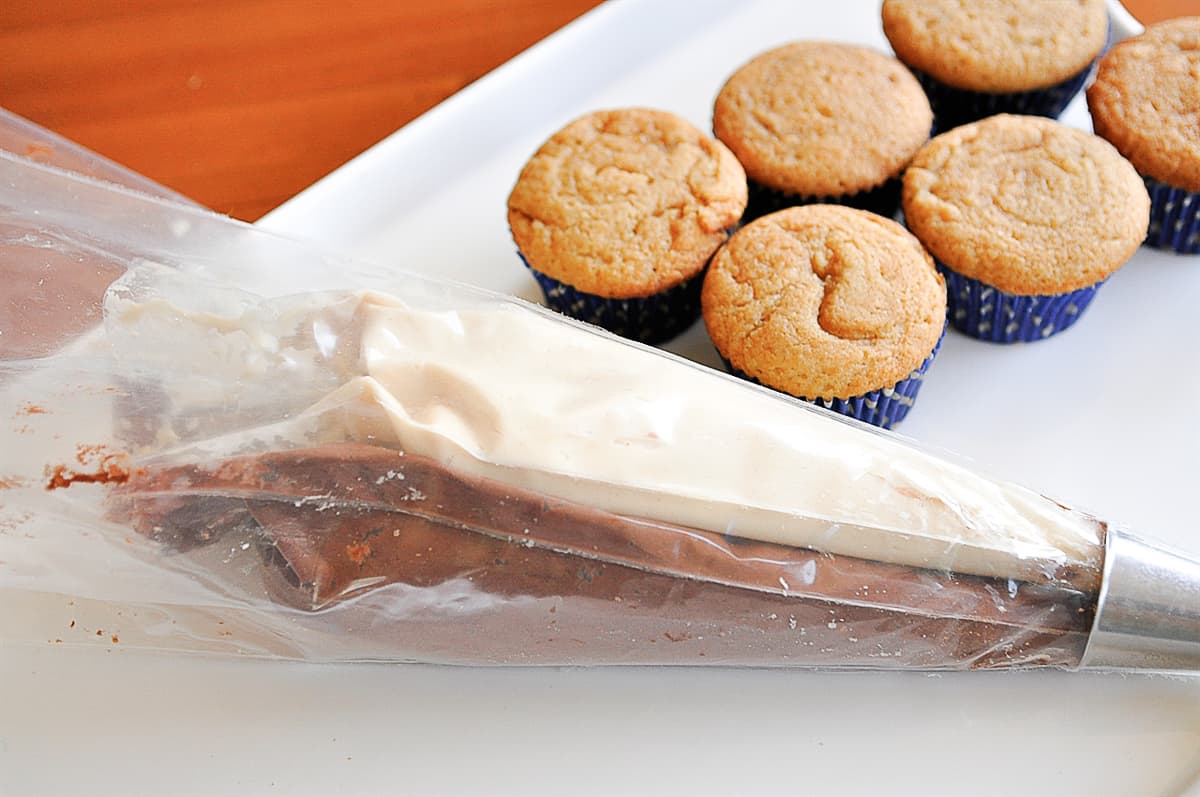
  • Place each frosting into its own individual plastic decorating bags.  (I used plastic disposable ones)
putting frosting into a bag
  • Place the two bags into one really big disposable decorating bag.
  • Attach a large round tip to the end of the outside bag.
frosting in a decorating bag

Can I Do This Without 3 Frosting Bags?

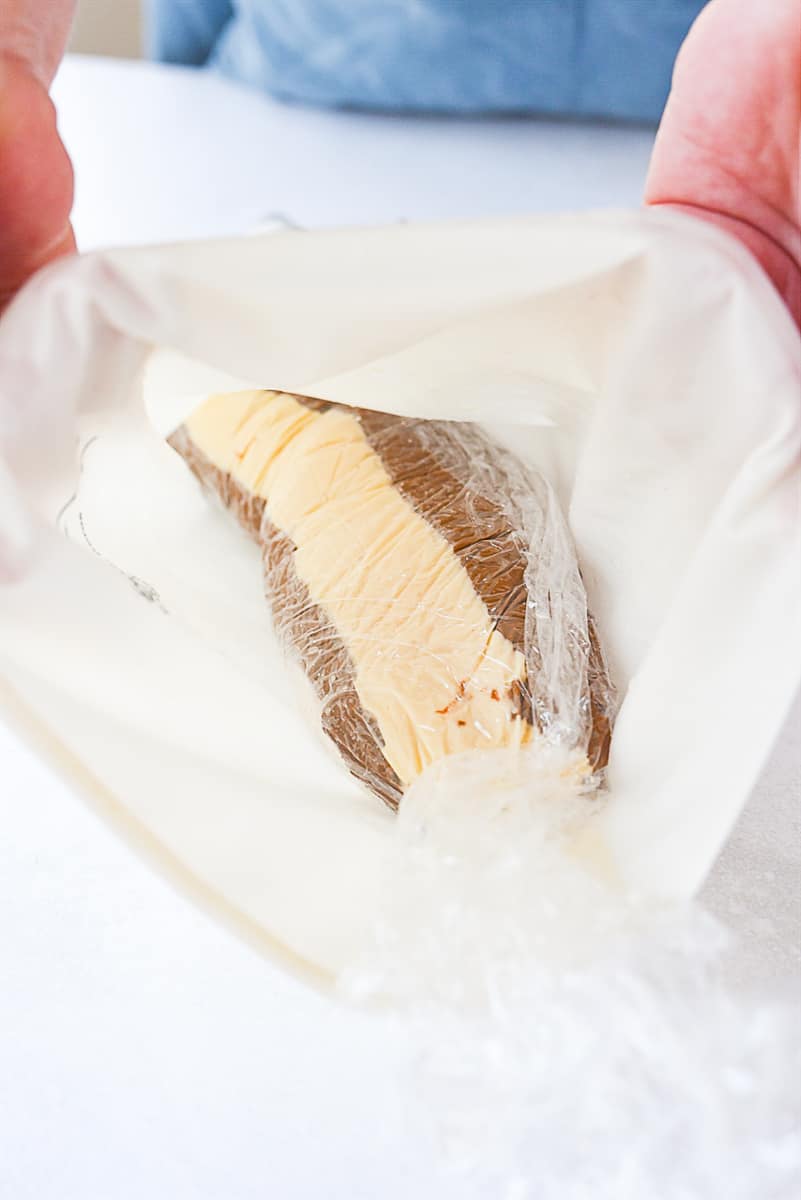
You can make your own frosting bag with some plastic wrap but you will need one large bag to put it into.

  • Lay a large piece on the counter and pipe or spread the frosting into log shapes onto the plastic.
piping frosting onto plastic wrap
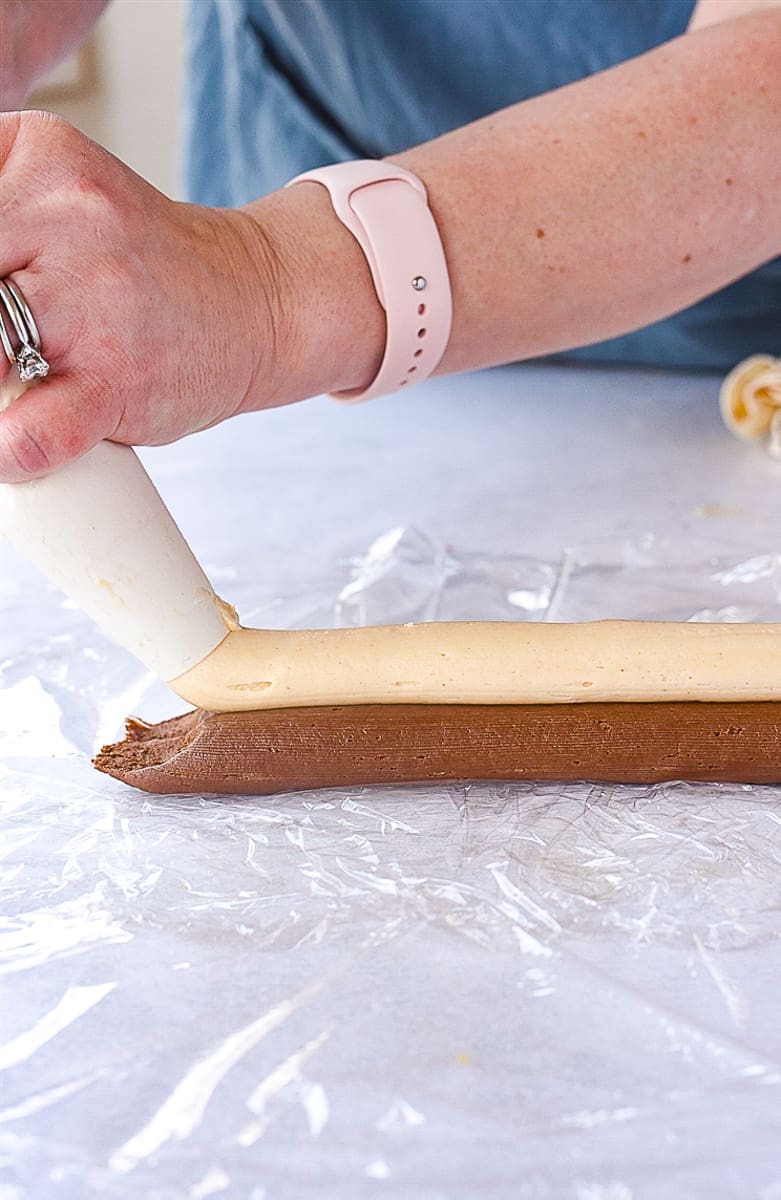
  • Roll up in plastic wrap and twist the wrap together at the end. Snip off the end creating a hole for the frosting to come out.
trim off tip of plastic
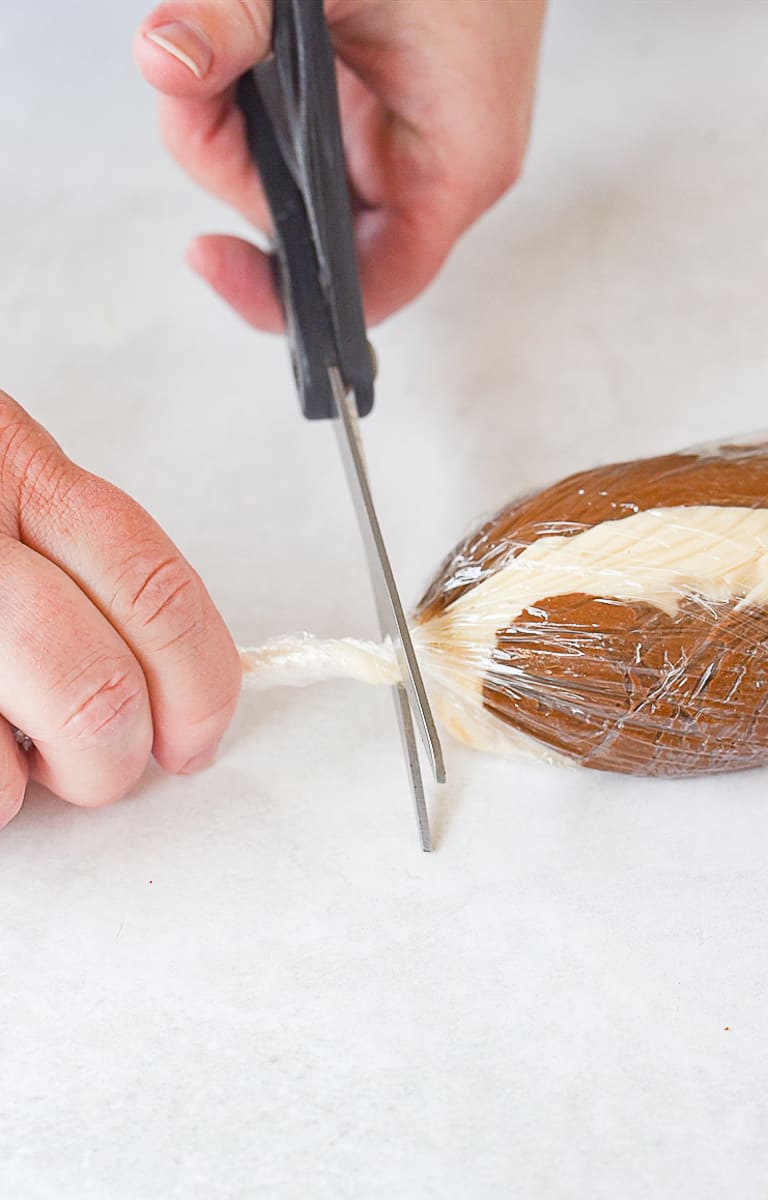
  • Attach large round tip to the end.
decorating tip on a bag of frosting
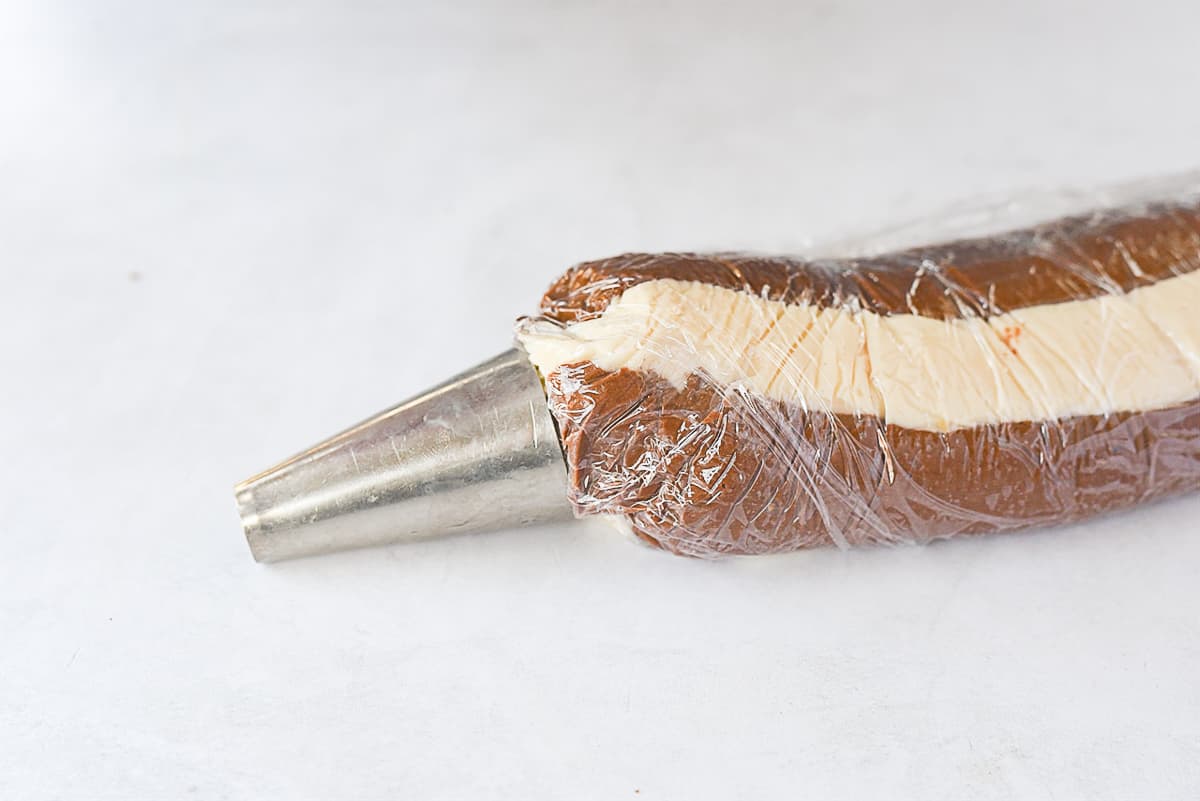
  • Insert frosting into a large decorating bag.
frosting in a decorating bag

How to Frost a Cupcake

  • Holding the bag upright start squeezing frosting onto the cupcake.
  • Move your tip in a circular movement.
frosting a cupcake
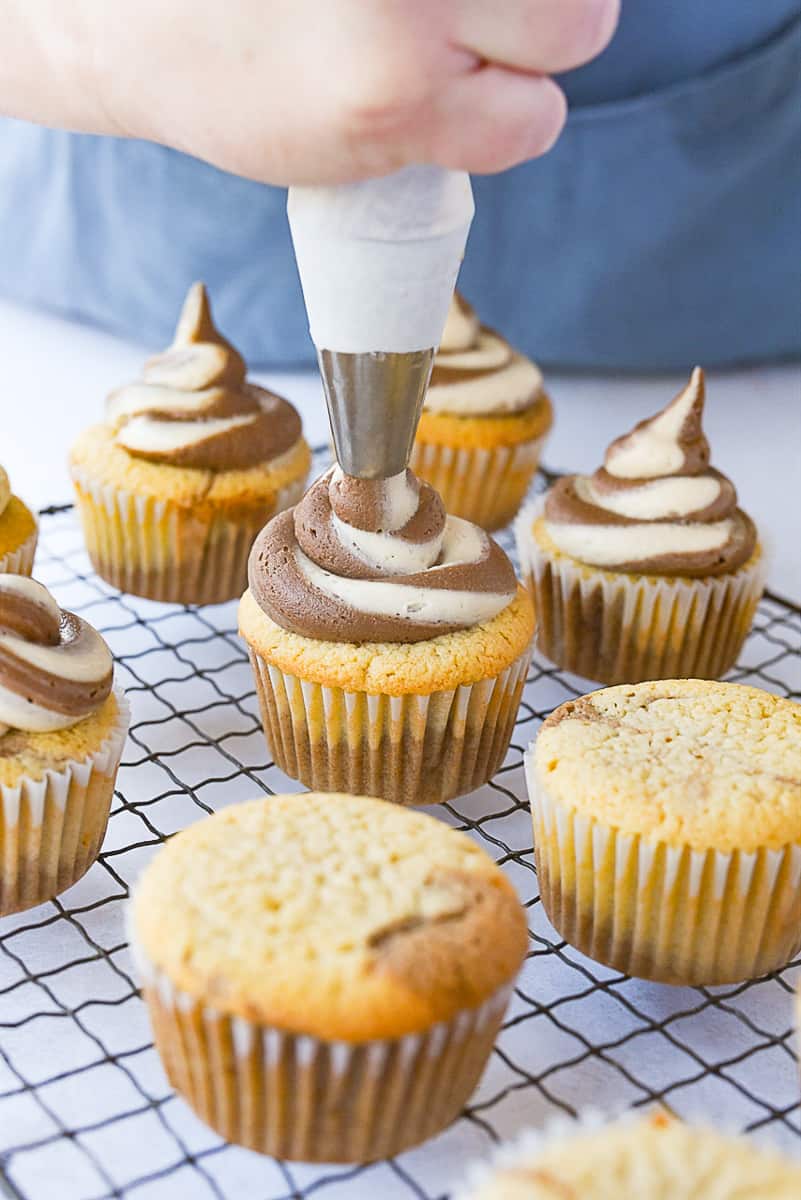
  • Keep squeezing until you get a nice little mountain of frosting.
  • Release pressure on the bag and lift your tip straight up.
overhead shot of frosted cupcake
  • Garnish the top of each cupcake with half of a miniature Reese’s Peanut Butter Cup if you want even more chocolaty peanut butter goodness.

The process looks a little complicated but is easier than it looks and the results look so amazing and complicated.

peanut butter cup on top of cupcake

Do I Need to Refrigerate Cream Cheese Frosting?

Yes, cream cheese frosting should be refrigerated. Store cupcakes in an airtight container, deep enough not to smash the frosting in the refrigerator for 4-5 days.

If you are fan of chocolate and peanut butter together you are going to love these cupcakes. 

peanut butter chocolate cupcake with the wrapper off

Be sure and follow me on YouTube for lots of recipe videos!

For all of my other favorite kitchen products and tools visit my Amazon Store. Did you know I wrote a cookbook?  Check out the Holiday Slow Cooker Cookbook for 100 delicious recipes.

Peanut Butter Chocolate Cupcakes

5 from 1 vote
peanut butter chocolate cupcakes on a cooling rack

Peanut Butter Chocolate Cupcakes

Recipe From: Leigh Anne Wilkes
Everyones favorite flavor combination, peanut butter and chocolate, in a delicious cupcake.
serves: 24 cupcakes
Prep:45 minutes
Cook:20 minutes
Cooling Time:15 minutes
Total:1 hour 20 minutes
Rate Recipe

Ingredients

  • 1/2 cup butter
  • 3 eggs
  • 2 1/2 cups flour
  • 2 1/2 tsp baking powder
  • 1/2 tsp salt
  • 1/3 cup creamy peanut butter
  • 1 cup packed brown sugar
  • 3/4 cup granulated sugar
  • 1 1/2 tsp vanilla
  • 1 cup milk
  • 4 oz. milk chocolate melted

Peanut Butter Frosting:

  • 8 oz. cream cheese softened to room temperature
  • 1/2 cup creamy peanut butter
  • 2 tsp vanilla
  • 6 cups powdered sugar
  • 2-4 tsp milk

Chocolate Frosting:

  • 1/2 peanut butter frosting
  • 1/2 cup cocoa or more to desired taste
  • Beat until well combined.

Instructions

  • Bring butter and eggs to room temperature
  • In a bowl mix together the flour, baking powder and salt
  • Preheat oven to 375 degrees
  • In a large bowl beat butter for about 30 seconds and then add in peanut butter until well combined Add in brown sugar and granulated sugar, about 1/4 cup at a time
  • Beat on medium speed until mixed together well
  • Scraping sides of bowl beat for an additional 2 minutes or until fluffy
  • Add in eggs, beating well after each one
  • Add in vanilla
  • Add in flour and milk alternating, beat on low speed after each addition
  • Put half of batter into another bowl, add in melted chocolate
  • Beat on low until well combined
  • Fill lined muffin cups with half peanut butter batter and half chocolate batter
  • Fill cup about 2/3 full, 1/3 full of each flavor.
  • Use a knife to swirl the batter in each cup
  • Bake for 15-18 minutes or until a toothpick comes out clean
  • Cool cupcakes before frosting

Peanut Butter Frosting:

  • Beat cream cheese, peanut butter and vanilla until light and fluffy
  • Gradually add in powdered sugar
  • Add milk, 1 tsp at a time until desired consistency
  • Divide into two portions
  • Set aside one for the Chocolate Frosting

Chocolate Frosting:

  • Mix until well combined
  • Fill decorating bags with each frosting
  • Put both bags into one large bag and add desired tip
  • Pipe onto cupcakes

Recommended Products

Muffin Pan
Decorating Bag
Large Round Tip

Nutrition Facts:

Calories: 386kcal (19%) Carbohydrates: 62g (21%) Protein: 6g (12%) Fat: 14g (22%) Saturated Fat: 7g (44%) Polyunsaturated Fat: 2g Monounsaturated Fat: 5g Trans Fat: 1g Cholesterol: 42mg (14%) Sodium: 171mg (7%) Potassium: 205mg (6%) Fiber: 2g (8%) Sugar: 49g (54%) Vitamin A: 292IU (6%) Calcium: 61mg (6%) Iron: 1mg (6%)
* Disclaimer: All nutrition information are estimates only. Read full disclosure here.
Course:Dessert
Cuisine:American
peanut butter chocolate cupcakes on a cooling rack
Did you make this?I love seeing what you made. Be sure to share a picture and tag @yourhomebasedmom on social media!
Tag on Insta! Leave a Rating
cupcakes on a cooling rack
Previous Post
Slow Cooker Tri Tip
Next Post
Flatbread Pizza

Reader Interactions

Leave a Review Cancel reply

Your email address will not be published. Required fields are marked *

Made this? Rate this recipe:


  1. Tiffiny Nguyen says

    Posted on 7/17 at 4:36 am

    I made these and they were gone in no time. What makes them really stand out from others is the unique way of decorating them. Folks are amazed, but it is so easy! Definitely making them again. Yummy!

    Reply
    • Leigh Anne says

      Posted on 7/17 at 7:14 am

      So glad everyone enjoyed them. I love that frosting technique!

      Reply
  2. Donna says

    Posted on 4/8 at 8:25 am

    Love this! Question, how does the tip stay on outside of the bag? I must admit, I am a newbie =)

    Reply
    • Leigh Anne says

      Posted on 4/8 at 9:35 am

      Donna, It does stay on, it is a pretty tight fit with the two bags in the tip.

      Reply
Older Comments

Primary Sidebar

Seasonal Posts

cheesy potatoes in a casserole dish

Cheesy Potatoes

four deviled eggs

Easy Deviled Eggs

broccoli crunch salad in a bowl

Broccoli Crunch Salad

Overnight Bacon Casserole

Most Popular Posts

chicken cooked in the microwave

How to Cook Chicken in the Microwave

Crock Pot 5 ingredient Pork Roast sliced

Crock Pot Pork Roast

baked riblets

Easy Oven Baked Riblets

Herb Rice

Opens in a new window Opens an external site Opens an external site in a new window

Trending Now

overhead shot of cinnamon rolls

One Hour Cinnamon Rolls

plate of smashed potatoes and a fork

Crispy Smashed Potatoes

overhead shot of bowl of almond chicken

Almond Chicken

baked riblets

Easy Oven Baked Riblets

No knead bread in a pan

Instant Pot Bread

Tomato tart pieces

Easy Tomato Tart

spoon full of mac and cheese

Crock Pot Mac and Cheese

Almond Torte

  • Crock Pot
  • Instant Pot
  • Chicken
  • Breakfast
  • Appetizers
  • Bread
  • Salad
  • Dessert

Order my Cookbook, Holiday Slow Cooker!

Buy Now!
Back to Top
  • About
  • Privacy Policy
  • Disclosure
  • Contact
© 2013–2023 Leigh Anne Wilkes Site Credits Designed by Melissa Rose Design Developed by Once Coupled