This post may contain affiliate links. Please see disclosure policy here.
With the holidays coming it’s time to start planning that holiday menu and at our house, homemade dinner rolls are always at the top of the list.
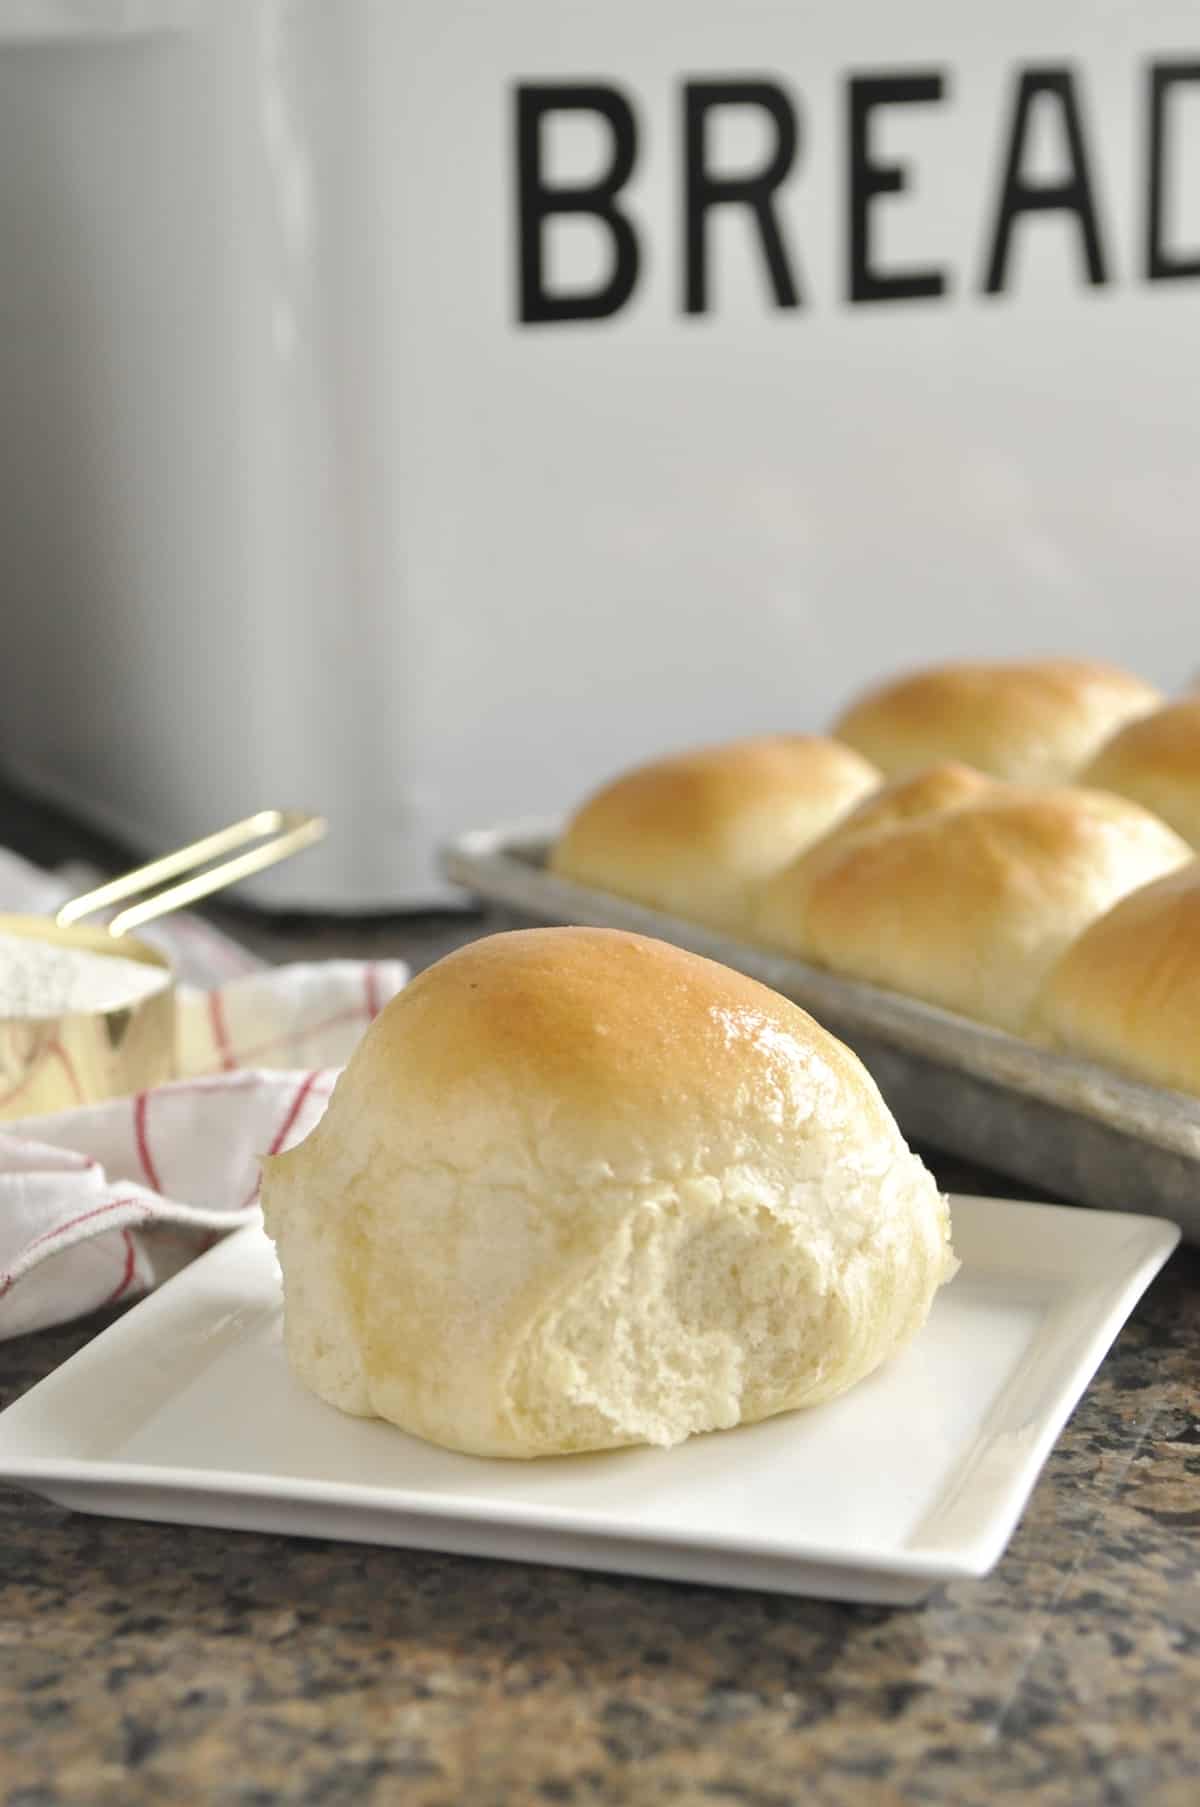
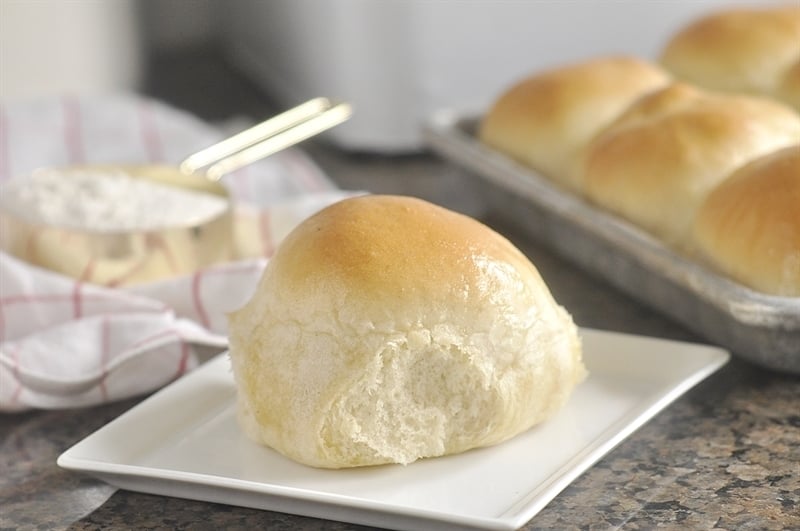
Thanksgiving is in just a few days, do you have your menu all figured out? I texted my kids a list of everything that was on our menu and I immediately got a text back asking, what about the dinner rolls? Homemade rolls are required at our house. I know for a lot of people, working with yeast can be a scary thing. I had so many questions about it, I actually wrote a whole post on how to work with yeast. You can find it here. It’s actually a lot easier than you may think and the results are so worth it. For me, nothing beats a homemade, freshly baked loaf of bread or pan of rolls!
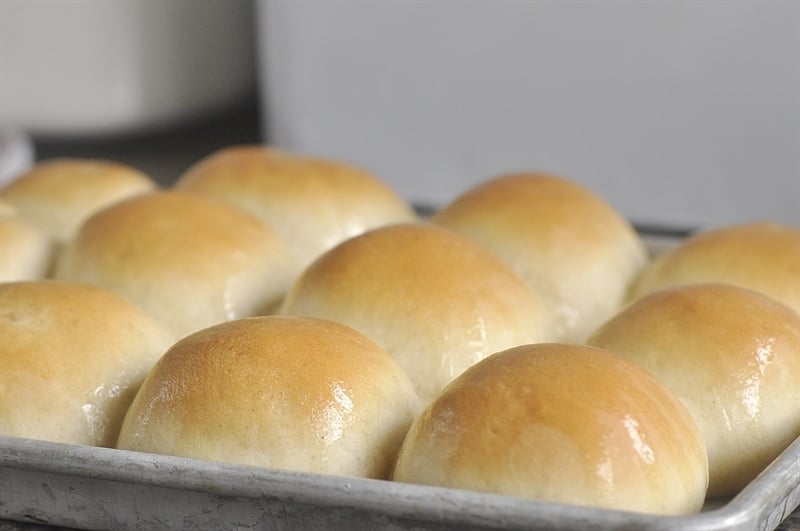
The perfect dinner roll is light, soft, tender and warm. Now you can get light and soft rolls at the bakery but getting them warm, fresh out of the oven just doesn’t happen unless you make them at home!
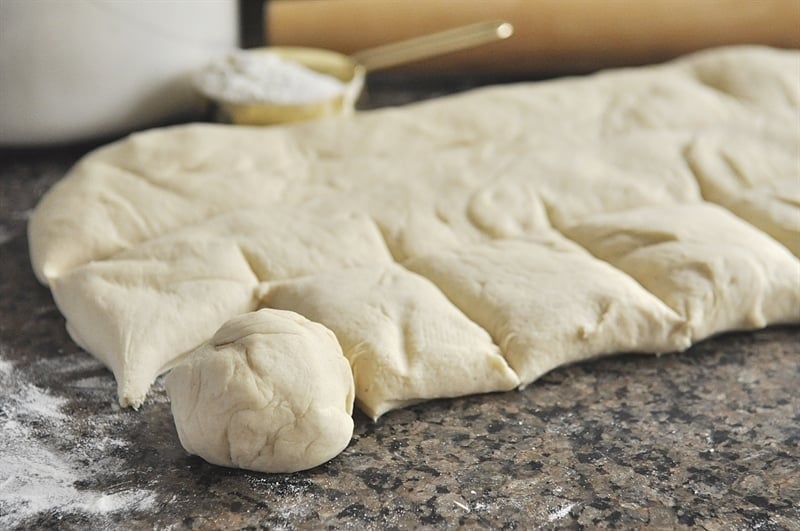
Making your own dinner rolls does take a little time but the results are so worth it. After your dough has risen the first time just roll it out into a rectangle and cut it into 24 squares. Roll each square of dough into a ball and place on a greased cookie sheet to rise a second time.
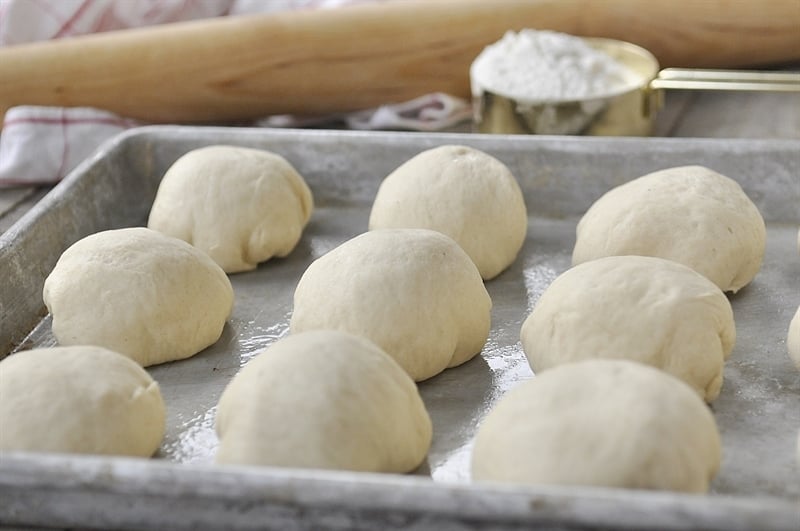
Find a nice warm spot in your house to let the rolls rise. I like to preheat my oven to 200 degrees F and then turn it off. I place the rolls in the warm oven to rise, especially if I am in a hurry. Spray a piece of plastic wrap with cooking spray and place it over the top of the rolls while they raise.
Then all you have to do is bake them until they are golden brown and enjoy! I also like to brush some melted butter over the top of them when they come out of the oven. It makes them looks pretty plus a little butter is never a bad thing. I can never resist eating at least one, straight out of the oven! Add some more butter and I’m pretty much in heaven.
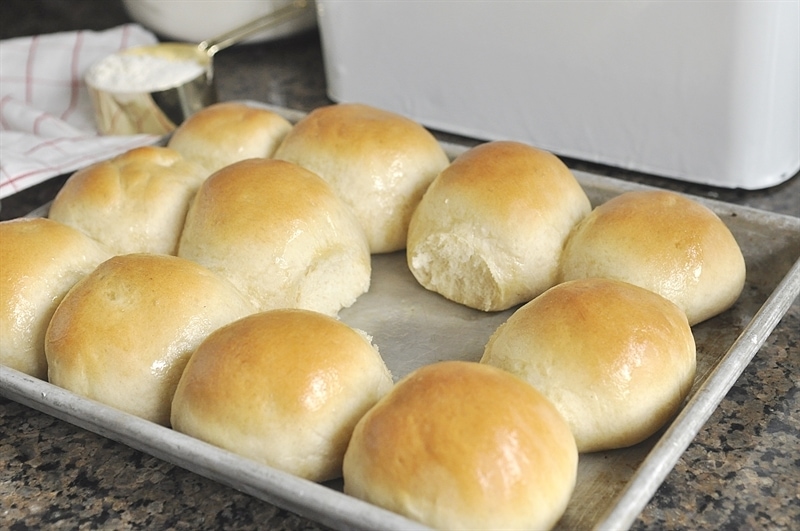
Be sure and add these Perfect Dinner Rolls to your upcoming holiday menus!
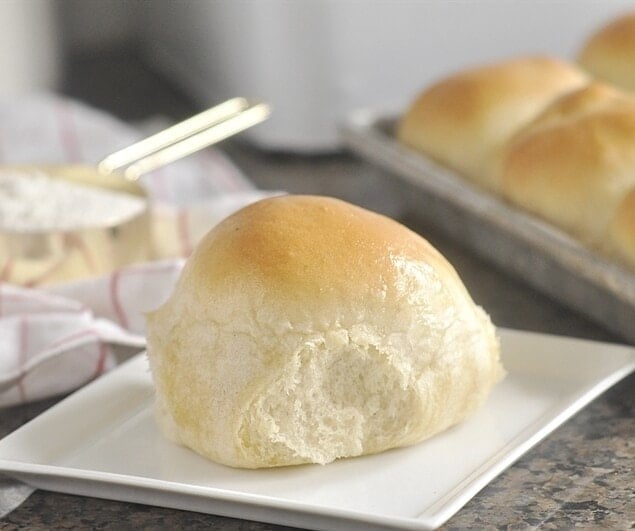
Dinner Rolls
Ingredients
- 1/2 cup lukewarm water
- 2 cups warm milk 100-110 degrees F
- 3 Tbsp butter
- 2 Tbsp sugar divided
- 1 Tbsp salt
- 2 1/2 Tbsp yeast dry active
- 6-7 cups of unbleached all purpose flour
- melted butter for garnish
Instructions
- Add yeast into warm water along with 1 tsp of the sugar. Stir to combine and allow to sit for 6-8 minutes or until foamy.
- Mix together milk, butter, remaining sugar, salt and yeast mixture.
- Add in 5 cups of flour and mix until dough forms with the paddle attachment on a stand mixer or by hand. Continue adding flour, 1/2 cup at a time until the dough becomes smooth and a ball forms.
- Dough will be slightly tacky.
- Spray a large bowl with cooking spray and place dough in the bowl. Cover and allow to rise until double in size (30 minutes or so depending on room temperature)
- Pressh dough down and roll into a 8 x 12 rectangle. Cut the dough into 4 strips the long way and then each strip into 6 pieces for a total of 24 pieces.
- Roll each piece of dough into a ball and place on a greased baking sheet.
- Cover with plastic wrap and let rise at room temperature for 20-25 minutes.
- Preheat oven to 350 degrees F.
- Bake the rolls for 20-25 minutes or until golden brown.
- Brush the baked rolls with melted butter if desired. Serve warm.
Donn Mc Donald says
I haven’t tried this YET but I have people coming over so I will try to follow the instructions. And thank you THEY look wonderful
Cyndii Pauls says
Thank you! So easy! Turned out great on the first attempt.
Mellissa says
These rolls look amazing! At what point would these be best to put in the fridge for baking the next day?
Leigh Anne says
before the second rise. enjoy!
Beth says
Do you really add a tablespoon of salt to your yeast rolls
Leigh Anne says
Yes, the recipe is correct. There is 6-7 cups of flour in the recipe so 1 Tbsp is not too much.