This post may contain affiliate links. Please see disclosure policy here.
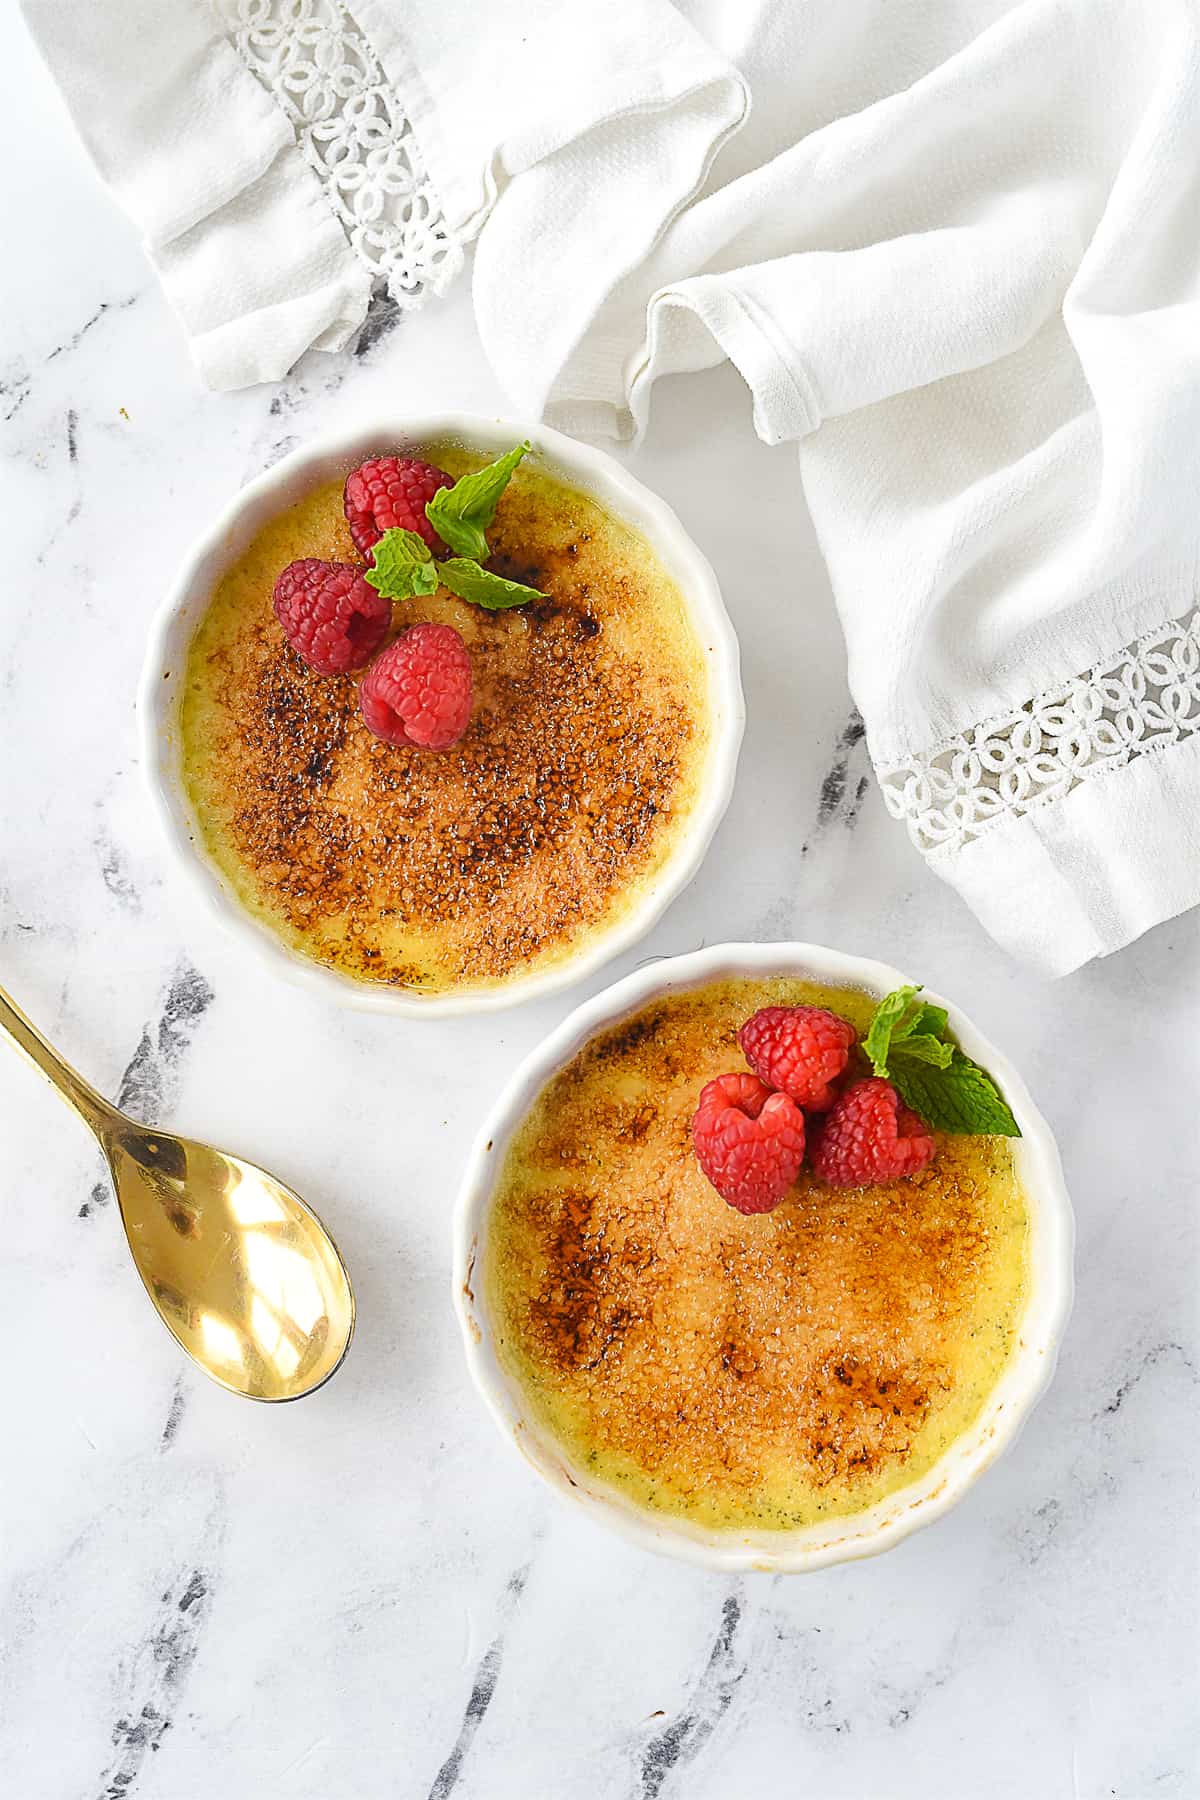
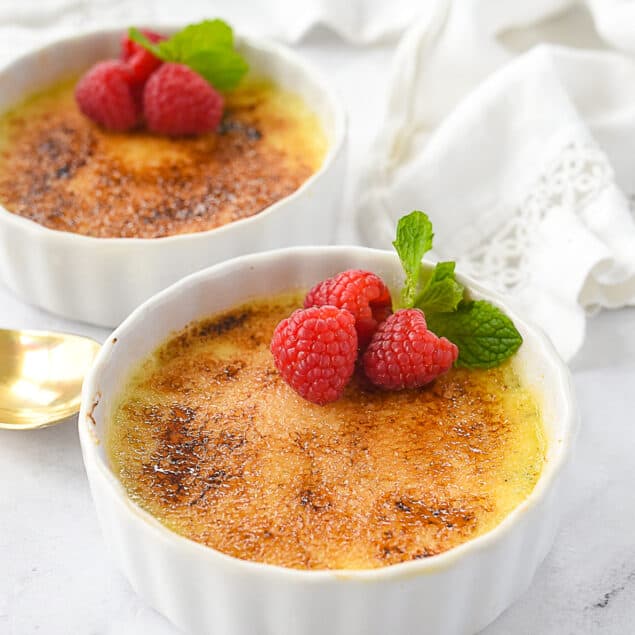
Creme Brulee looks fancy, tastes delicious and is easy to make at home. It is guaranteed to impress your guests.
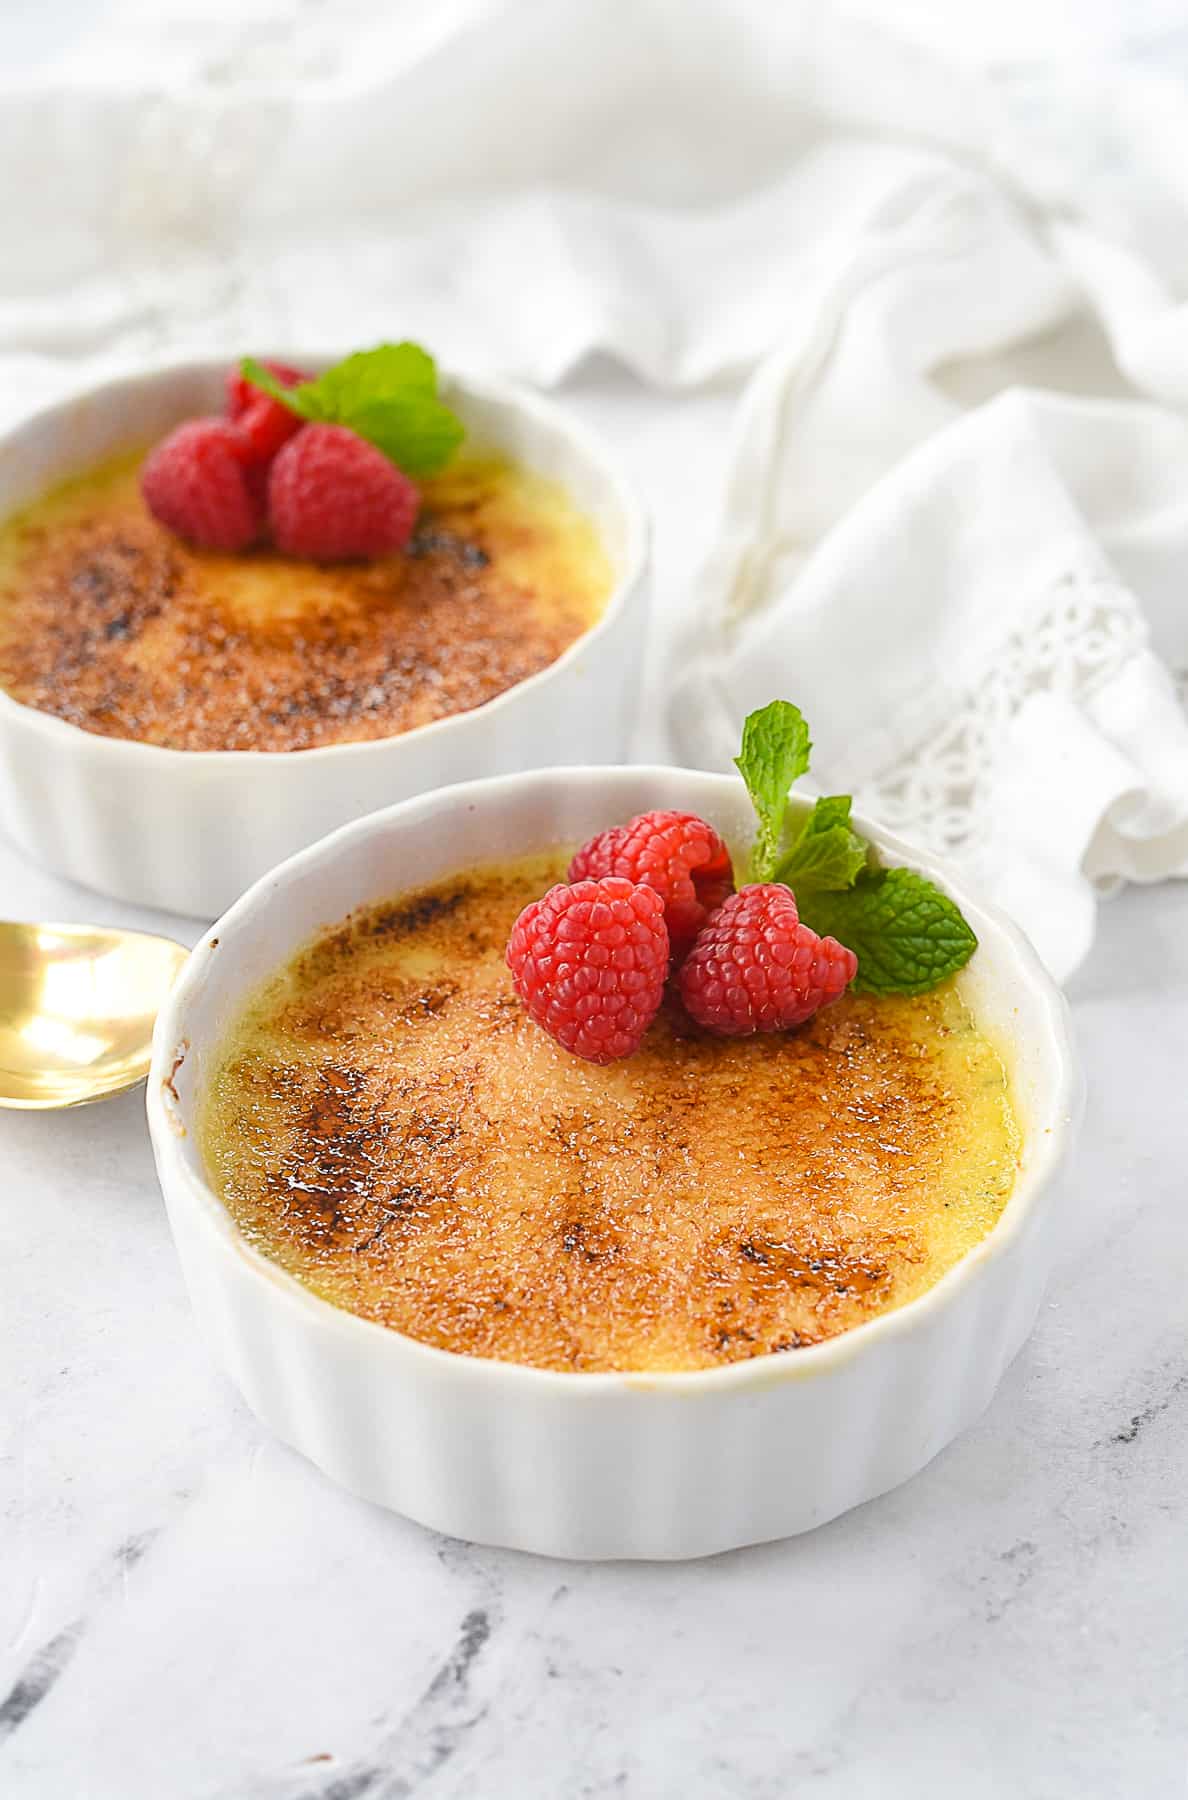
Why You’ll Love This Recipe!
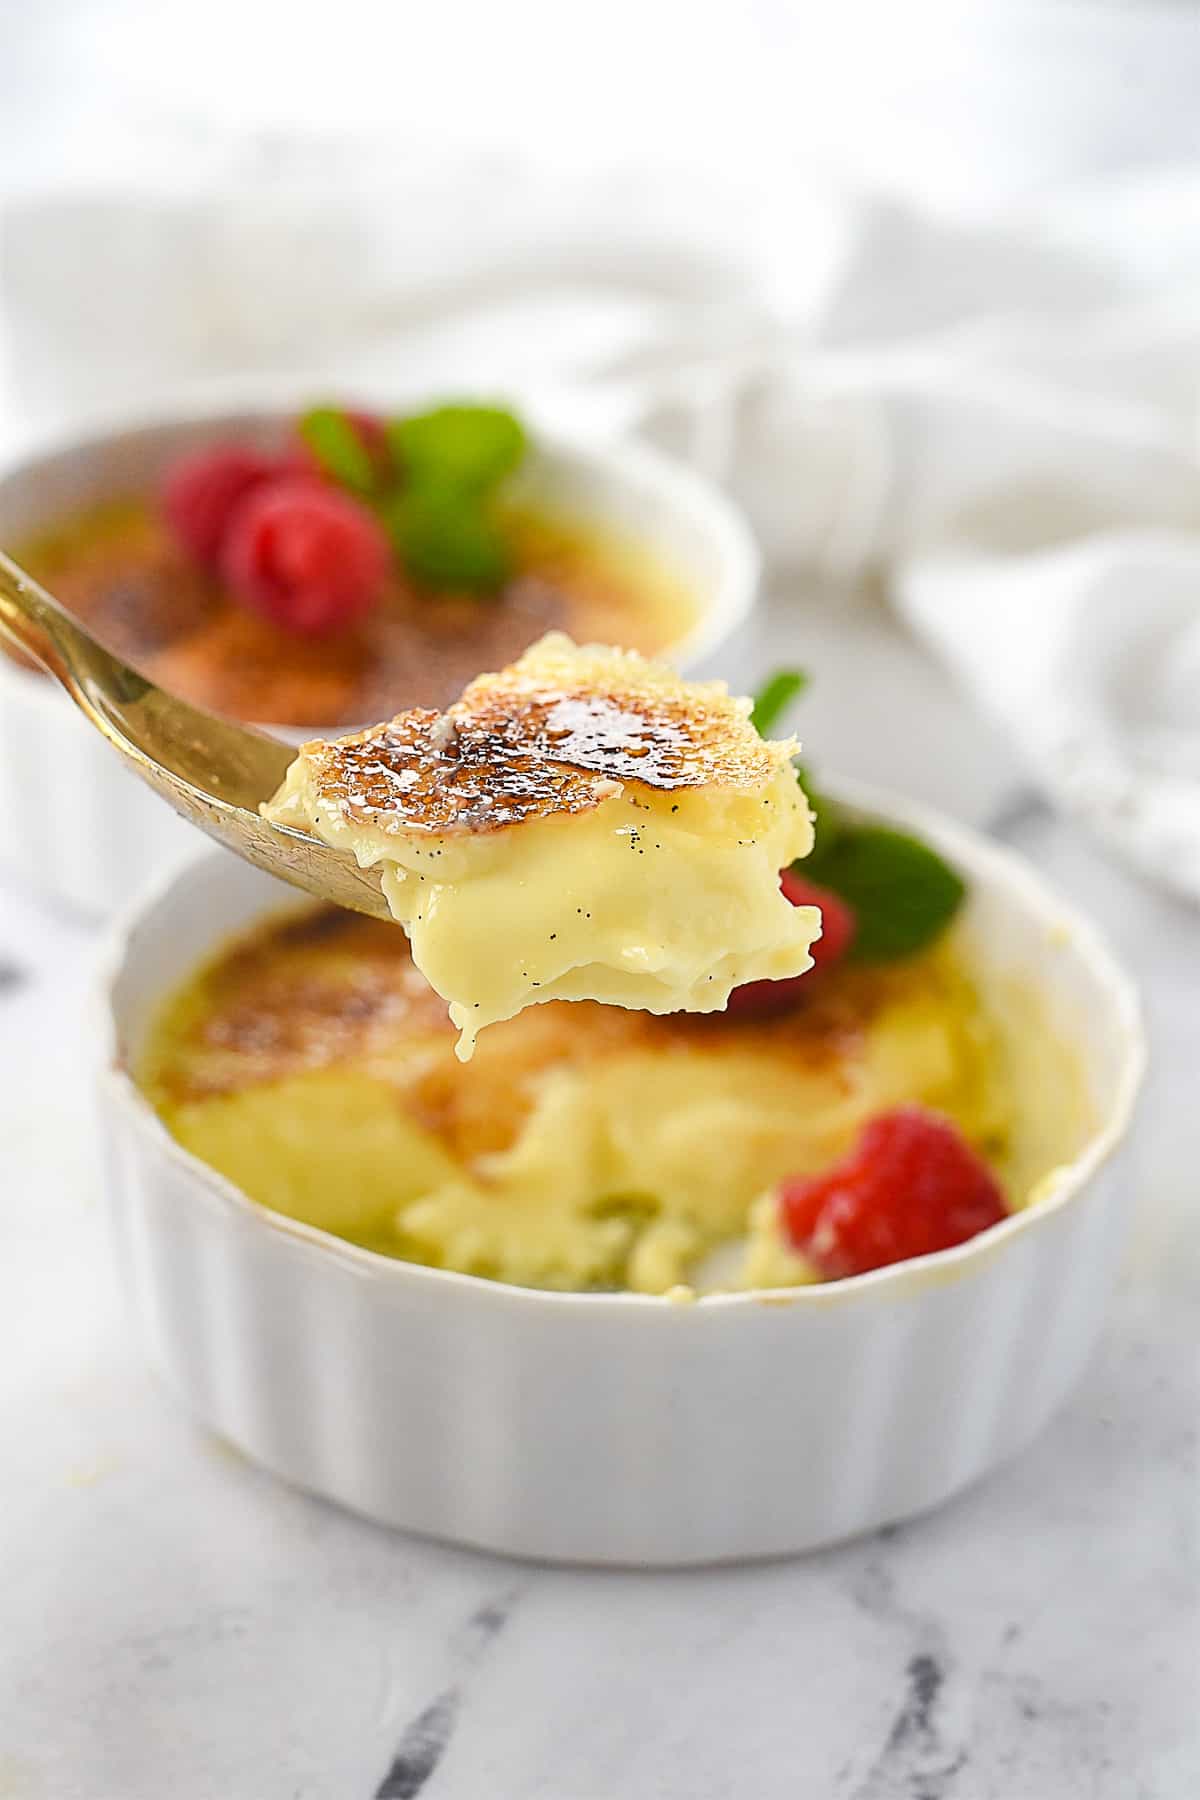
It’s delicious! Creme brulee is one of my favorite all time desserts. If I am ever at a restaurant that has it on the menu you can be guaranteed I am going to order it. The crunchy topping and custard base is the perfect combination of
It looks fancy but it’s easy to make. You just need to plan ahead a bit because it is best made the day before and kept refrigerated until ready to serve. You will add the crunchy sugar topping right before serving. It only requires four ingredients which makes it even easier.
It is the perfect amount for two people but you can easily double or triple it depending on how many people you need to serve. It’s perfect for a romantic Valentine’s Day treat.
What is Crème Brûlée Made Of?
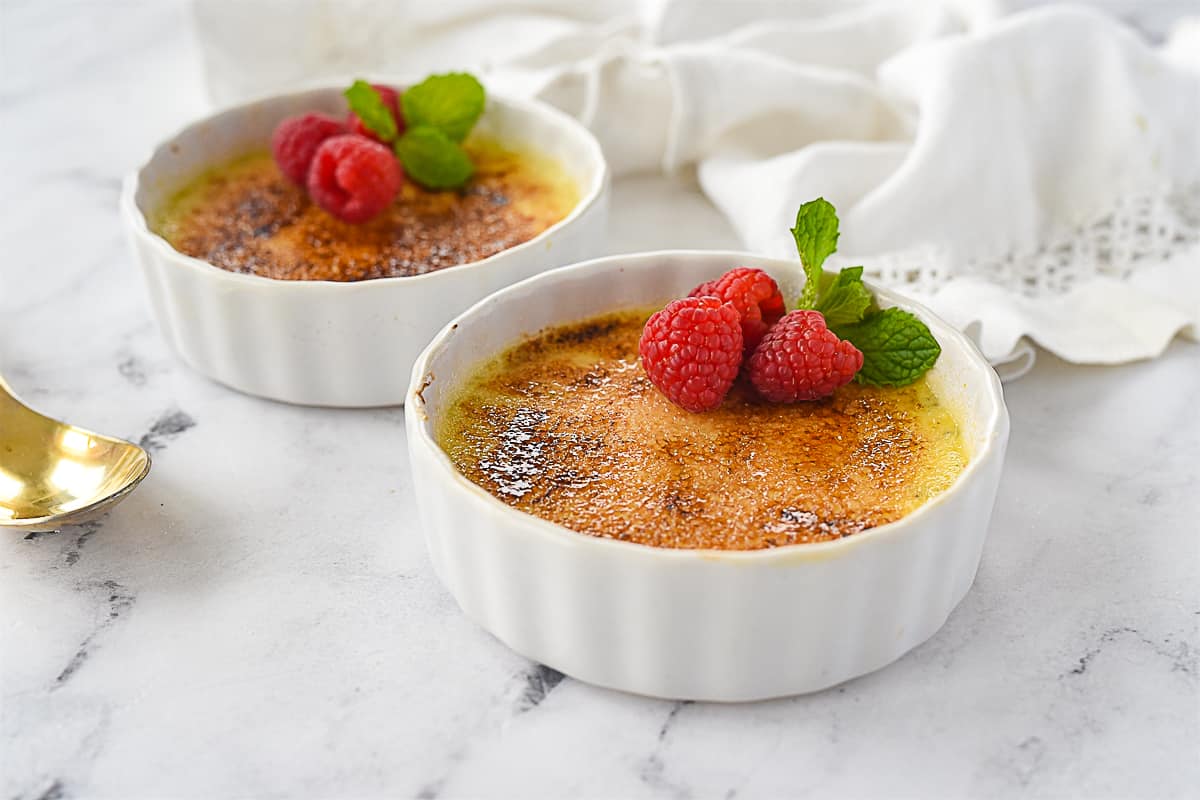
Creme brulee means burnt cream in French. The dessert is a rich custard made with sugar, eggs, whipping cream, vanilla and a pinch of salt. It is topped with a layer of hardened caramelized sugar on top. The custard is traditionally flavored with vanilla but other flavorings can be used. The dessert only requires 5 ingredients.
Ingredients Needed
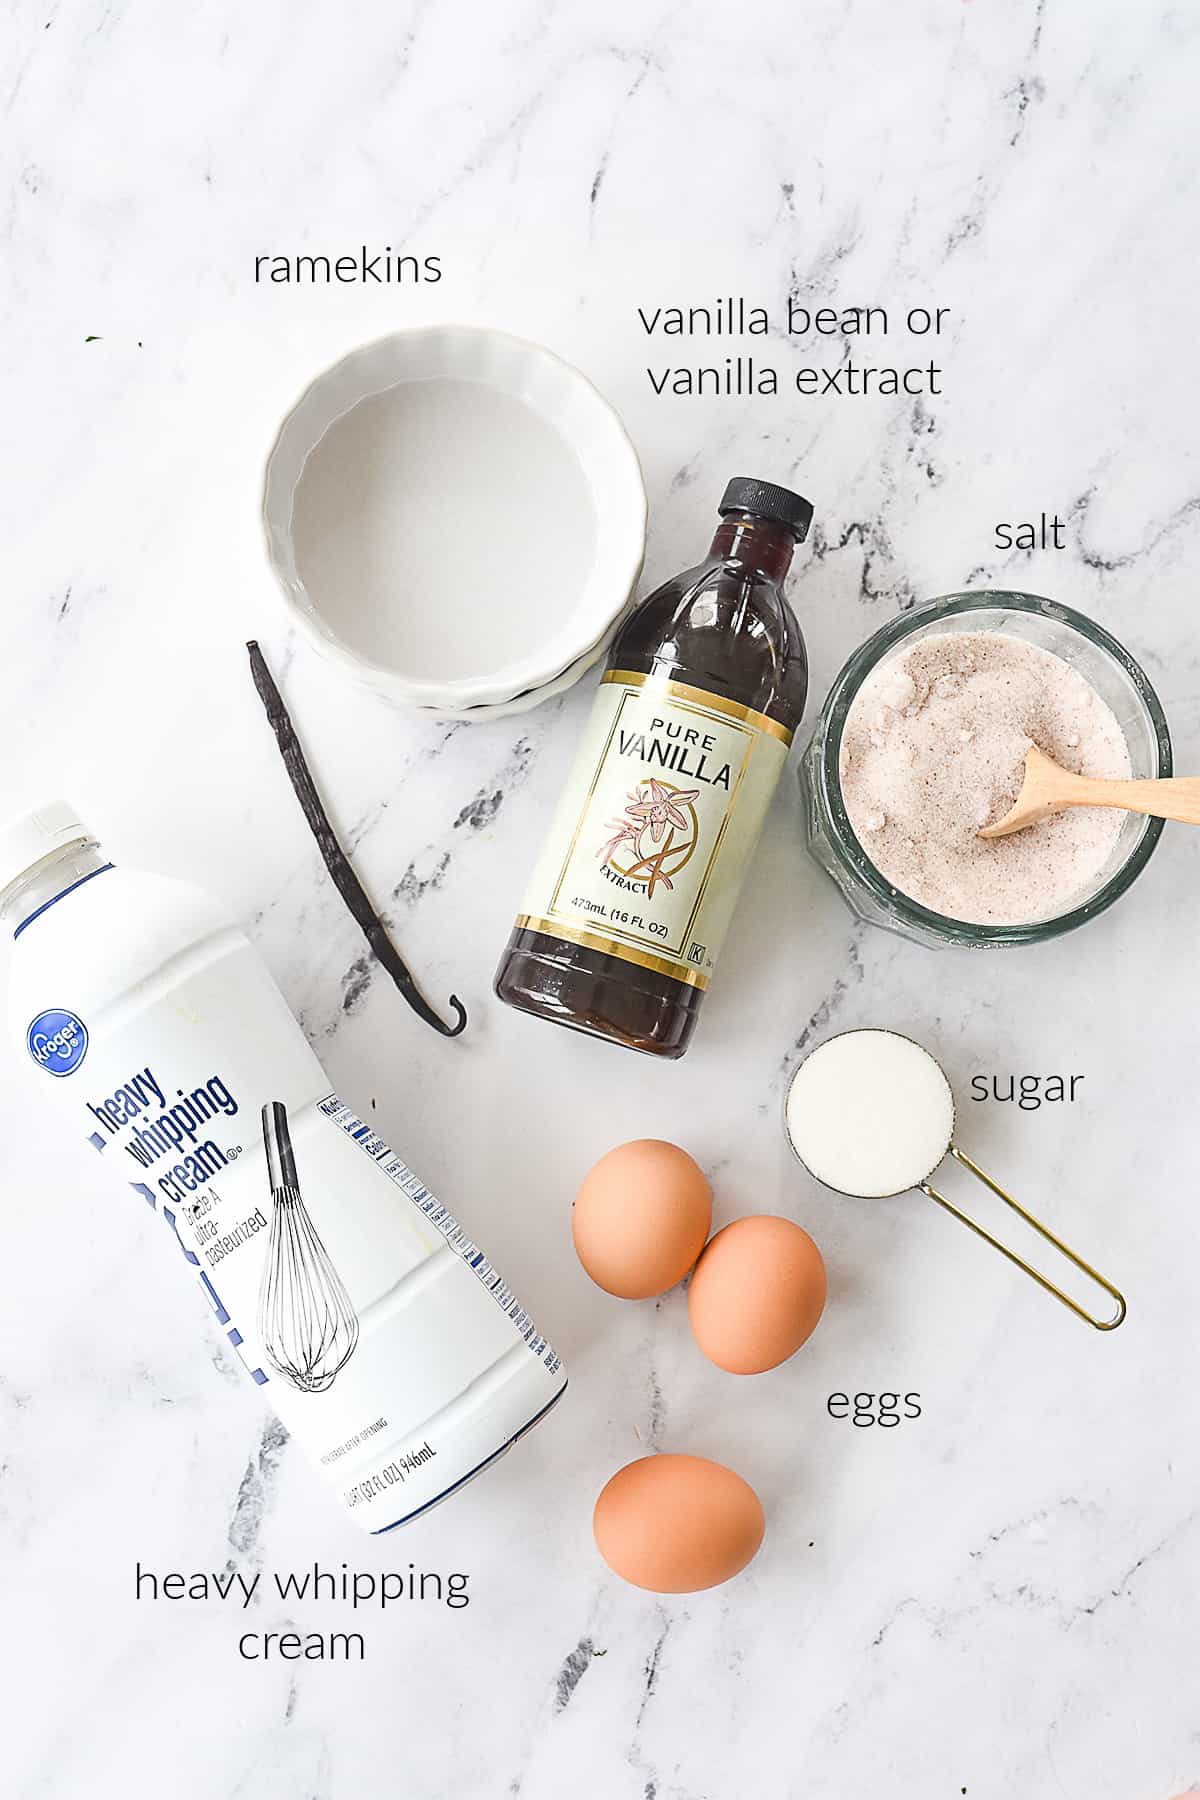
- Heavy Whipping Cream. Don’t cheat on this one, use heavy whipping cream. You need to the fat content to make a creamy creme brulee.
- Sugar
- Eggs. I use large eggs, if using extra large eggs, only use 2 egg yoks.
- Vanilla. I have made it with pure vanilla extract, vanilla paste and vanilla bean. All three are delicious but my favorite is vanilla bean but they are expensive and can be hard to find.
- Salt. I use sea salt, you only need a pinch.
What size Ramekin do I use?
I use a 8 oz. round fluted ramekin. If you are using a smaller, deeper ramekin your bake time may vary. The shape and size of your dish will effect both the baking time and the amount of sugar you need on top. A lower and wider ramekin will take less time than a taller ramekin, but it will need more sugar sprinkled on top. I have made it various size ramekins and much prefer the 8 oz. round fluted ramekin.
How to make Creme Brulee
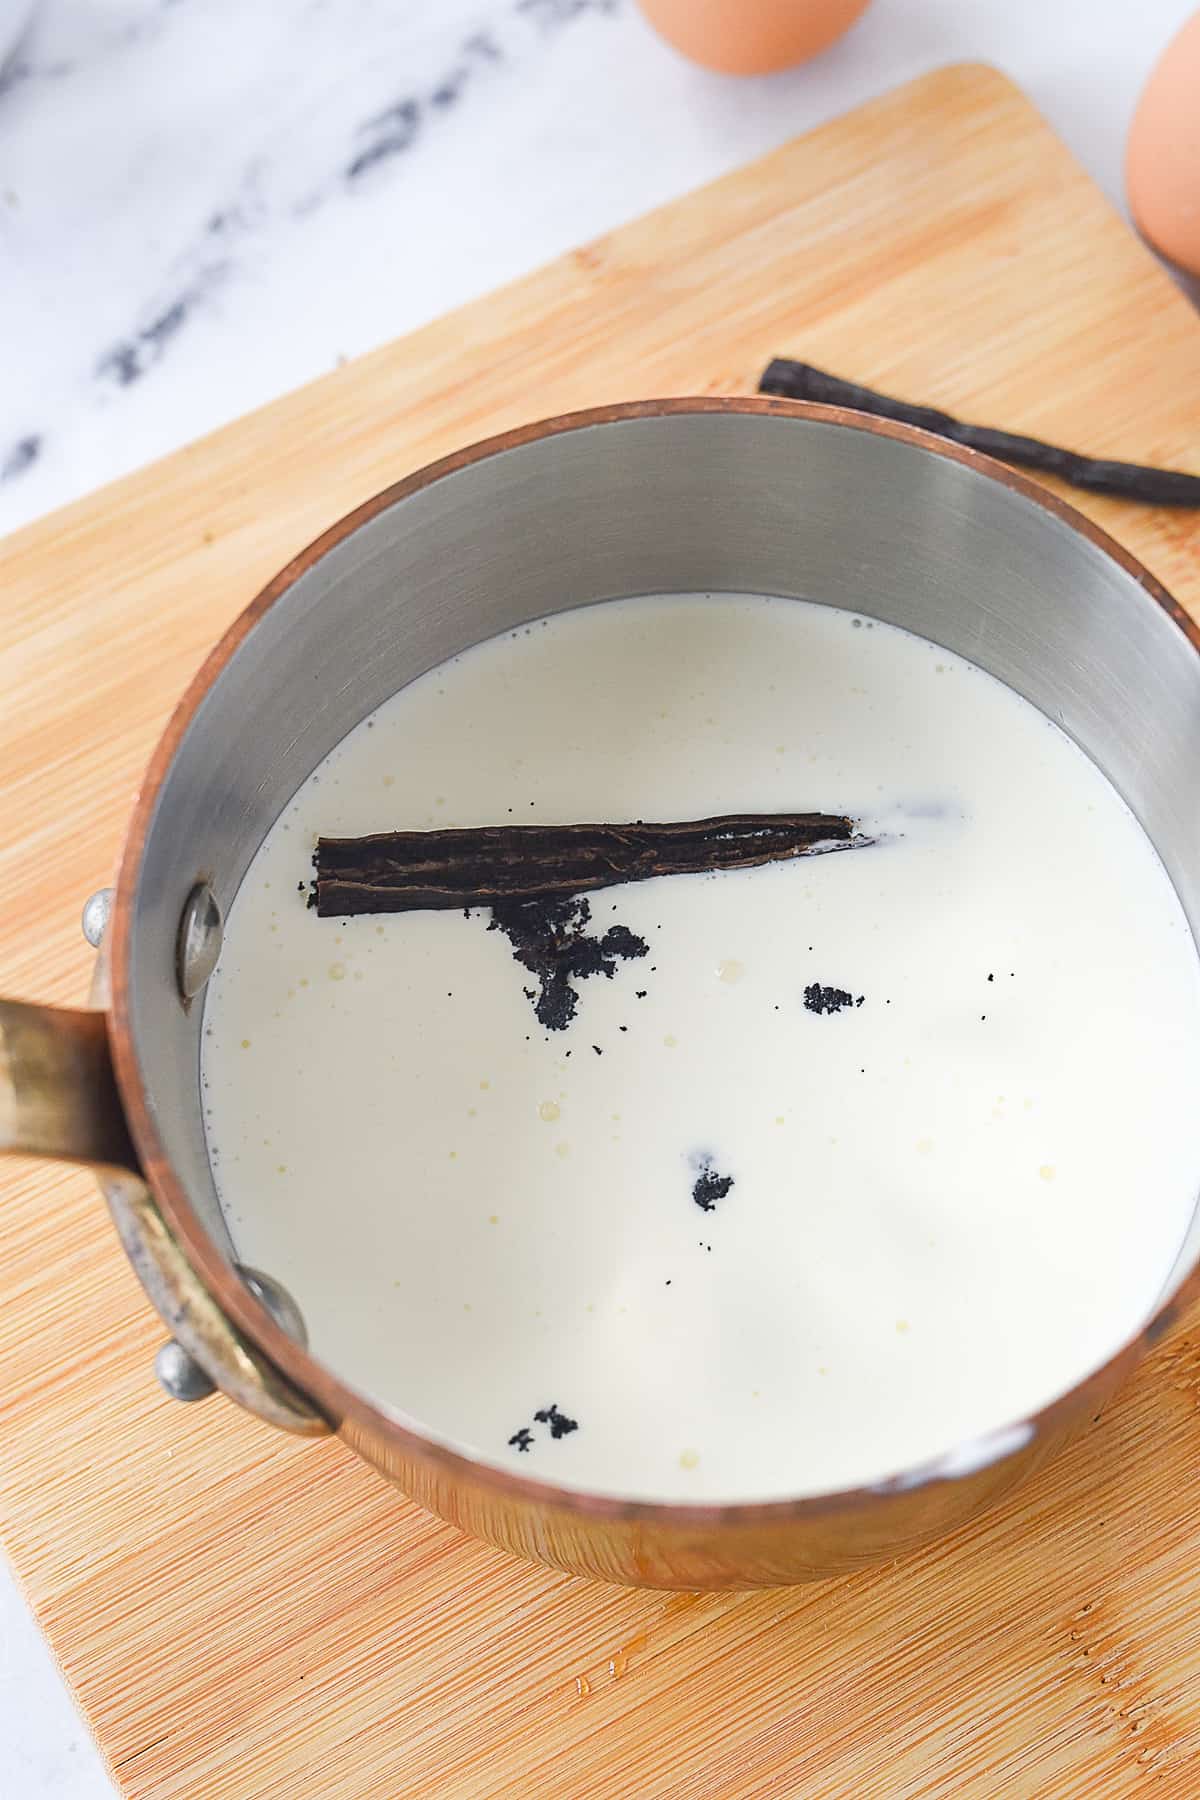
- Combine heavy cream and vanilla bean in a small sauce pan, including the pod. If you are using vanilla extract or vanilla paste DO NOT add it now.
- Heat until bubbles begin to form around the edge. DO NOT allow it to boil.
- Remove from stove and allow it to sit for 10 minutes. Remove the pod from the cream and discard.
- Whisk egg yolks, sugar, salt in a bowl and add vanilla extract or paste (if using).
- Beat together until egg turns a lighter, pale yellow.
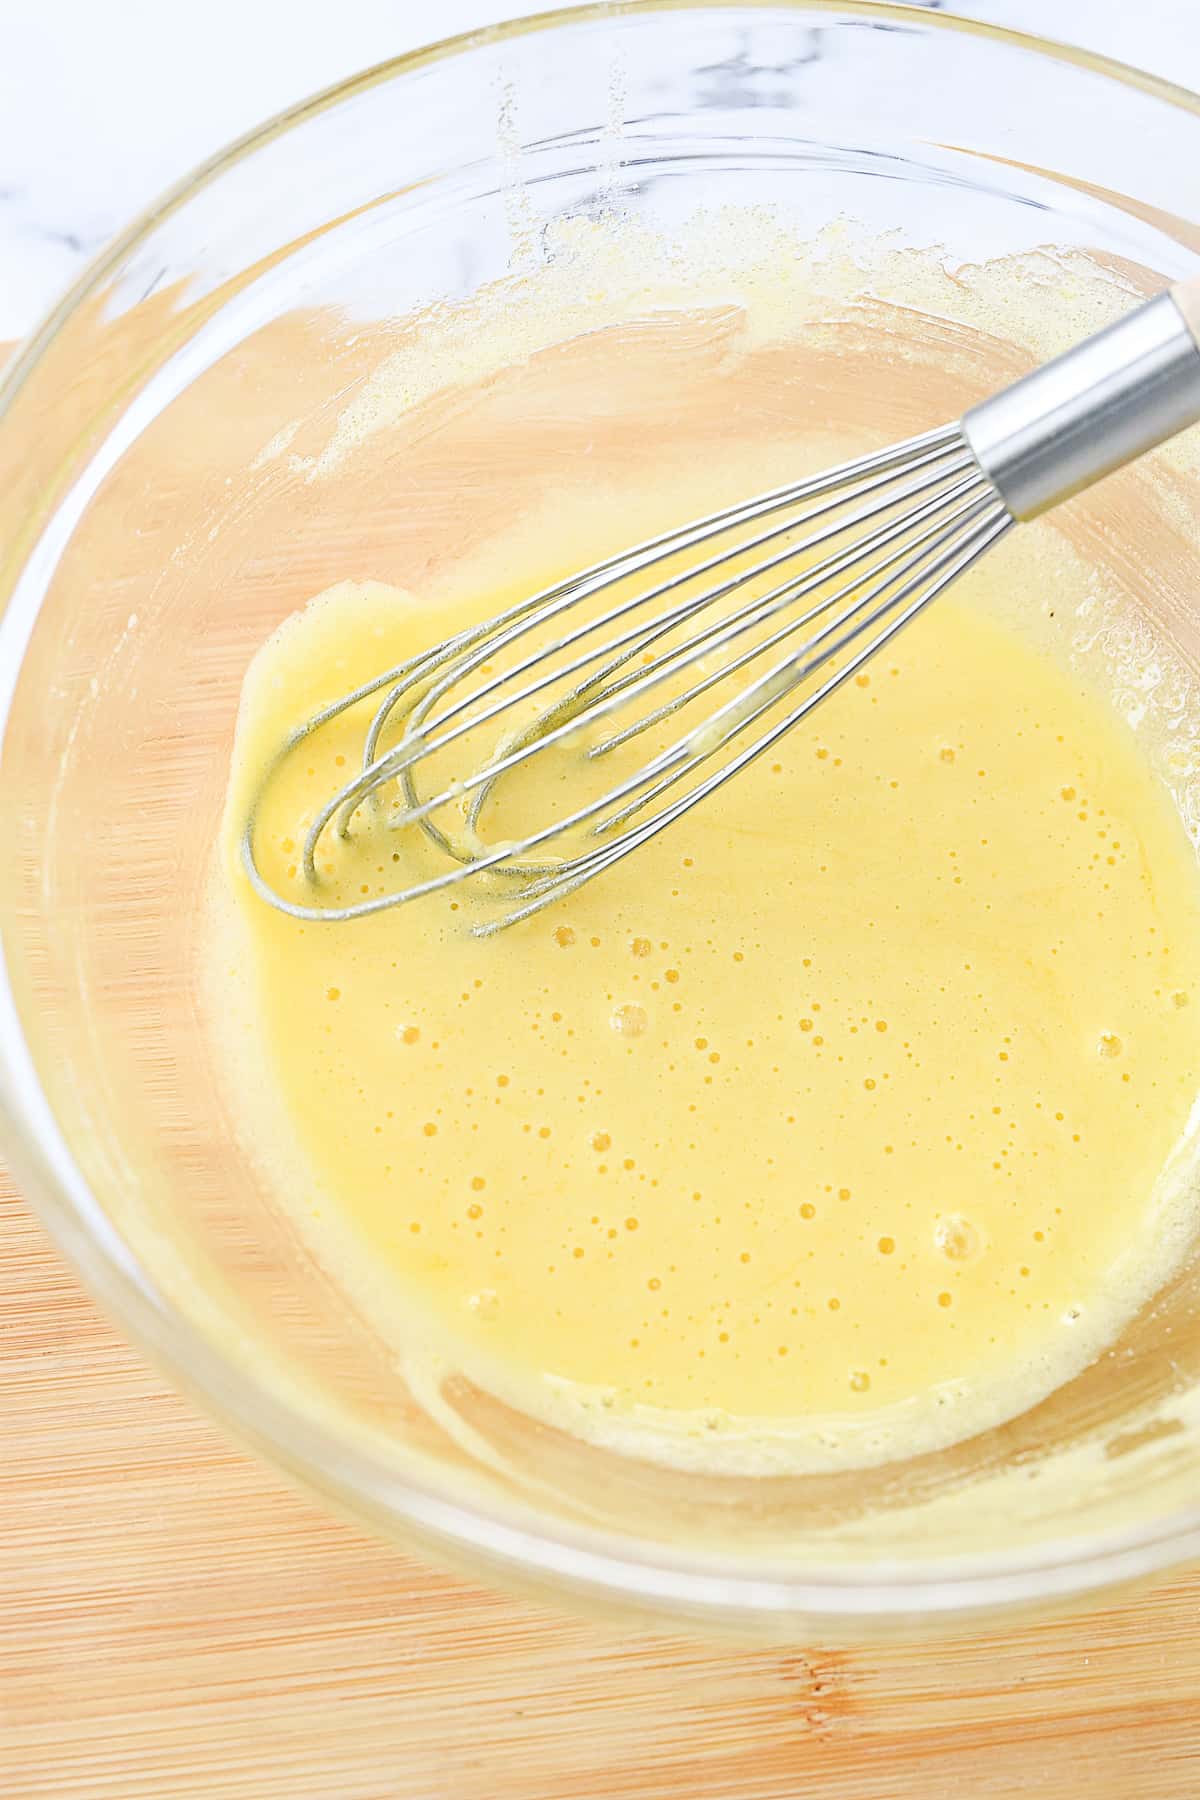
- Pour about 1/4 cup of the warm milk mixture into the egg mixture.
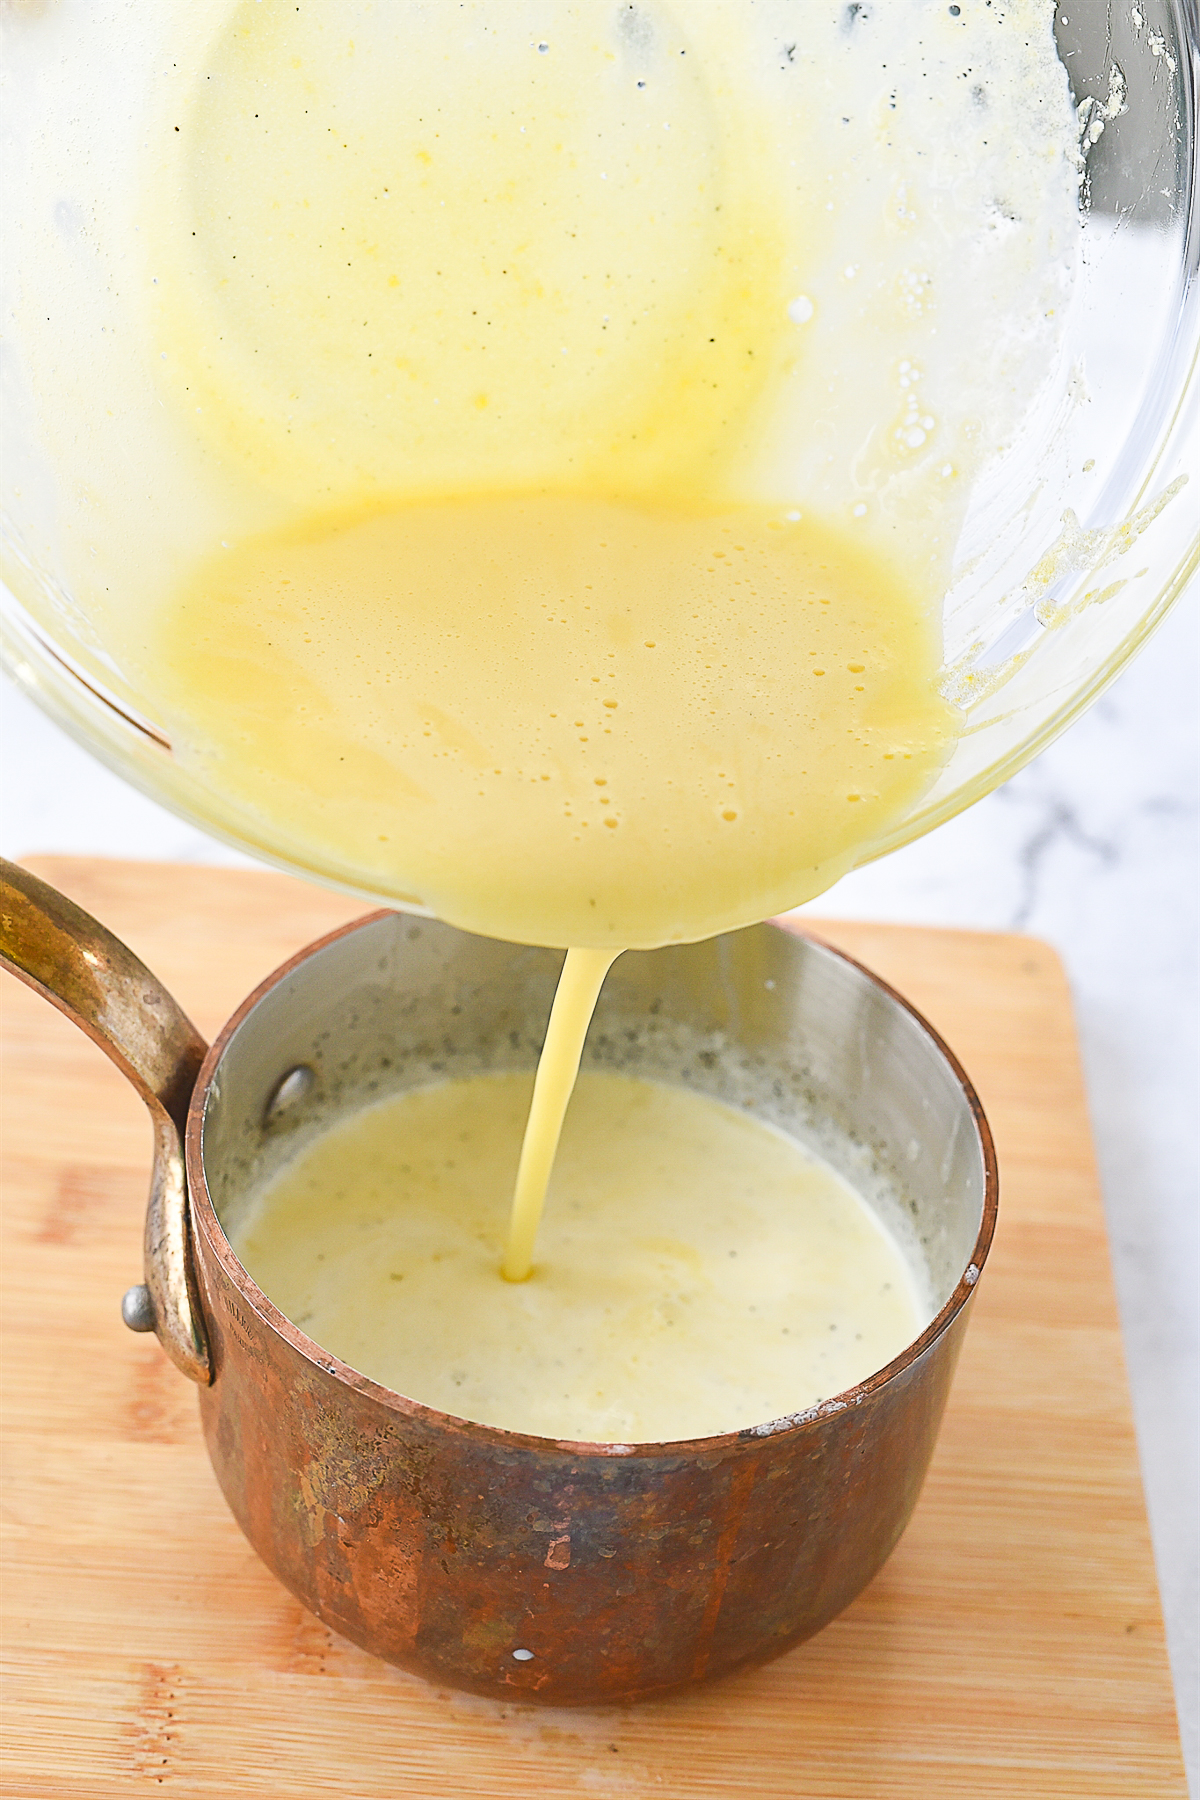
- Pour milk mixture into remaining egg/sugar mixture. Stir until smooth. If you end up with any foam on top, pour the mixture through a fine mesh strainer to remove.
- Evenly divide the mixture between two 8oz ramekins.
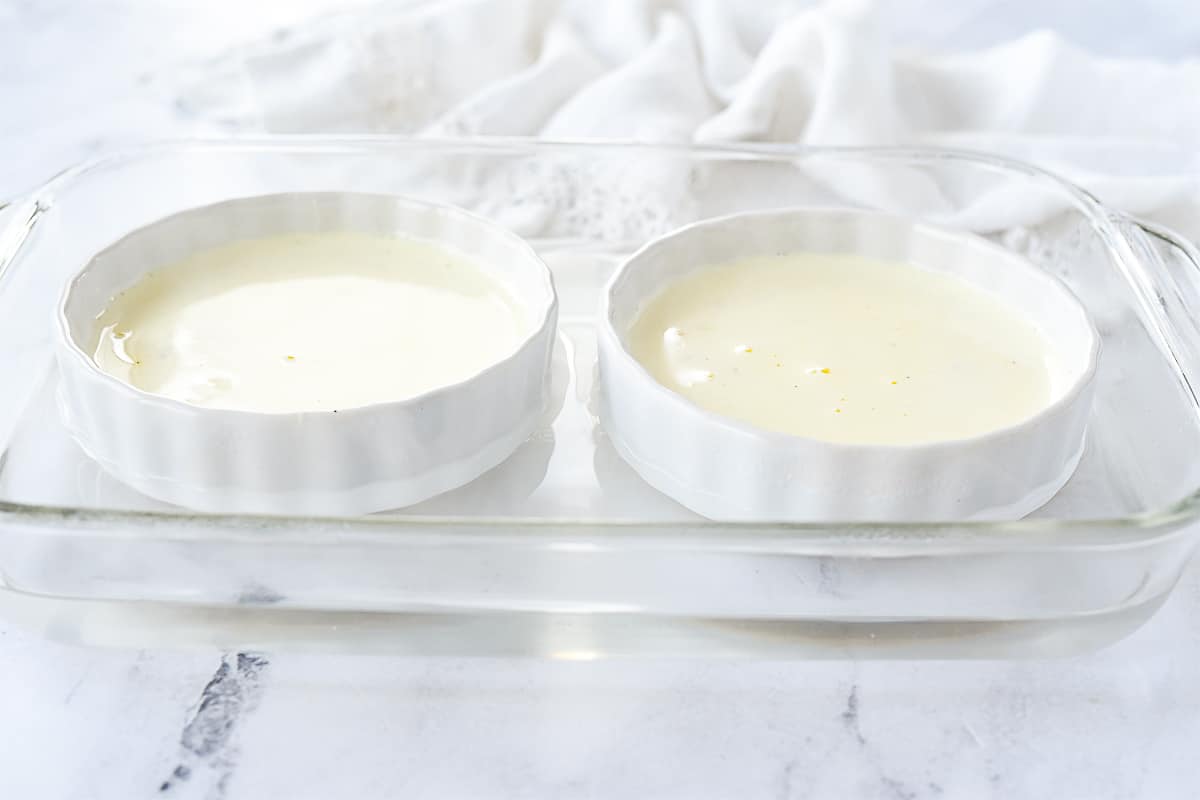
- Place ramekins into a baking dish and fill with boiling water half way up the outside of the ramekin. Be careful not to spash water into the creme brûlée.
- Bake in a 300 degree F oven for 40 minutes until the top is set but still jiggles.
- Remove from oven and let ramekins sit in water for 10 minutes, then remove to a cooling rack and cool completely.
- Refrigerate for at least 2-4 hours.
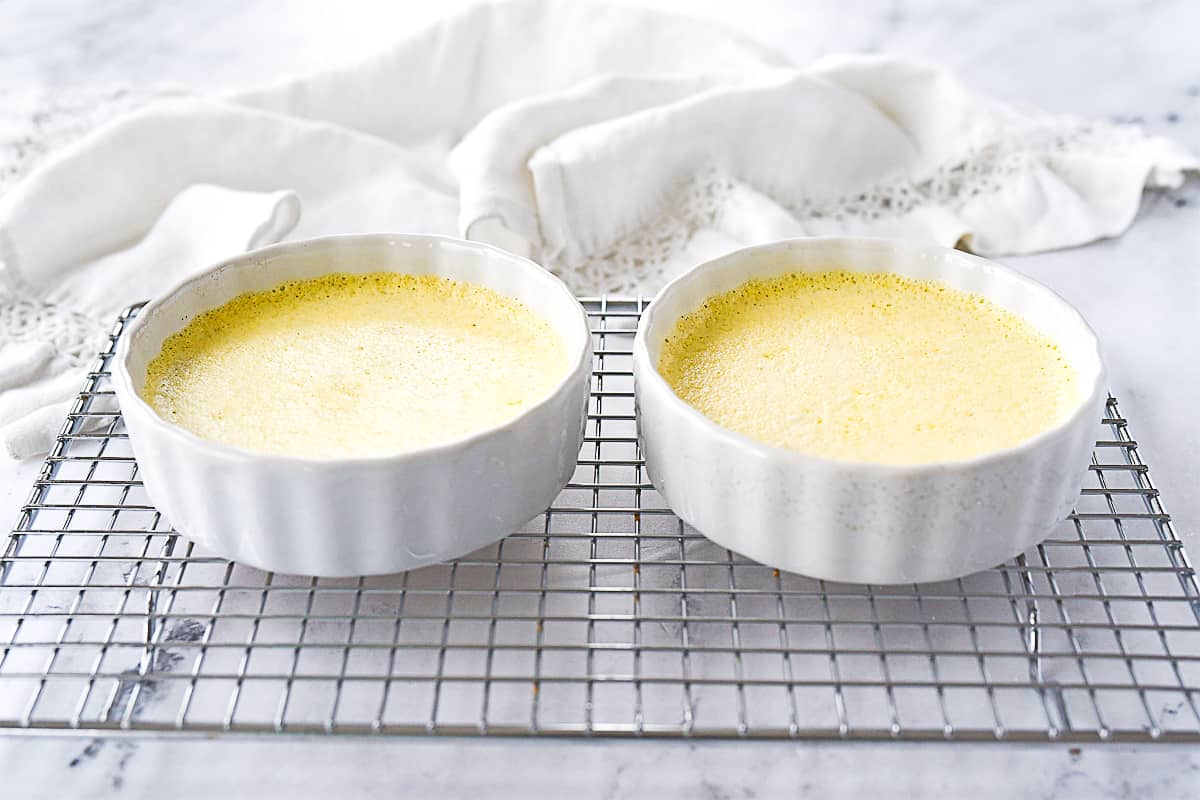
- When ready to serve, remove from fridge and sprinkle the top with a layer of sugar, about 3/4 of a tablespoon. Gently shake the ramekin so the sugar coats the top evenly.
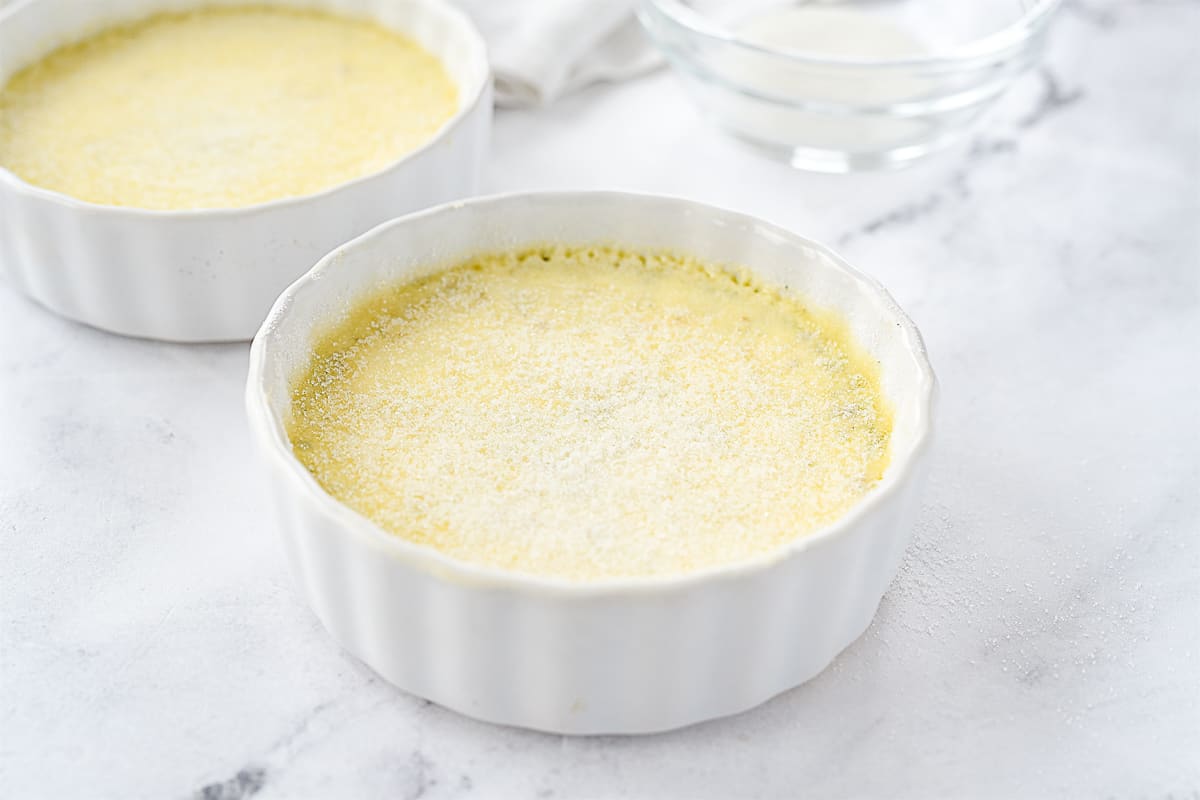
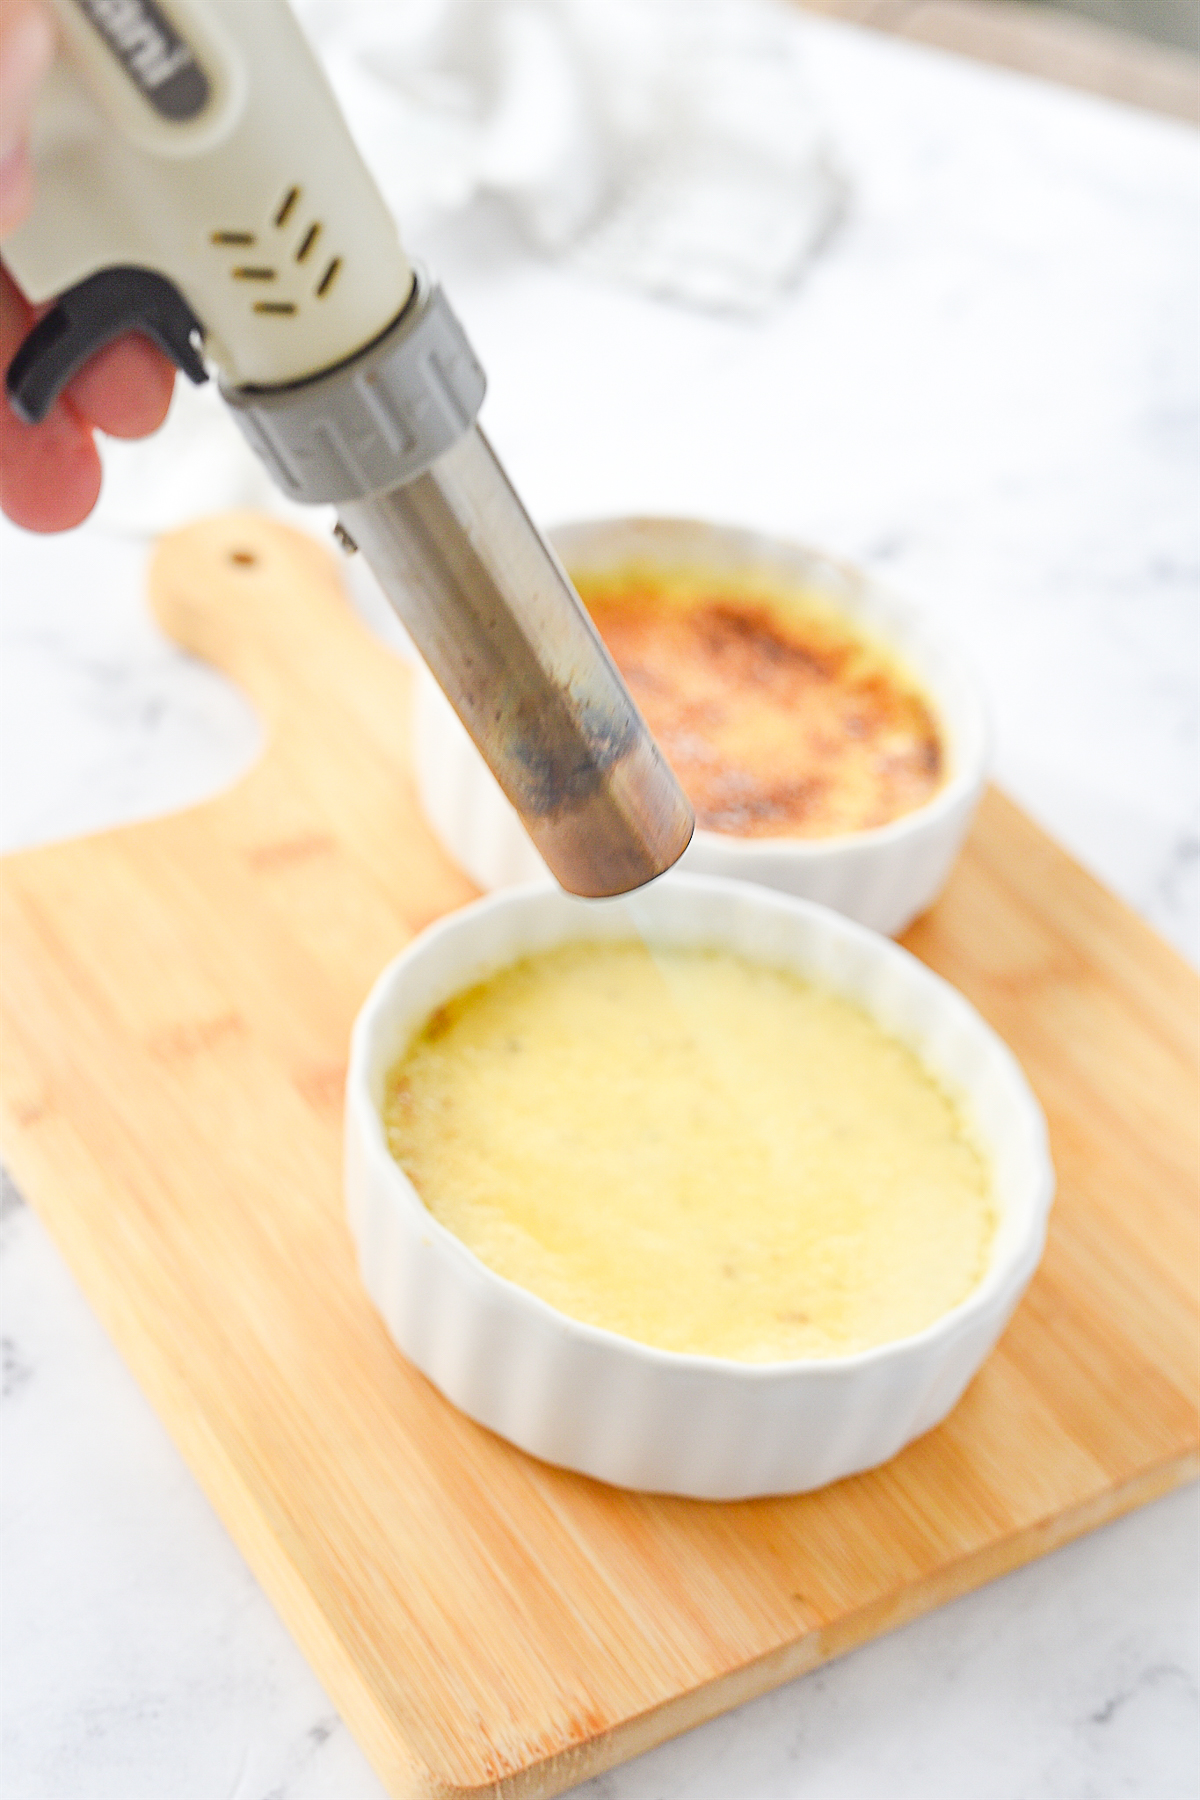
- Melt sugar with kitchen torch. Evenly move the torch across and around the sugar until it is golden brown.
Tips
- When heating up your whipping cream do not let it boil! You just want it heated through and beginning to bubble around the edges.
- Temper your egg and sugar mixture. After heating through your milk you will add about 1/4 cup of into the egg/sugar mixture and stir to combine. Then pour it into the remaining cream mixture. This gradually increases the temperature of the eggs so they don’t cook or curdle. This will give you a smooth creamy custard. If you see any bits of egg in it pour it through a fine wire mesh strainer.
- Be sure and use pure vanilla extract. The vanilla is the star of the show here so don’t use artificial vanilla.
- If using a whole vanilla bean, slice down the bean going lengthwise. Do not cut all the way through, just through the top layer. Open the bean and use the tip of a knife to scrape out the vanilla.
- Make it the day before so it has plenty of time to chill and set up.
- Do not refrigerate for longer than an hour after caramelizing the sugar or the top will begin to soften.
Frequently Asked Questions
Should I serve crème brûlée room temperature of chilled?
It is normally served chilled so you can refrigerate it for up to an hour after caramelizing the sugar. Any longer than that and the sugar will begin to soften.
I prefer to eat it right away as I love how the torching warms the top of the custard while leaving the center cool. I love the combination of the warm top and the cool center with the crunchy topping! It’s perfectionl
How far ahead can I make crème brûlée?
Creme Brulee is the perfect dessert make ahead dessert. After baking and completely cooling, cover with plastic wrap and it can sit in the refrigerator for up to 2 days.
Can I make crème brûlée without a torch?
Yes, you can use the broiler of your oven. Just place the ramekins on a baking sheet on the highest rack of your oven and then turn on the broiler. Rotate to make sure the sugar melts evenly and watch closely to make sure they don’t burn.
Try these other desserts too:
Be sure and follow me over on You Tube for weekly cooking demos.
Crème Brûlée
Ingredients
- 1 1/4 cup heavy whipping cream
- 1/4 cup sugar
- 3 egg yolks
- pinch of salt
- 1 tsp vanilla or half a vanilla bean
Instructions
- Preheat oven to 300 degrees F.
- In a bowl, beat together egg yolks, sugar, salt and vanilla if using extract.
- In a small saucepan heat whipping cream until warmed through and bubbles just begin to form. If you are using a vanilla bean, cut the bean down the center, scrap out the seeds and place the seeds and the pod into your milk as it warms. Remove the pod after warming.
- Add 1/4 cup of warm milk mixture into the egg mixture and stir to combine.
- Pour that mixture into the remaining milk mixture.
- Pour custard mixture into the ramekins.
- Place the ramekins in a baking dish and fill with boiling water half walk up the outside of the ramekin. Do not splash water into the custard.
- Bake for 40 minutes or until the top is set but still jiggly.
- Remove from oven and let it sit in the water for 10 minutes and then remove to a cooling rack and leave until completely cooled.
- Cover with plastic wrap and refrigerate for at least 2-4 hours or up to 2 days.
- When ready to serve sprinkle the top with about 3/4 Tbsp of sugar and shake ramekin so that you have an even layer of sugar all across the top.
- Use a kitchen torch to caramelize the sugar (see above for instructions on how to do it in an oven.
- If you like, return to the fridge for 30-60 minutes to allow the custard to chill and then serve. Do not refrigerate for longer or the sugar will soften.
Tips & Notes:
- You can use the broiler of your oven.
- Place the ramekins on a baking sheet on the highest rack of your oven and then turn on the broiler. Put them into a cold oven.
- Putting them on a baking sheet makes it easy for you to rotate them to make sure that they melt evenly.
- The amount of time it will take for the sugar to caramelized will depend on how fast your broiler heats up so watch it closely. Don’t walk away!
- When heating up your whipping cream do not let it boil! You just want it heated through and beginning to bubble around the edges.
- Temper your egg and sugar mixture. After heating through your milk you will add about 1/4 cup of into the egg/sugar mixture and stir to combine. Then pour it into the remaining cream mixture. This gradually increases the temperature of the eggs so they don’t cook or curdle. This will give you a smooth creamy custard. If you see any bits of egg in it pour it through a fine wire mesh strainer.
- Be sure and use pure vanilla extract. The vanilla is the star of the show here so don’t use artificial vanilla.
- Make it the day before so it has plenty of time to chill and set up.

Leave a Review