This post may contain affiliate links. Please see disclosure policy here.
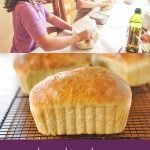
Bread in a Bag is going to become your new favorite family activity! Little kids and big kids alike will love making their own loaf of bread.

Bread in a Bag Recipe
School is officially out here in Portland and summer vacation has started. When I had kids at home, one of my favorite things to do in the summer was hold cooking lessons. One of our favorite things to make was bread.
Making Bread in a Bag is the perfect way to introduce your children to bread making. It’s quick, easy and delicious!

Tips for Cooking with Kids
- Make sure recipe is readable and accessible. I covered my table with parchment paper and then wrote the ingredients on the paper so the kids could easily see it.
- Have all the ingredients out and easy to reach.
- Take time to teach them how to measure properly. I prefer the scoop and level method for flour.

- Don’t expect perfection. The important thing is that the kids have fun. Their loaves won’t be perfectly shaped but it doesn’t matter They still tasted the same!
- Embrace the mess. Kids will be messy and you will end up with flour all over the table and floor but they are going to have fun and so will you! The mess will clean up quickly but the memories will last a long time!!
Science Lesson
While making bread with the kids it is fun to share a little bit of science with them.
What makes bread rise?
Bread rises because of yeast which is a leavening agent. The yeast gives off carbon dioxide which creates bubbles in the bread dough and causes the bread to rise. The heat of the oven causes the carbon dioxide to expand even more so the bread rises even taller while baking.
What is yeast?
Yeast is a living organism and it needs food, warmth, and moisture to grow and thrive. It converts sugar and starch into carbon dioxide. This process is called fermentation. It’s the carbon dioxide that makes baked goods rise.
I have a full post on how to proof yeast you can check out.
Bread in a Bag Ingredients
- All Purpose flour
- Sugar
- Rapid Rise Yeast or Instant. Yeast. This does not need to be proofed in water first.
- Water
- Olive Oil or Vegetable Oil
- Salt
- Zippered food storage bag
How to Make Bread in a Bag
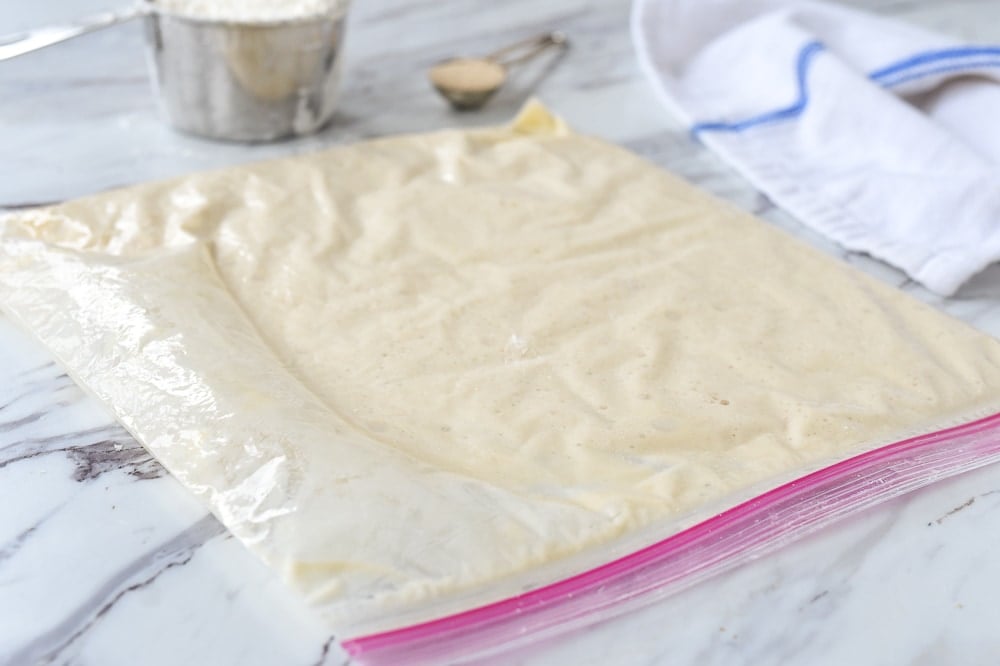
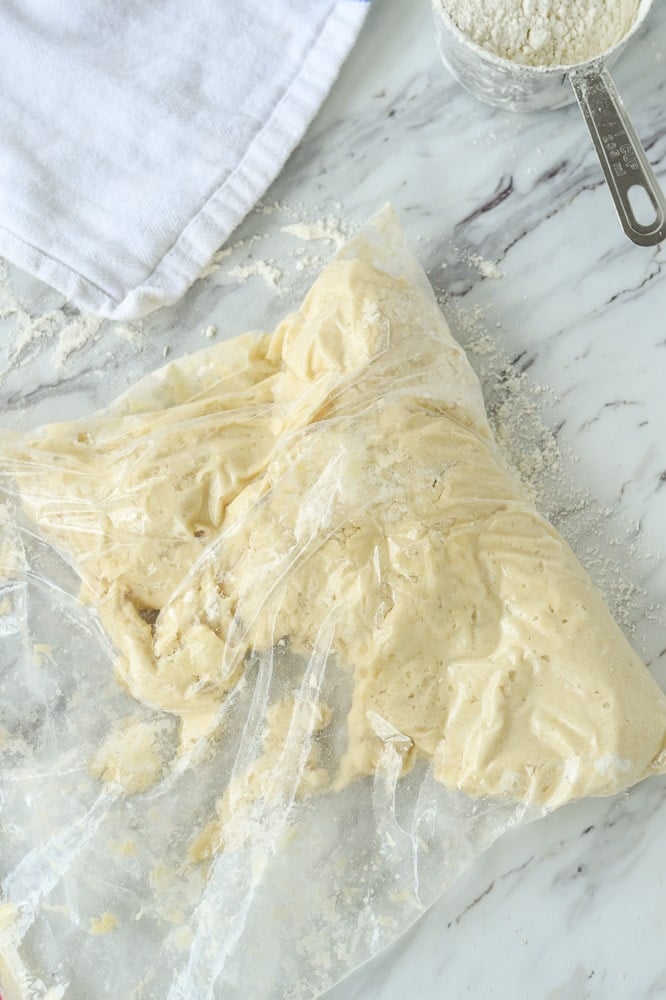
Place one cup of flour into a gallon size plastic bag.
Add yeast, sugar and warm water.

- Zip up the bag and smoosh it all together until the flour is all mixed in.
- Let it rest for 10 minutes so the yeast will activate.
- Add in olive oil, salt and remaining flour into the bag.
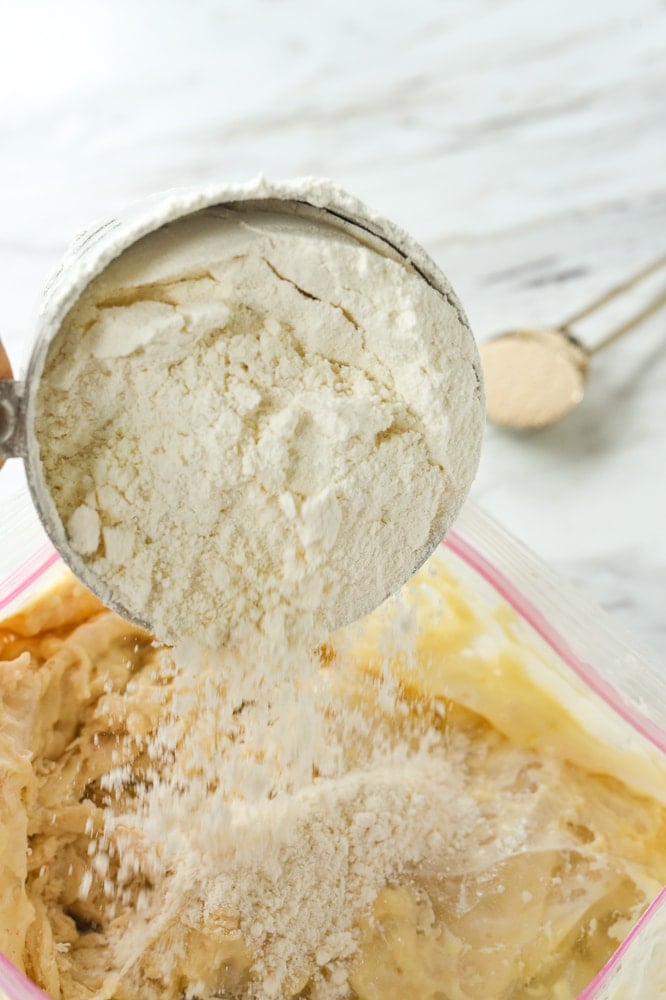
- Smoosh some more until dough forms.
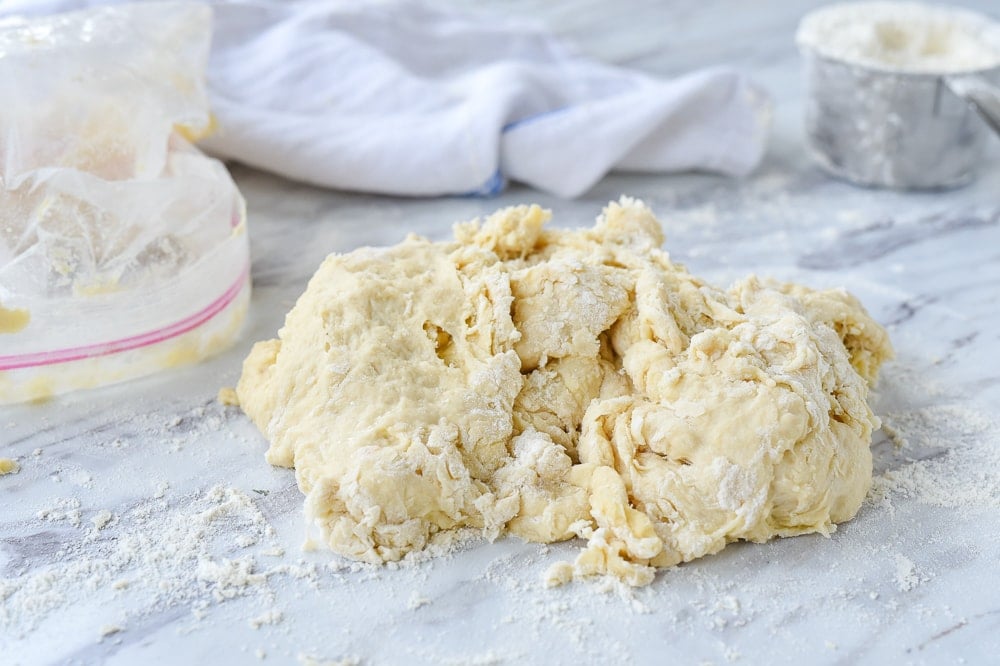
- Take dough out of bag and place onto a lightly floured table
- Knead bread until smooth, add extra flour as needed.
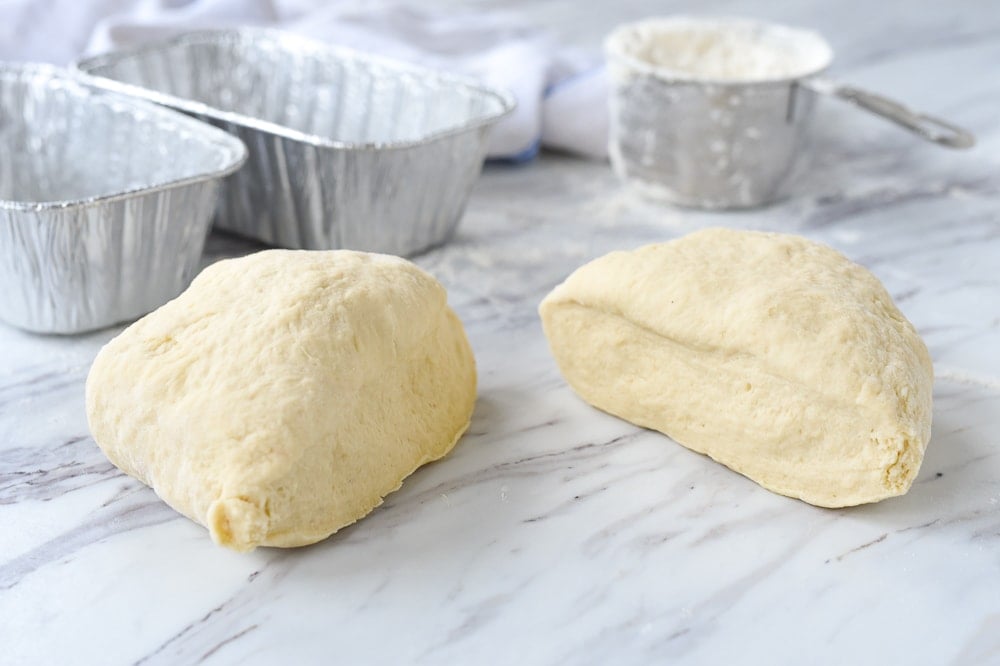
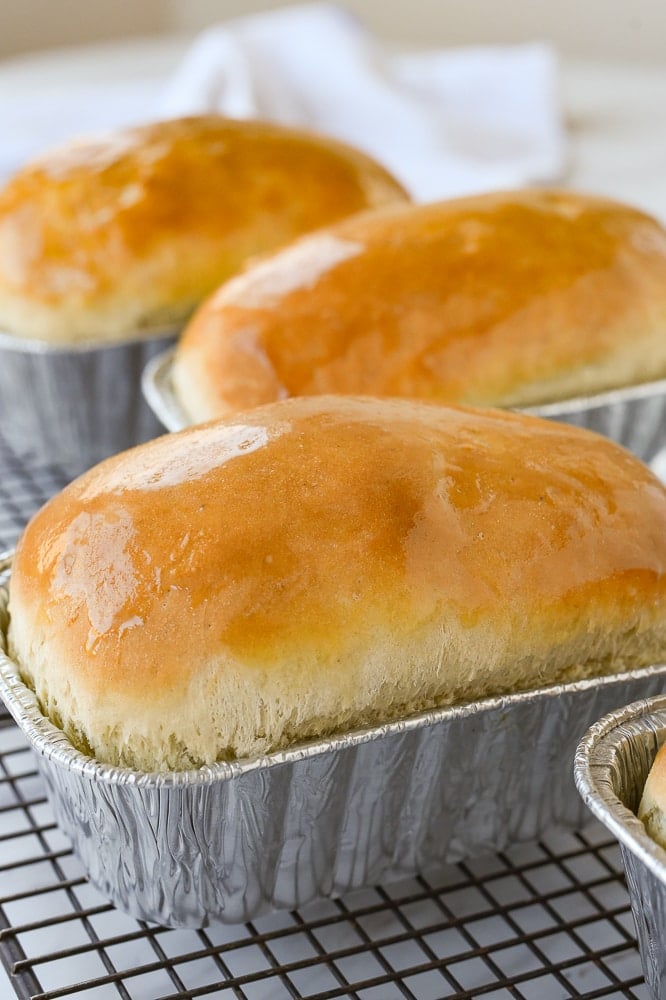
- Grease mini loaf pans . Form dough into two bread loaves and place in loaf pans sprayed with cooking spray. You will get two small loaves out of one batch.
- Cover with a towel or plastic wrap and let dough rise for 20-30 minutes in a warm place. Since we are using rapid rise yeast, it won’t take long.
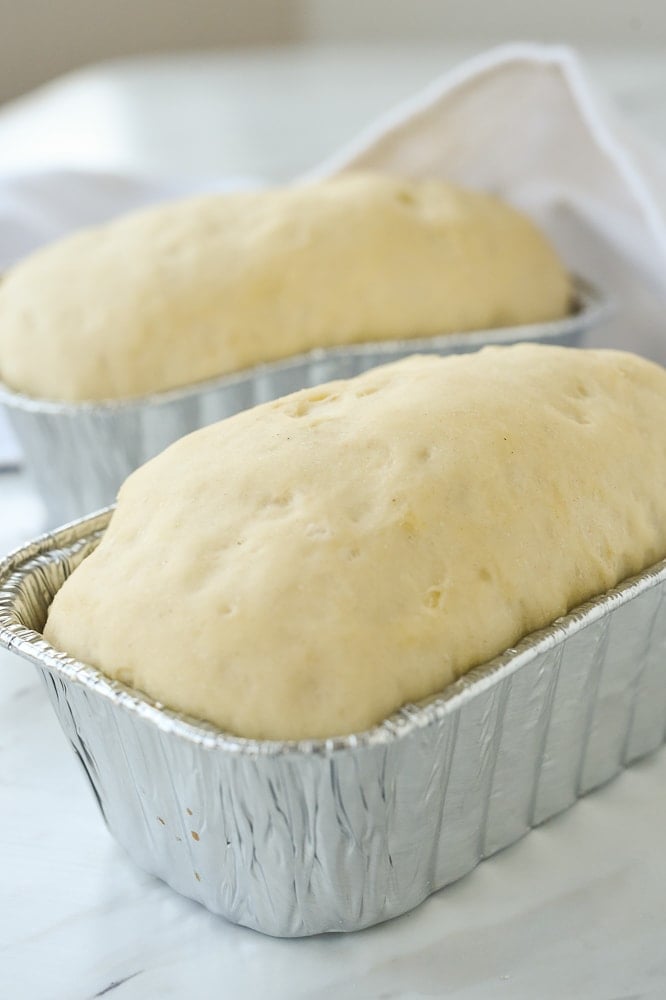
- Bake at 375 degrees F for 25-30 minutes for mini loaves.
Frequently Asked Questions
Can I make one big loaf instead of two small loaves?
Absolutely, you will just need to bake the bread for about 40 minutes.
Can I use whole wheat flour?
You can use whole wheat flour. I would recommend using half whole wheat and half white.
Can I divide the recipe in half?
You can divide it in half and have two children each make one mini loaf.
Can I make this gluten free?
Yes, just use your favorite gluten free flour. I like Bob Red Mill’s Cup for Cup gluten free flour.
What size mini loaf pan do you use?
The ones I use measure 5.75 x 3.25 inches.
For more fun recipes and activities for kids try these:
Be sure and follow me over on YouTube for weekly cooking demos.
Bread in a Bag
Ingredients
- 3 cups all purpose flour divided
- 3 Tbsp white sugar
- 1 .25 package rapid rise yeast (2 1/4 tsp)
- 1 cup warm water
- 3 Tbsp olive oil or vegetable oil
- 1 1/2 tsp salt
Instructions
- In a resealable plastic bag place 1 C flour, sugar and yeast and add in warm water. Water should be 105-110 degrees F.
- Squeeze air out of the bag and seal.
- Squish with your hands until well mixed together.
- Let it rest for 10 minutes at room temperature. Bubbles will form.
- Open bag and put in 1 C of flour, oil and salt.
- Seal bag again and squish until well blended.
- Add last cup of flour and continue mixing in the same manner until well blended.
- Remove dough from bag and put onto a lightly floured surface.
- Knead for 5-10 minutes or until smooth.
- Divide dough in half and place each half into a greasedmini loaf pan. Or make one large loaf
- Cover with a towel and allow to rise for about 30 minutes.
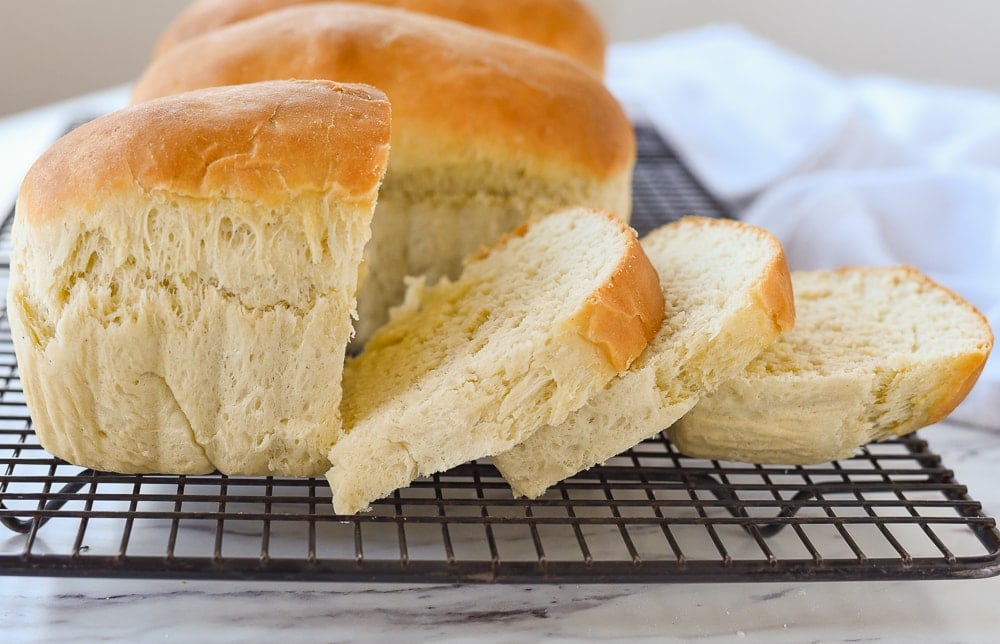
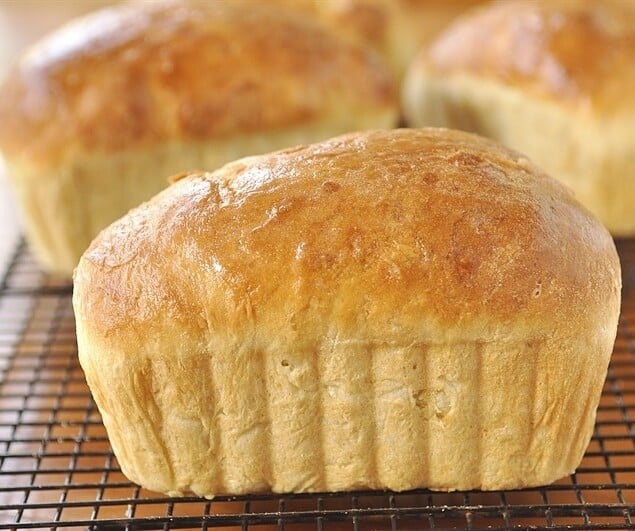
- Bake in a 375 degree oven for 25-30 minutes or until bread is golden brown.
Tips & Notes:
- have fun. Their loaves won’t be perfectly shaped but it doesn’t matter They still tasted the same!
- Embrace the mess. Kids will be messy and you will end up with flour all over the table and floor but they are going to have fun and so will you! The mess will clean up quickly but the memories will last a long time!!
Nutrition Facts:
Nena Brackett says
Love your bread recipe , will like to have the ice cream in the bag if it is possible, Thanks
Leigh Anne says
THe ice cream in a bag will be on the blog tomorrow!!
Anne says
Any way to make this gluten free??
Leigh Anne says
You could try it with gluten free flour and see how it works – I’ve never tried it though.
Mary says
I tried it with King Arthur GF flour the other day. It worked really well! No one could taste the difference
Ashley says
I do believe you would need xanthan gum with the gluten free flour in order for it to work because i think yeast has gluten in it 🙂
Christi says
I am trying it right now with the Namaste GF flour blend from Costco. I didn’t change a thing in the recipe aside from using the Namaste flour blend as a 1:1 replacement. It’s at the end of the raising stage and about to go into the oven to bake. I am making 1 large loaf, and let it 30 minutes instead of 20.
I am thinking I will need to add a little extra liquid next time, because it was REALLY firm and tough dough. It didn’t raise hardly at all, though I would not be surprised if it’s due to my yeast being too old/inactive.
I LOVED this idea for making bread as I am also allergic to eggs, and most GF/EF yeast breads have 15,000 ingredients and are FAR too much work. I’ll keep playing with this recipe and let you know what I find. I am SO determined to make this work, thank you!!! 🙂
Leigh Anne says
Keep me posted on how it works and the tweaks you make.
kara says
Do you have to use olive oil or will regular vegetable oil work?
Leigh Anne says
Regular vegetable oil or canola oil will work too.
Cheryl Cherniwchan says
Thank you for sharing! Love trying new recipes and ideas. <3 Great for camping and etc. Just love it!!!! <3
Leigh Anne says
Have fun with it!
Rose Kornmeyer says
Thank you for the recipe. Can’t wait to try it.
pamela mader says
How long does it take for one large loaf? This is the best recipe for myself since I have arthritus and cant do a lot of kneading. I love homemade breads and the smell it gives your house. So happy I found your recipes.
Ralf says
Is it possible to add cheese and onion for a savory bread, Nuts and Raisins for a sweet bread?
Leigh Anne says
I haven’t done it but it should work fine.
Nora Cranfield says
Nuts, raisen’s, and cinnamon will make a great loaf..
Mary Lou Nelson says
My sweet bread calls for milk instead of water and increase the sugar from 3tbs to 1/2 cup.
Jeanne Griffin says
Thank you for sharing this recipe. Are you using all-purpose flour?
Leigh Anne says
yes, all purpose flour. All my recipes use all purpose flour unless otherwise noted. Enjoy!