This post may contain affiliate links. Please see disclosure policy here.
Learn how to make real homemade caramel apples with my best tips and instructions using homemade caramel.
Last week for a youth activity at church we made caramel apples. It was the first time I had made them in 12 years. The last time I made them, this is what happened:

My sweet, 7-year-old daughter bit into one and it ripped a tooth right out of her mouth. And the tooth wasn’t even loose! I am not sure what recipe I used but I think I threw it away right then and there. Since that day, I have only purchased apples at my favorite candy store, Rocky Mountain Chocolate Factory.
Well, after a somewhat positive experience last week with the church kids and a conversation with my friend Rhonda who made dozens for her daughter’s wedding reception, I am now confident in giving you the best caramel apple making tips.
Tips for Making Caramel Apples
- Rough up the apples with a fine grade of sandpaper. This tip came straight from the experts on how to make caramel apples, Rocky Mountain!
- Wash the apple, insert the stick, and let it dry.
- Place the apples on a cookie sheet lined with parchment paper.

Make your own caramel! This recipe will give you a nice smooth caramel. You will need a candy thermometer to make caramel. And you need to make sure that you stir the pot constantly to prevent it from burning on the bottom. I also use a nice heavy pan – an older pressure cooker of my mothers works great!
How to Make Caramel
We call caramel “patience candy” because you have to have patience stirring it and waiting for it to hit exactly the right temperature. But your patience pays off!!
- Combine brown sugar, corn syrup and butter.
- After butter is melted stir in the milk
- Cook to soft ball (234degrees), stirring constantly.
- Stir in 1 tsp vanilla
- Remove from heat

How to Dip Caramel Apples
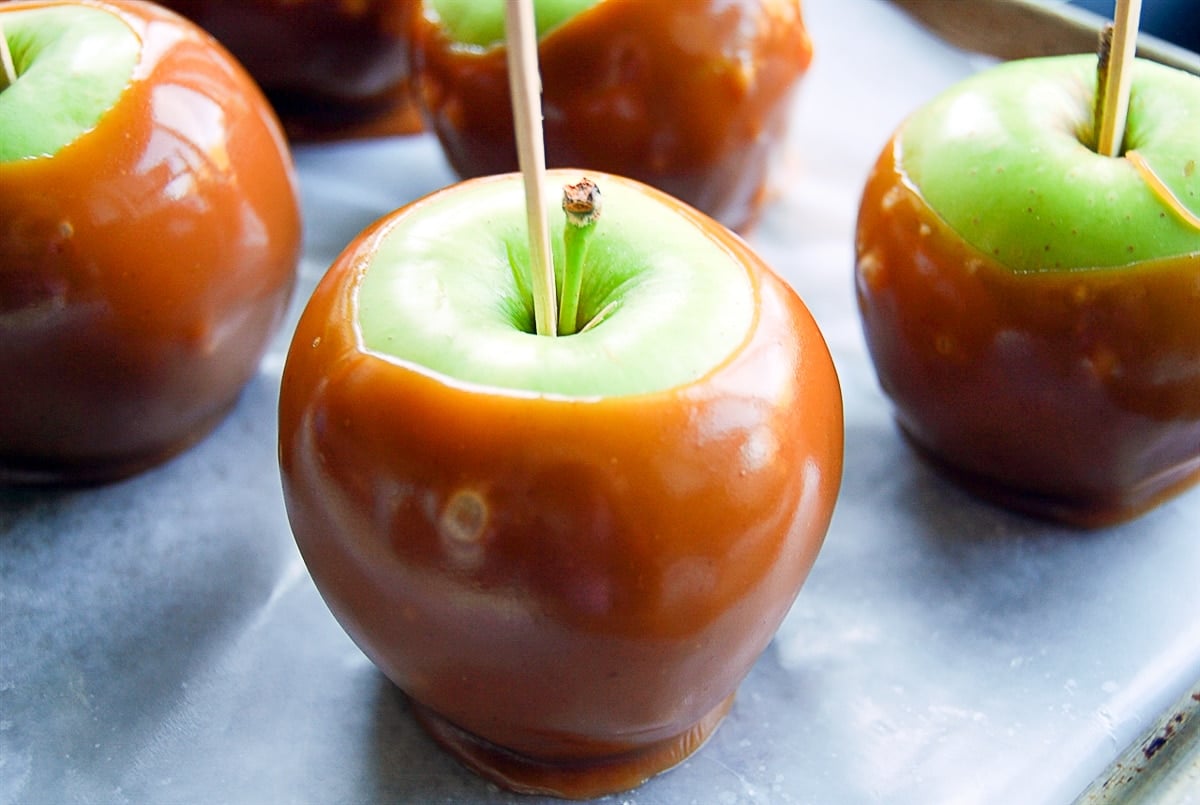
- Before you begin dipping the apples, let the caramel cool a few minutes. It will stick better to the apples when it isn’t hot off the stove.
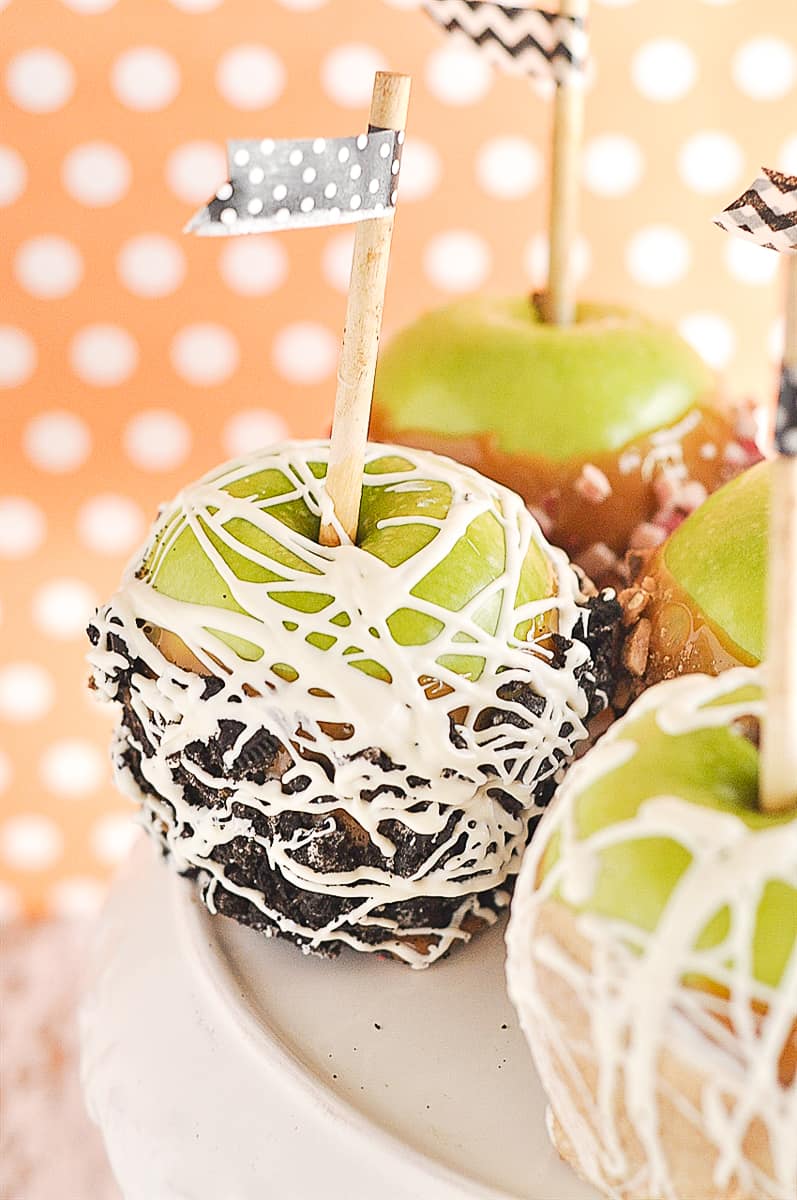
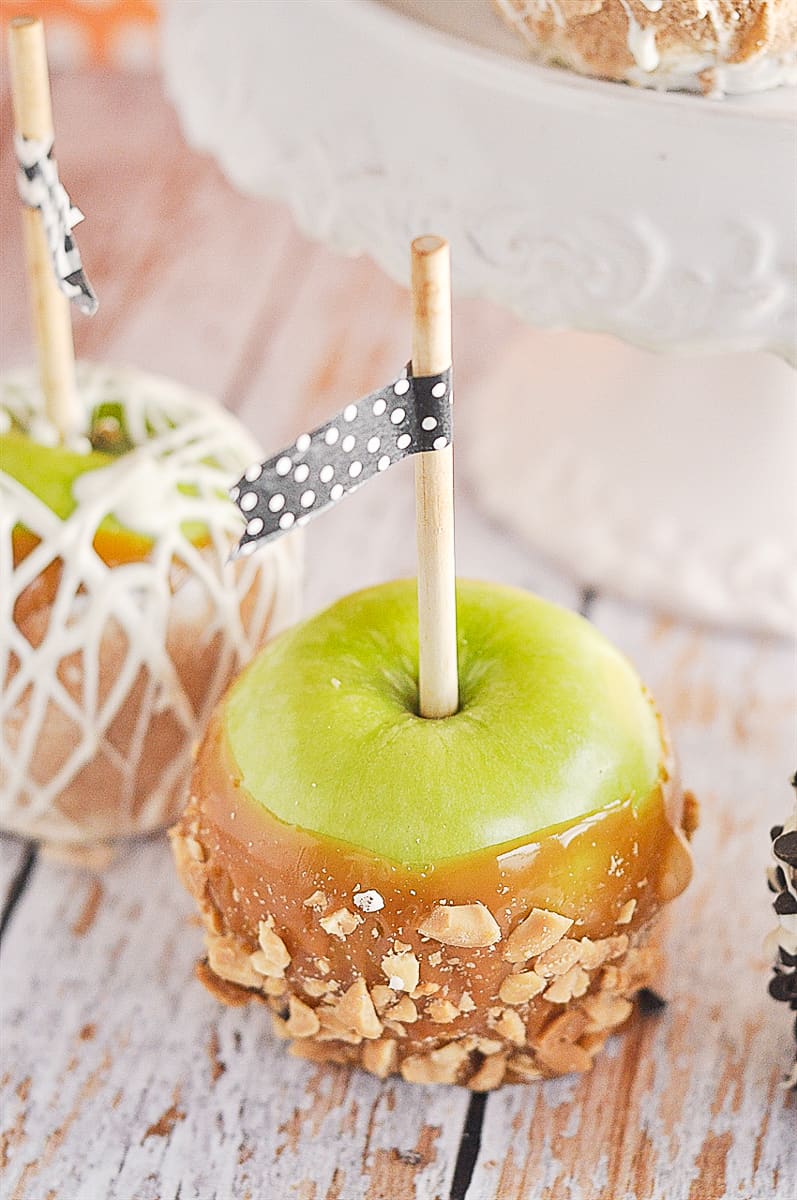
- Dip the apples and let them cool. I like to leave some of the apples showing at the top. If you are in a pinch for time, you can slide the cookie sheet into the refrigerator. And if you have any left over caramel, you can pour it onto a buttered pan and cut it into candies!
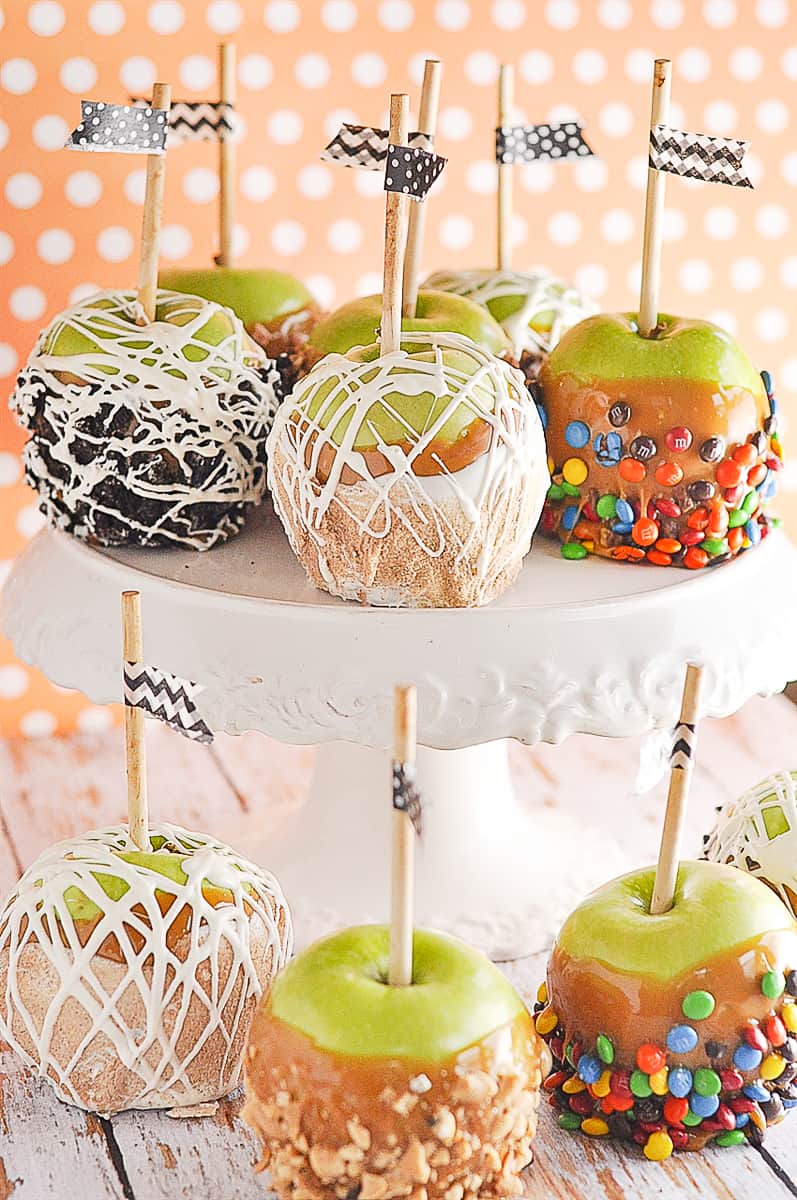
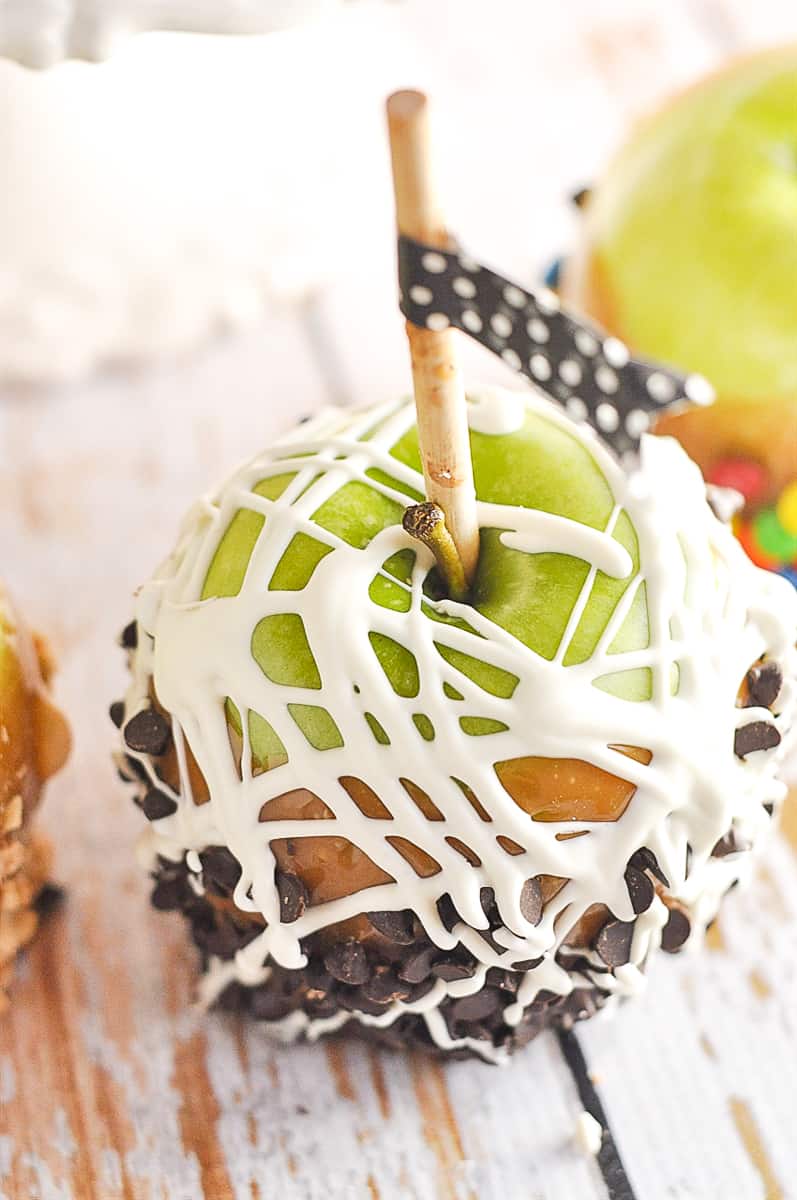
- Melt chocolate after the caramel has cooled, dip or drizzle with chocolate.

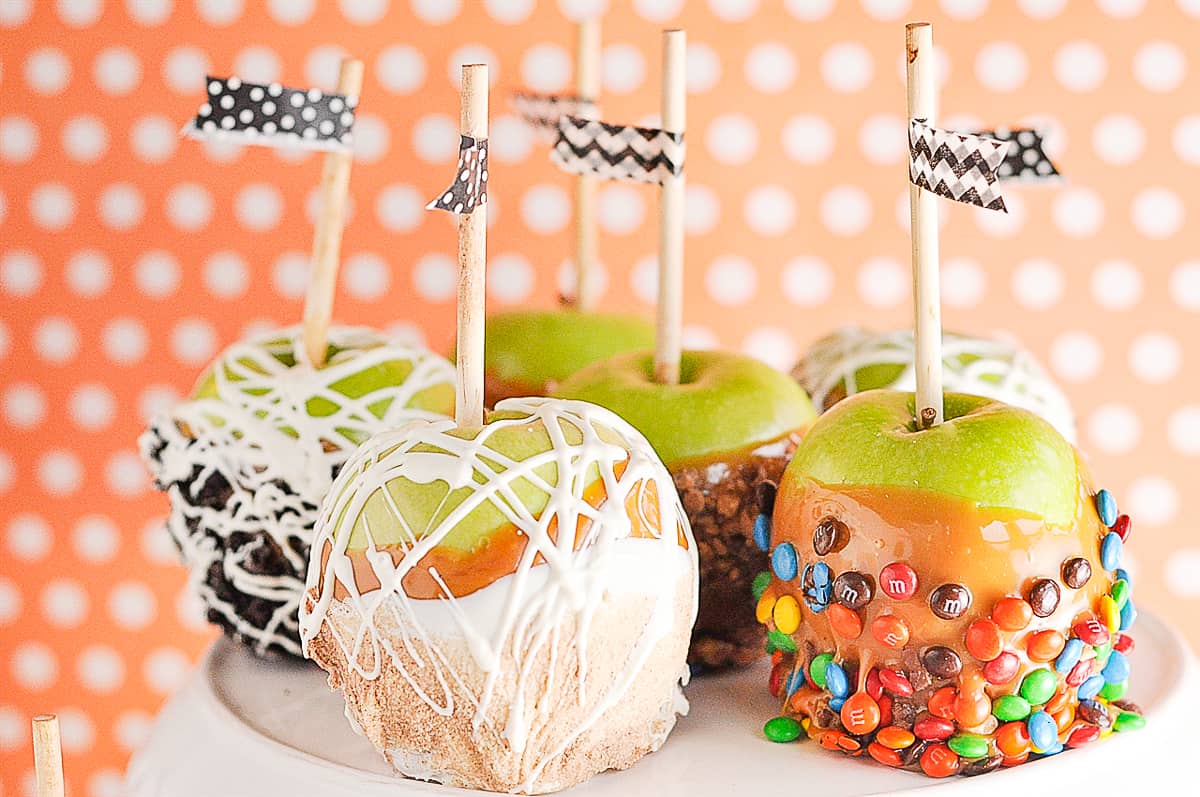
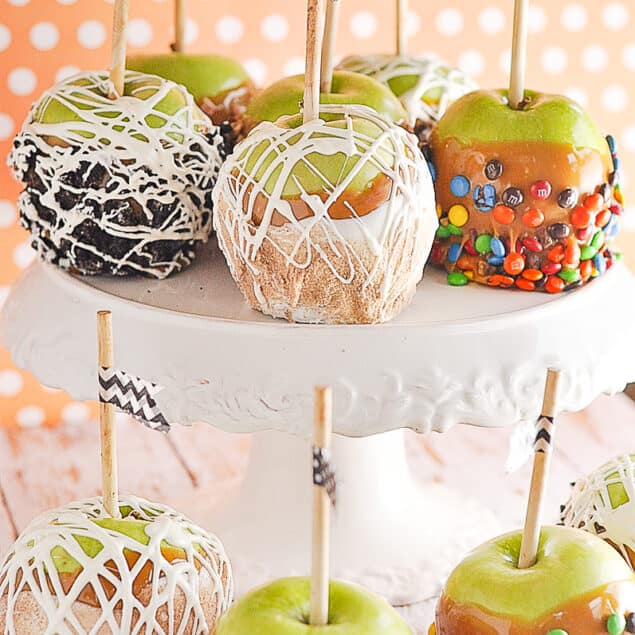
Toppings Ideas
Quickly, after applying chocolate, sprinkle on your desired toppings.
- mini chocolate chips,
- mini M&M’s,
- rainbow sprinkles,
- crushed Oreo
- chopped up Snickers
- nuts
Once you have added the toppings, return to the refrigerator to set up again. Then finally the best step, eat and enjoy!
My favorite caramel apple is this Apple Pie Caramel Apple. If you don’t want to dip an entire apple try just dipping apple slices.
Caramel and Apple is a perfect combo – check out these other recipes:
For all of my other favorite kitchen products and tools visit my Amazon Store.
Did you know I wrote a cookbook? Check out the Holiday Slow Cooker Cookbook for 100 delicious recipes.
Caramel Apples
Ingredients
- 2 cups brown sugar
- 1 cup corn syrup
- 1/2 cup butter
- 1 can sweetened condensed milk
Instructions
- Combine the first 3 ingredients
- After butter is melted stir in the milk
- Cook to soft ball (234degrees)
- Stir constantly
- Stir in 1 tsp vanilla
- Remove from heat
- Dip apples into the caramel, then roll in nuts if desired
- Let set up on a cookie sheet
- Place in refrigerator if needed
- After completely cooled you can drizzle with chocolate and cover with toppings
- Suggested toppings: sprinkles, crushed Oreos, mini M & M’s, mini chocolate chips, chopped nuts, crushed candy bars.
Nutrition Facts:
Gary Knight says
These look amazing. I am going to try some this weekend.
Brian M Taylor says
I have always washed my apples in warm water with vinegar, then into a ice water bath, Next batch I will use a brand new piece of Scotch-Brite to ruff them up a tiny bit and make the washing a bit faster of a job,
JEN says
I cannot wait to try the sandpaper trick. I made red candy apples and the candy slipped right off the apple. I am thinking it was the wax on the apples.
Leigh Anne Wilkes says
hope it helps!