This post may contain affiliate links. Please see disclosure policy here.

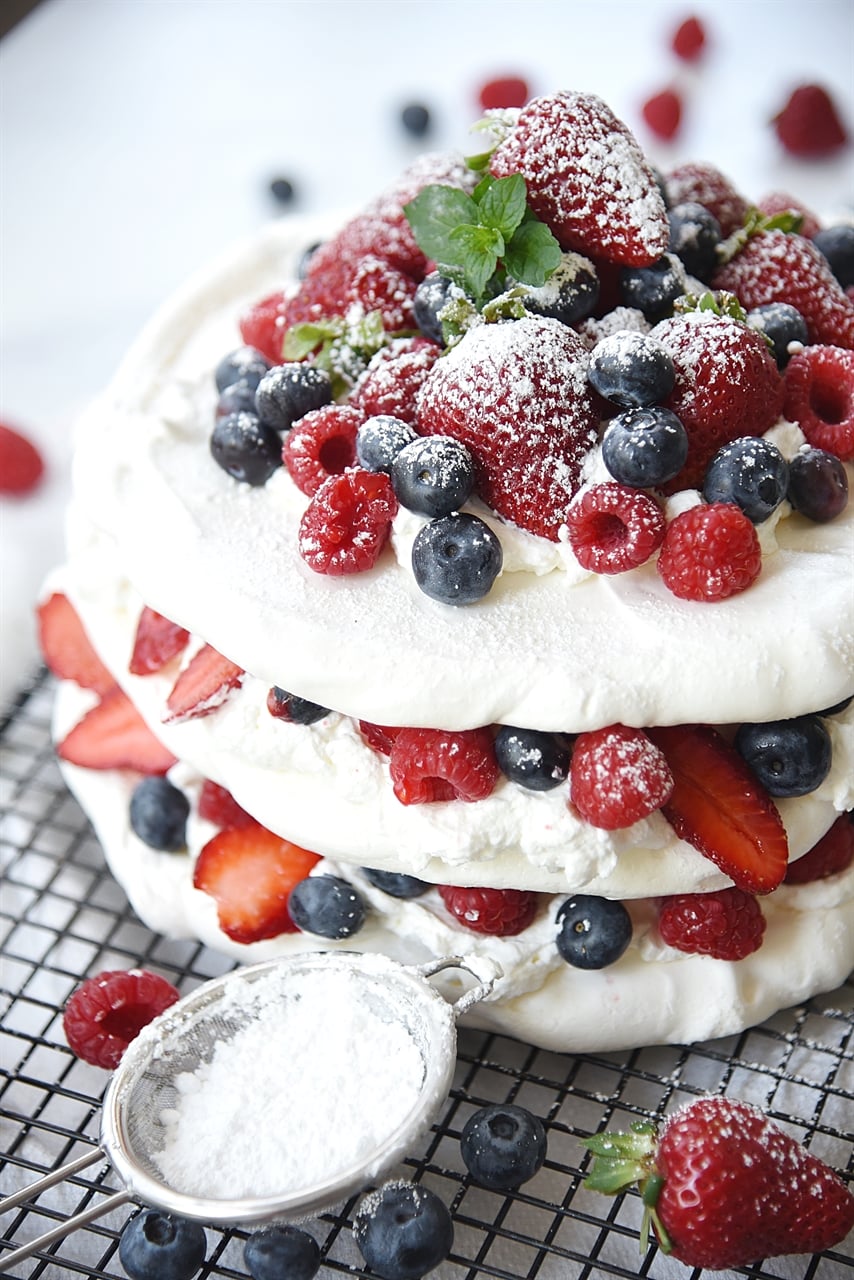
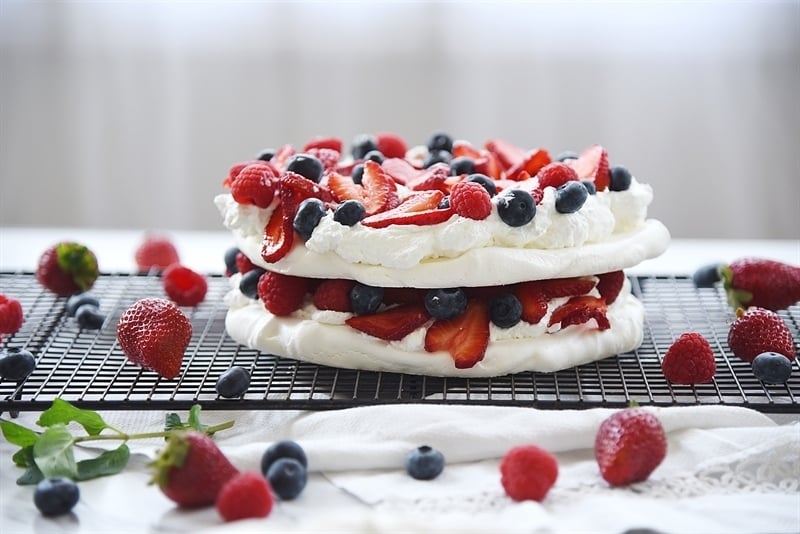
Boccone dolce is heaven on a plate! It’s made with layers of soft, chewy meringue topped with whipped cream and berries. It’s pretty and delicious!
Why You’ll Love This Recipe
A local Portland restaurant, Papa Haydens, that is famous for their desserts, serves this amazing meringue dessert. I order it EVERY time I go there despite the dozens of choices on the menu. Not wanting to wait until we went to the restaurant to enjoy Boccone Dolce I googled the recipe and found this great version and now I can make my favorite dessert at home.
Boccone Dolce is a combination of melt in your mouth meringue layered with whipped cream and fruit. YUM! Don’t let the picture of the dessert or the mention of meringue scare you away. It is actually very easy to make!
Ingredients Needed
- Egg Whites, room temperature
- Vanilla Extract. Use a good quality vanilla.
- Cream of Tartar. This acts as a stabilizer to your egg whites.
- Sugar. I prefer using a superfine sugar which is also called Baker’s sugar but have used regular granulated sugar too. You will also need a little powdered sugar for the whipped cream and for garnish.
- Heavy Cream
- Berries. I love using a combination of strawberries, raspberries and blueberries. You can also used sliced banana.
How to Make Boccone Dolce
- Preheat oven to 225 degrees F. Line baking sheets with parchment or waxed paper. Trace three (3), 8-inch circles on paper.
- Using a mixer, beat egg whites, cream of tartar, and vanilla extract until soft peaks form.
- Gradually beat in sugar and continue beating until meringue is stiff and glossy.
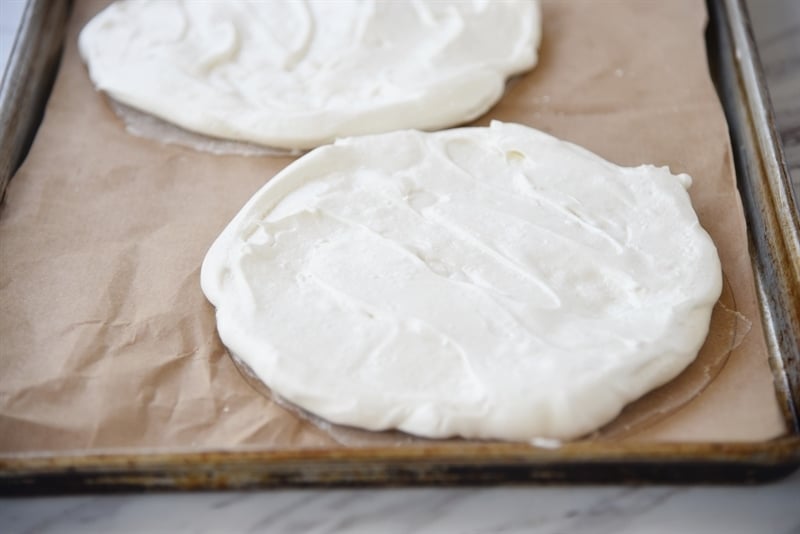
- With a rubber spatula, spread meringue evenly and equally over top of each parchment paper 8 inch circle.
- Bake approximately 1 hour or until meringue becomes bisque colored and is dry to the touch.
- NOTE: The low temperature will prevent them from browning too quickly. Then turn off oven, open oven door, and let the meringues “rest” in the oven another 15 minutes. Remove from oven and carefully peel off parchment or waxed paper. Put cake on racks to dry until thoroughly coo
- Place one meringue layer on a serving dish.
- Add a layer of whipped cream
- Add fruit.
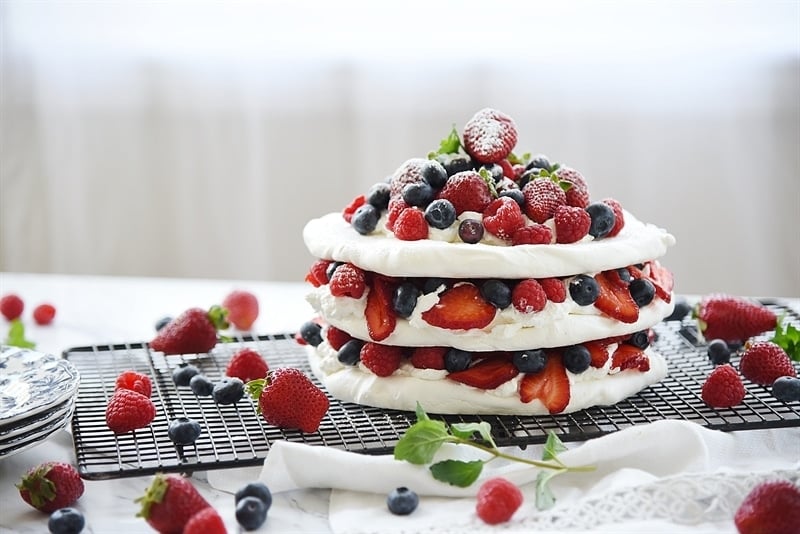
- Place the other meringue on top and layer it with whipped cream and more fruit and repeat with the third layer!
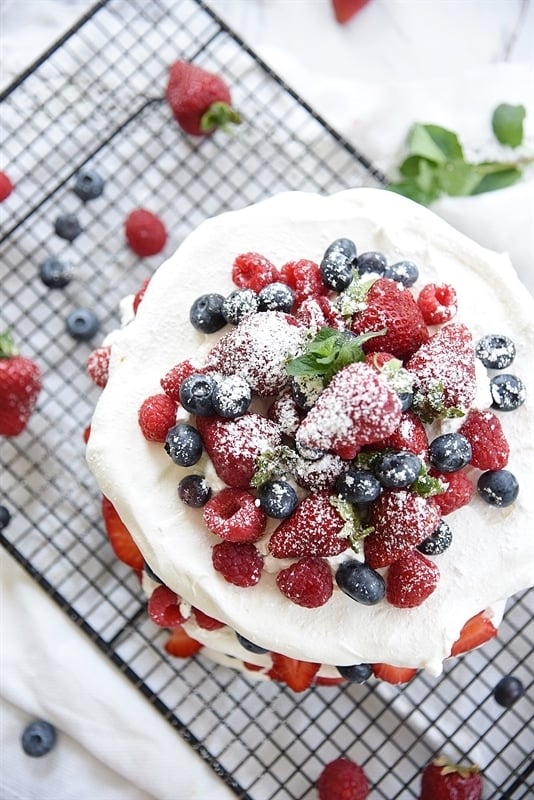
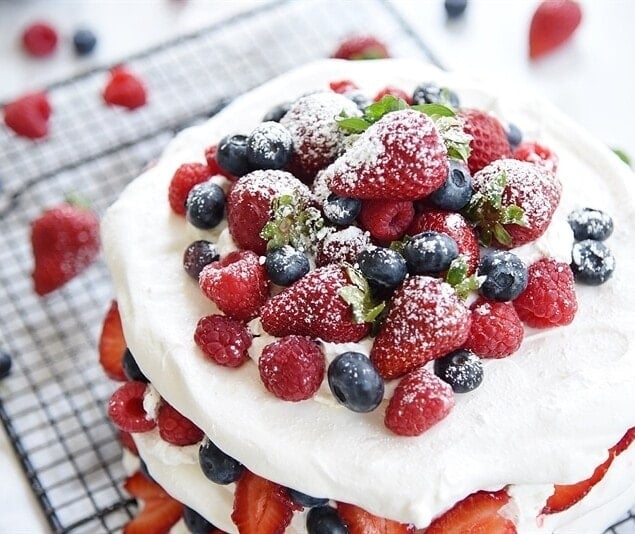
- Drizzle with chocolate if preferred. I dusted mine with some powdered sugar.
Tips from leigh Anne
- Be sure and use egg whites at room temperature and a clean bowl in order to get your egg whites to whip properly. Also make sure none of the egg yolk gets in with the whites or they won’t whip properly.
- Whip your cream until it is a medium stiffness. You can read all my tips for making whipped cream here.
- You can use any berries that are in season and if no berries are in season you can also use bananas.
Frequently Asked Questions
How do I cut meringue?
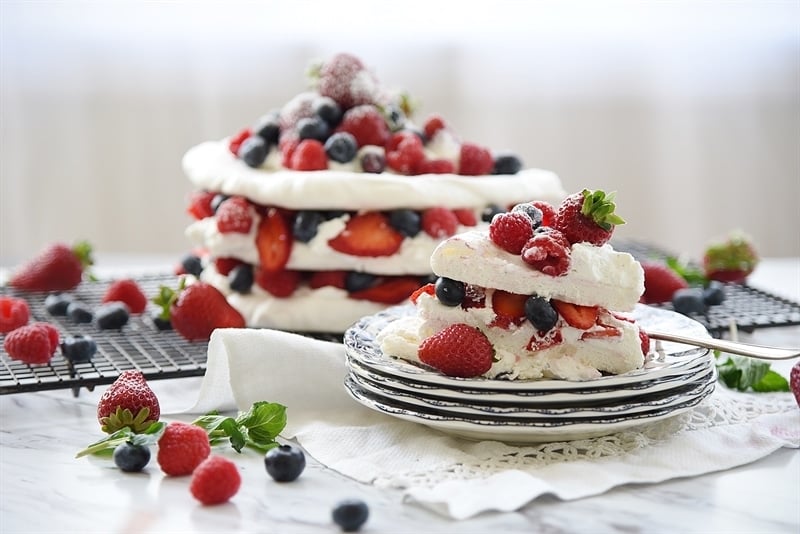
This meringue dessert is not the easiest to cut – I find using a serrated bread knife works well and use a sawing like motion. Even if it falls apart a bit when you slice it, it is still going to taste amazing.
Can I make Boccone Dolce ahead of time?
You can make the meringue layer 1-2 days ahead of time and keep them stored in an airtight container at room temperature. Do not store in the fridge. I recommend assembling the dessert with the whipped cream and berries the day you are going to serve it.
How to store leftover Boccone Dolce?
Store in an airtight container or covered with plastic wrap in the refrigerator for a day or so, it won’t last much longer than that.
Check out more of my favorite recipes:
Be sure and follow me over on YouTube for weekly cooking demos.
Boccone Dolce
Ingredients
MERINGUE
- 4 egg whites room temperature
- 1 teaspoon pure vanilla extract
- 1/2 tsp cream of tartar
- 1 cup superfine sugar also called Baker’s sugar
FILLING
- 3 Tbsp. powdered sugar
- 3 cups heavy whipping cream
- ½ tsp. vanilla extract
- 2 pints berries sliced
Instructions
MERINGUE:
- Preheat oven to 225 degrees F. Line baking sheets with parchment or waxed paper. Trace three (3), 8-inch circles on paper.
- Using a mixer, beat egg whites, cream of tartar, and vanilla extract until soft peaks form.
- Gradually beat in sugar and continue beating until meringue is stiff and glossy.
- With a rubber spatula, spread meringue evenly and equally over top of each parchment paper circle.
- Bake approximately 1 1/2 hours or until meringue becomes bisque colored. and is dry to the touch. It will release easily from the parchment paper.
- NOTE: The low temperature will prevent them from browning too quickly. Then turn off oven, open oven door, and let the meringues “rest” in the oven another 15 minutes. Remove from oven and carefully peel off parchment or waxed paper. Put cake on racks to dry until thoroughly cool.
FILLING
- In a large bowl, whip the cream until stiff; gradually add powdered sugar and then vanilla extract.
- Slice berries
- To assemble, place a meringue layer on a serving plate, rounded side down
- Top with a layer (about ¾ inch thick) of whipped cream
- Top cream with a layer of sliced berries
- Place a second layer of meringue on top of this, and repeat filling
- Top with final meringue, rounded side up, add whipped cream and lots of berries
- Refrigerate at least 4 hours or overnight
- Garnish with several whole strawberries and powdered sugar
Tips & Notes:
- Be sure and use egg whites at room temperature and a clean bowl in order to get your egg whites to whip properly. Tip Number Two
- Also make sure none of the egg yolk gets in with the whites or they won’t whip properly.
- You can make the meringue layer 1-2 days ahead of time and keep them stored in an airtight container at room temperature. Do not store in the fridge. I recommend assembling the dessert with the whipped cream and berries the day you are going to serve it.
Nutrition Facts:
Amelia Rubio says
What about the chocolate? i too have a yen for PH’s rendition of this “mouthful of sweetness”. I make it for all spcial occasions. we ordered one from them for or wedding cake!
Lucian Hodoboc says
It looks complicated to make, but also delicious… Hmm… I don’t know if I can make the time to prepare this today, but I definitely want to put it on my ‘to do’ list in the near future… Thank you for sharing…
Leigh Anne says
Easier than it looks and so worth the effort!
Jenica says
Love this recipe and have made it lots! We dip meringues in melted chocolate and after it has dried we add cream and berries! Hand down my favorite, people go crazy for them!
Deloris says
Oh dear– I didn’t see chocolate mentioned in the recipe–!