This post may contain affiliate links. Please see disclosure policy here.
This artisan bread made from a no knead bread recipe will impress all of your dinner guests.
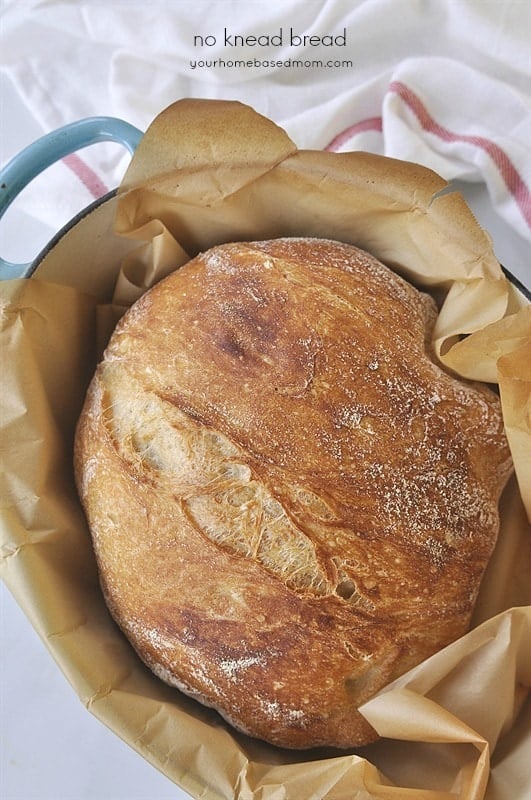
The first time I had this delicious artisan bread was at a dinner party hosted by my friend Shauna. All the food was amazing, but this bread was definitely the highlight for me and the other guests!
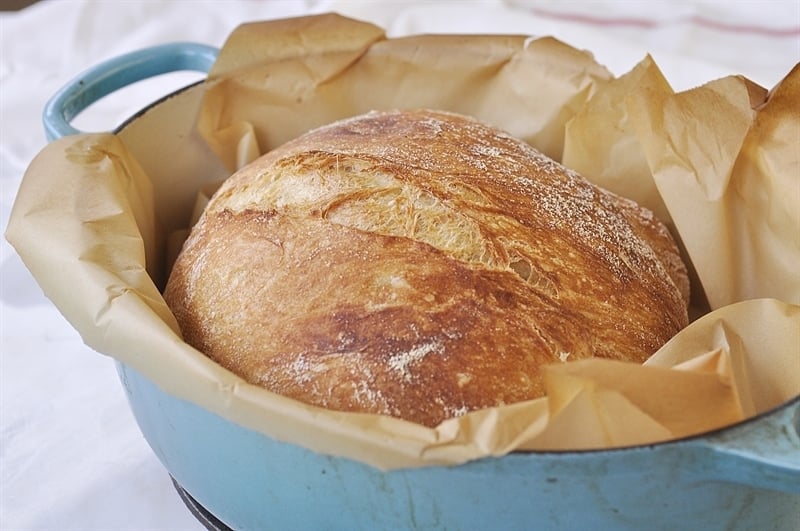
What is Artisan Bread?
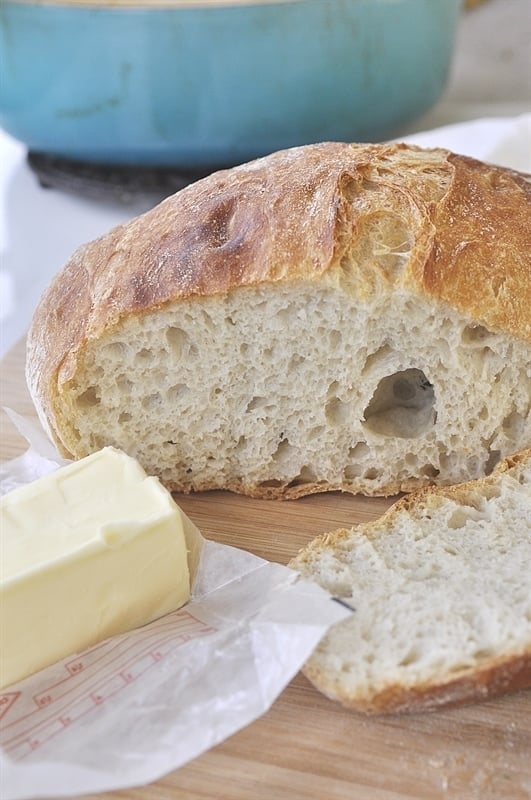
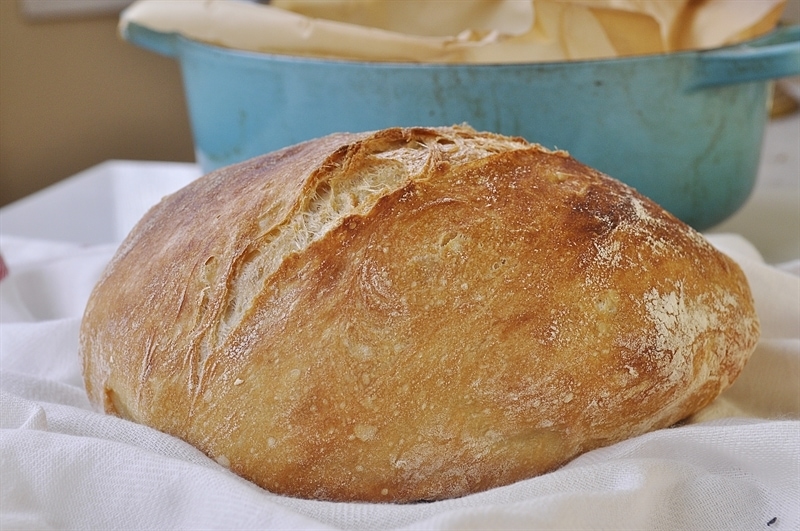
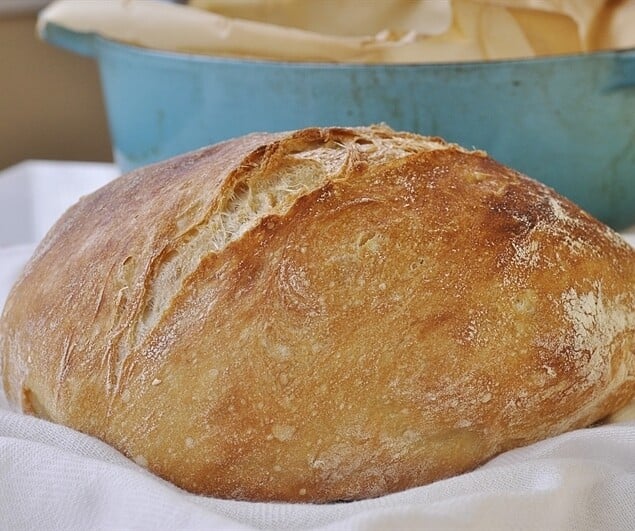
This artisan bread has a beautiful crispy crust and is moist and chewy on the inside. I loved it so much I went right home and made it twice the week after the party. And it has become a regular at our house ever since!
How to Make No Knead Artisan Bread
This bread is incredibly easy to make because there is no kneading. All it requires is some planning and time. About 12 -18 hours to be exact!
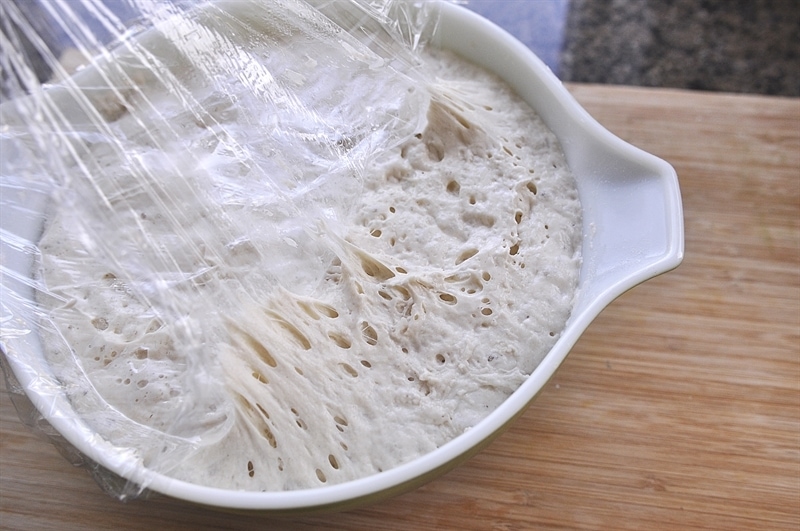
- Mix up the dough the night before. Let it rise all night and through half of the next day, 12-18 hours.
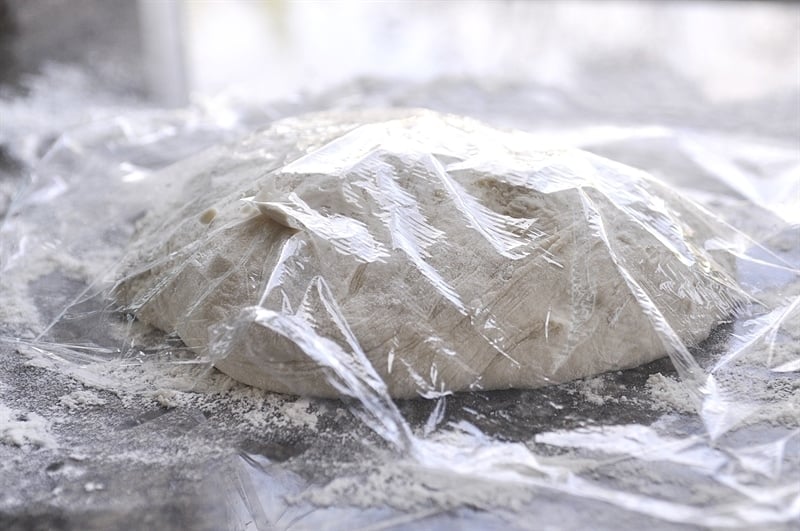
- After the dough has risen overnight, place it onto a lightly floured surface. Turn the dough a few times until the surface of the dough is covered in flour.
- Cover with plastic wrap and leave it to rest for about 15 minutes.
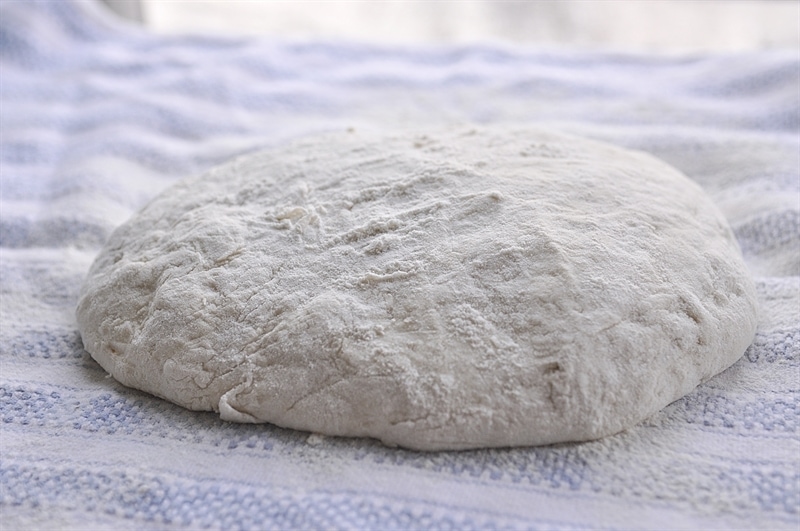
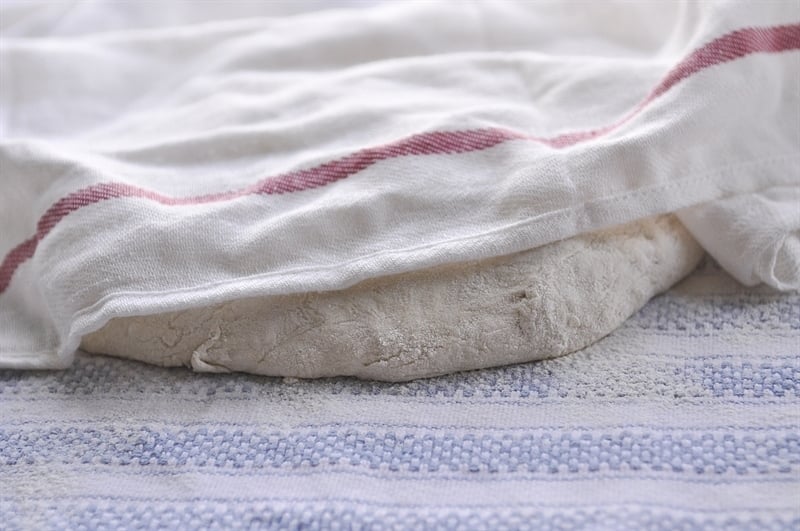
- After the 15 minutes is up, transfer it to a well floured towel and cover with another towel.
- Then let it rise for 2-3 more hours, until it has doubled in size.
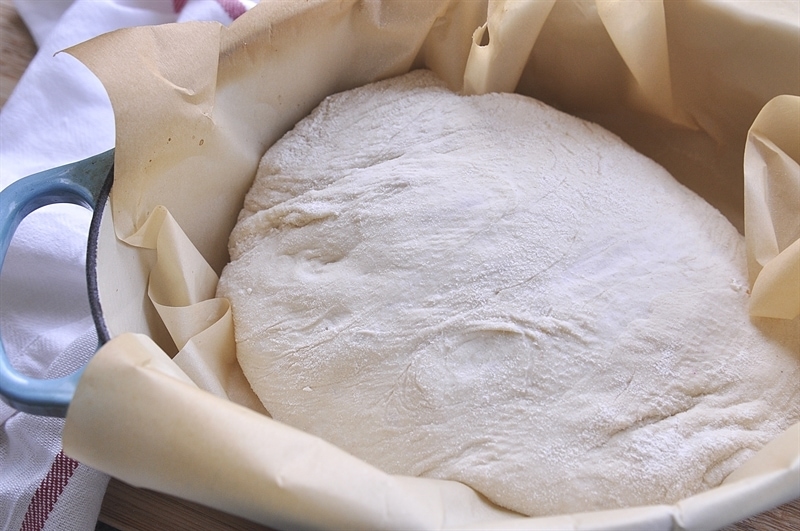
- After rising, transfer the dough to the hot, 3 to 6 qt. heavy covered pot.
- Bake, covered, for 30 minutes. No need to grease the pan. I usually line it with parchment paper to make removal easier but you can put the bread right into the pan if you like.
- Remove the lid and bake for an additional 15 minutes or until bread turns golden brown. Baking the bread covered allows the steam to create a bread that is chewy but with an amazing artisan style crust.
What Kind of Pan Should I Use?
I use a 5.5 qt dutch oven. If you don’t have a dutch oven any large oven safe pan with a lid will work, a lid is important. You can even use a 9 x 13 pan and cover with aluminum foil.
No Knead Bread Variations
You can add in herbs, spices, dried fruit, chopped nuts and or cheese. Add it in during the initial flour-yeast mixture. This helps prevent over working the dough. When you over work the dough you lose those soft, fluffy air pockets that form in the loaf.
Try these other delicious bread recipes:
For all my other favorite kitchen products and tools visit my Amazon Store.
Be sure and follow me over on You Tube for weekly cooking demos.
No Knead Bread
Ingredients
- 3 cups all-purpose or bread flour more for dusting
- 1/4 teaspoon rapid rise instant yeast
- 1 1/4 teaspoons salt
- 1 5/8 cups water, warm out of tap
- Cornmeal as needed.
Instructions
- In a large bowl combine flour, yeast and salt
- Add 1 5/8 cups water, and stir until blended; dough will be shaggy and sticky.
- Cover bowl with plastic wrap. Let dough rest at least 12 hours, preferably about 18, at warm room temperature, about 70 degrees.
- Dough is ready when its surface is dotted with bubbles.
- Lightly flour a work surface and place dough on it; sprinkle it with a little more flour and fold it over on itself once or twice.
- Cover loosely with plastic wrap and let rest about 15 minutes
- Using just enough flour to keep dough from sticking to work surface or to your fingers, gently and quickly shape dough into a ball.
- Generously coat a cotton towel (not terry cloth) with flour, wheat bran or cornmeal; put dough seam side down on towel and dust with more flour, bran or cornmeal.
- Cover with another cotton towel and let rise for about 2 hours.
- When it is ready, dough will be more than double in size and will not readily spring back when poked with a finger.
- At least a half-hour before dough is ready, heat oven to 450°.
- Put a 6- to 8-quart heavy covered pot (cast iron, enamel, Pyrex or ceramic) lined with parchment paper in oven as it heats. When dough is ready, carefully remove pot from oven.
- Slide your hand under towel and turn dough over into pot, seam side up; it may look like a mess, but that is O.K.
- Shake pan once or twice if dough is unevenly distributed; it will straighten out as it bakes.
- Cover with lid and bake 30 minutes. Then remove lid and bake another 15 to 30 minutes, or until loaf is beautifully browned.
- Cool on a rack
Debbie says
Can this be done with whole wheat flour
Leigh Anne says
Debbie, I have never tried it but I would think so.
Anna says
Definetly going to try this.
Jean F. Herzog says
I adapted this to a loaf shape for easier toasting and sandwiches. I let it rise in a loaf pan, preheat another loaf pan inside an oval roaster, transfer the dough via the parchment paper, and bake as directed in the loaf pan inside the covered roaster.
Judy B says
Thanks, Leigh Anne,
Actually, after I thought of the yeast, I ran out to get rapid rise, just in case you thought that might be it. Am trying it again today. Will let you know if I am successful. Judy
Judy B says
I have made this artisan bread exactly as written a number of times. It comes out of the oven looking just like yours and it does taste very good. The problem that I seem to have, is that the interior is not just moist, it is VERY moist and the texture is too fine….not open & full of holes like yours. I am careful to work it as little as possible and lately, I have tried using less water. Still almost wet inside. I have been a bread maker for more than 40 years and so far have never found a bread recipe that defeated me. Can you think what I may doing (or not doing) to cause this? I look forward to your thoughts.
Leigh Anne says
Judy, What kind of flour are you using? I know the recipe says all purpose or bread flour.
Judy B says
Thank you for your reply. I use all purpose flour and adhere exactly to the recipe. My first rising time is right around 18 to 20 hours. I could leave it longer if you think that would help, but I thought that would only make the flavor more tangy. I don’t know if it makes any difference, but we are in central Arizona, about 1,000′ above sea level …..usually very dry. Right now we are in monsoon season with a higher humidity. Dry or humid…doesn’t seem to matter – the crumb is still almost wet. I have made some beautiful breads in my day….I am wrestling with the fact that such a wonderfully simple recipe could be my nemesis. Oh, wait! One difference…I use active dry yeast, not rapid rise instant. Could that be it? I bake often enough that my yeast is fresh, but…..? Thanks in advance for your reply. Judy
Leigh Anne says
Judy, This recipe is designed to use rapid rise yeast, not active dry yeast so I would recommend you try it with rapid rise and see how it works for you.