This post may contain affiliate links. Please see disclosure policy here.
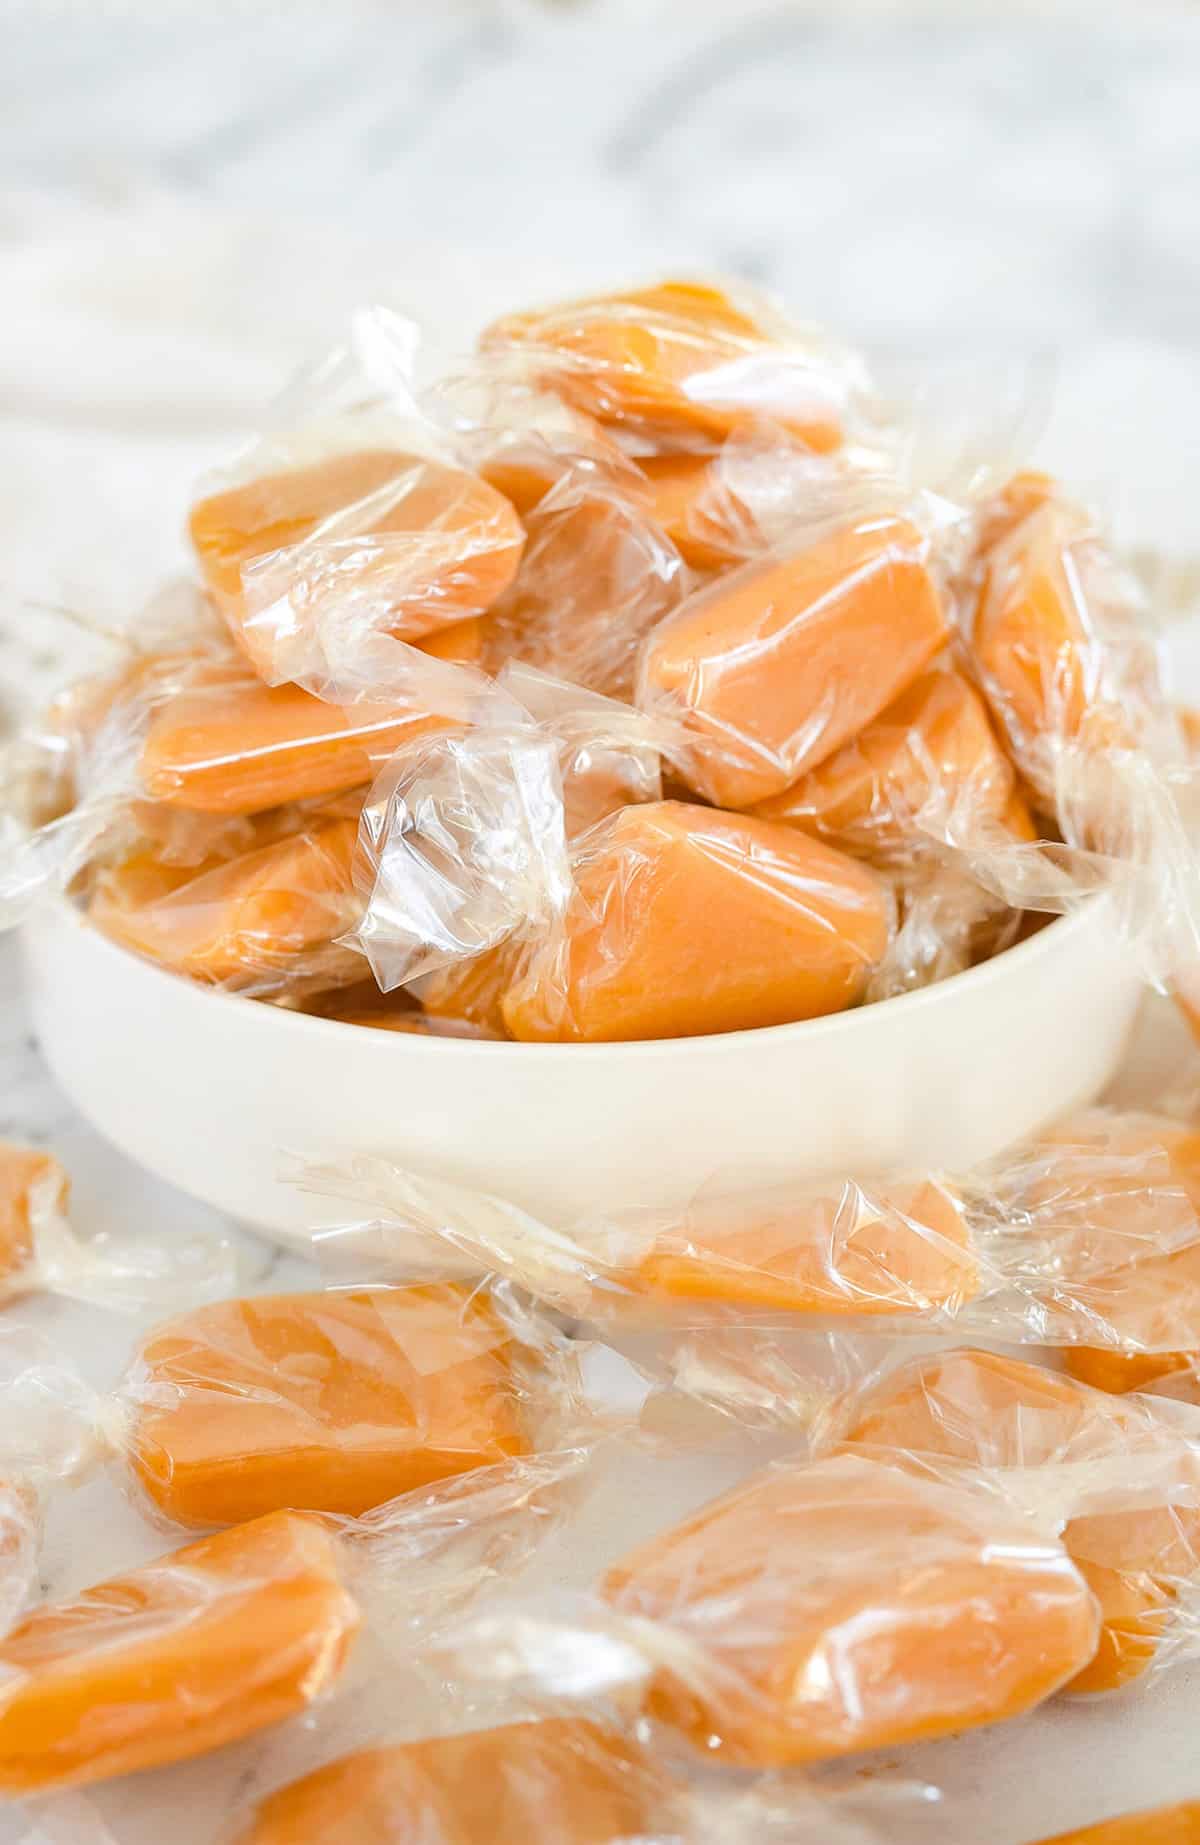
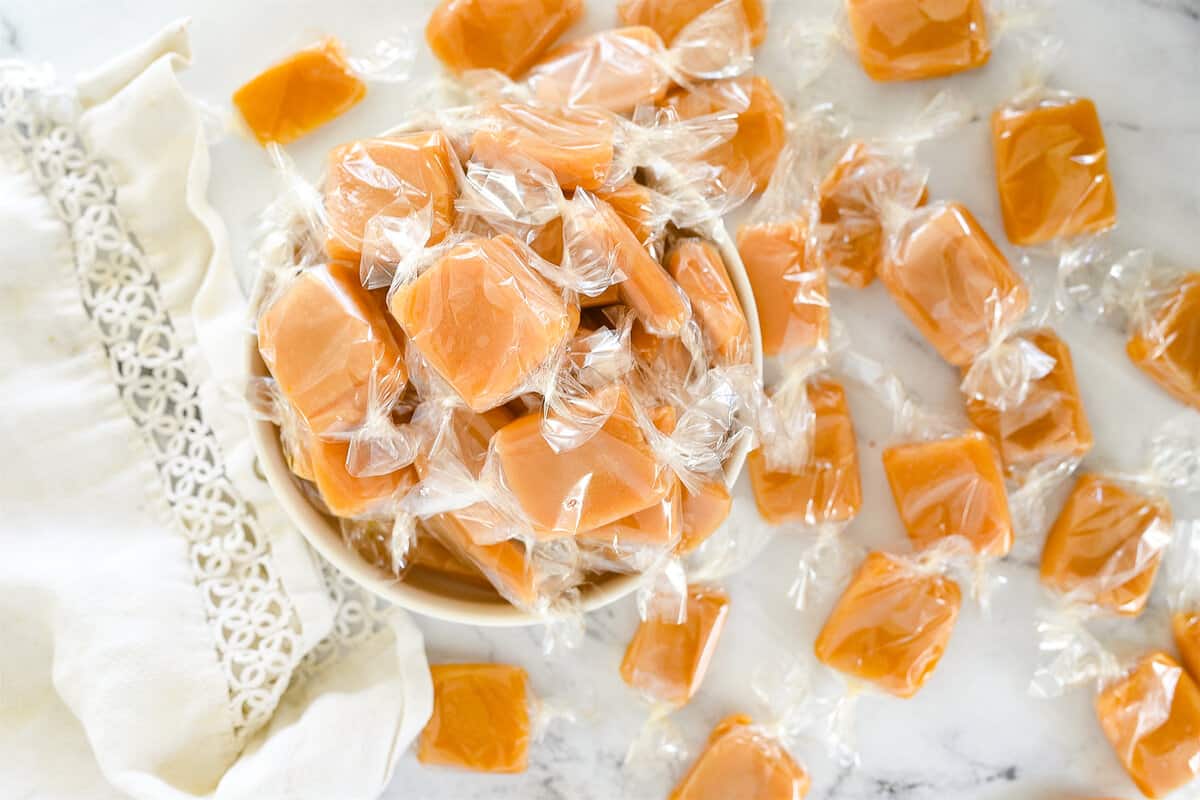
These homemade caramels are soft, chewy and delicious! A classic candy that is easy to make at home and perfect for holiday gifts.
Why You’ll Love this Recipe
Just like Grandma use to make! Candy making is as big a part of our holidays as cookie baking. My grandmother was a candy maker and this recipe was her homemade caramel recipe. We’ve been making it for three generations in our family. My mother remembers sitting at the kitchen table and wrapping caramels. I too, remember sitting at the kitchen table wrapping caramels and eating a few along the way, as do my kids!
Perfect texture. These caramels are soft and chewy.
Ingredients Needed
- Light corn syrup
- Granulated sugar
- Butter, salted
- Half and half or heavy whipping cream
- Evaporated milk
- Vanilla Extract
Candy Making Tips
There are two tools that are essential to making perfect homemade caramels.
- Candy Thermometer. This is the one I use.
- Heavy Gauge saucepan. And the other must have for candy is a nice heavy gauge pan. If you don’t want your caramel burn, a heavy bottom pan is a must. I am lucky enough to have my mom’s old candy making pan. It is the bottom of an old pressure cooker and works great. Goodwill is a great place to pick one up or if you’d like a new one this is a good heavy gauge pan.
How to Make Homemade Caramels
- Using a heavy gauge pan, combine sugar, corn syrup and half and half. Stir until sugar is dissolved.
- Bring to a boil over medium heat. Boil for 10 minutes.
- Pour in evaporated milk a little at a time. It’s important to do this a little at a time so that the caramel mixture maintains a steady temperature. Don’t rush it.
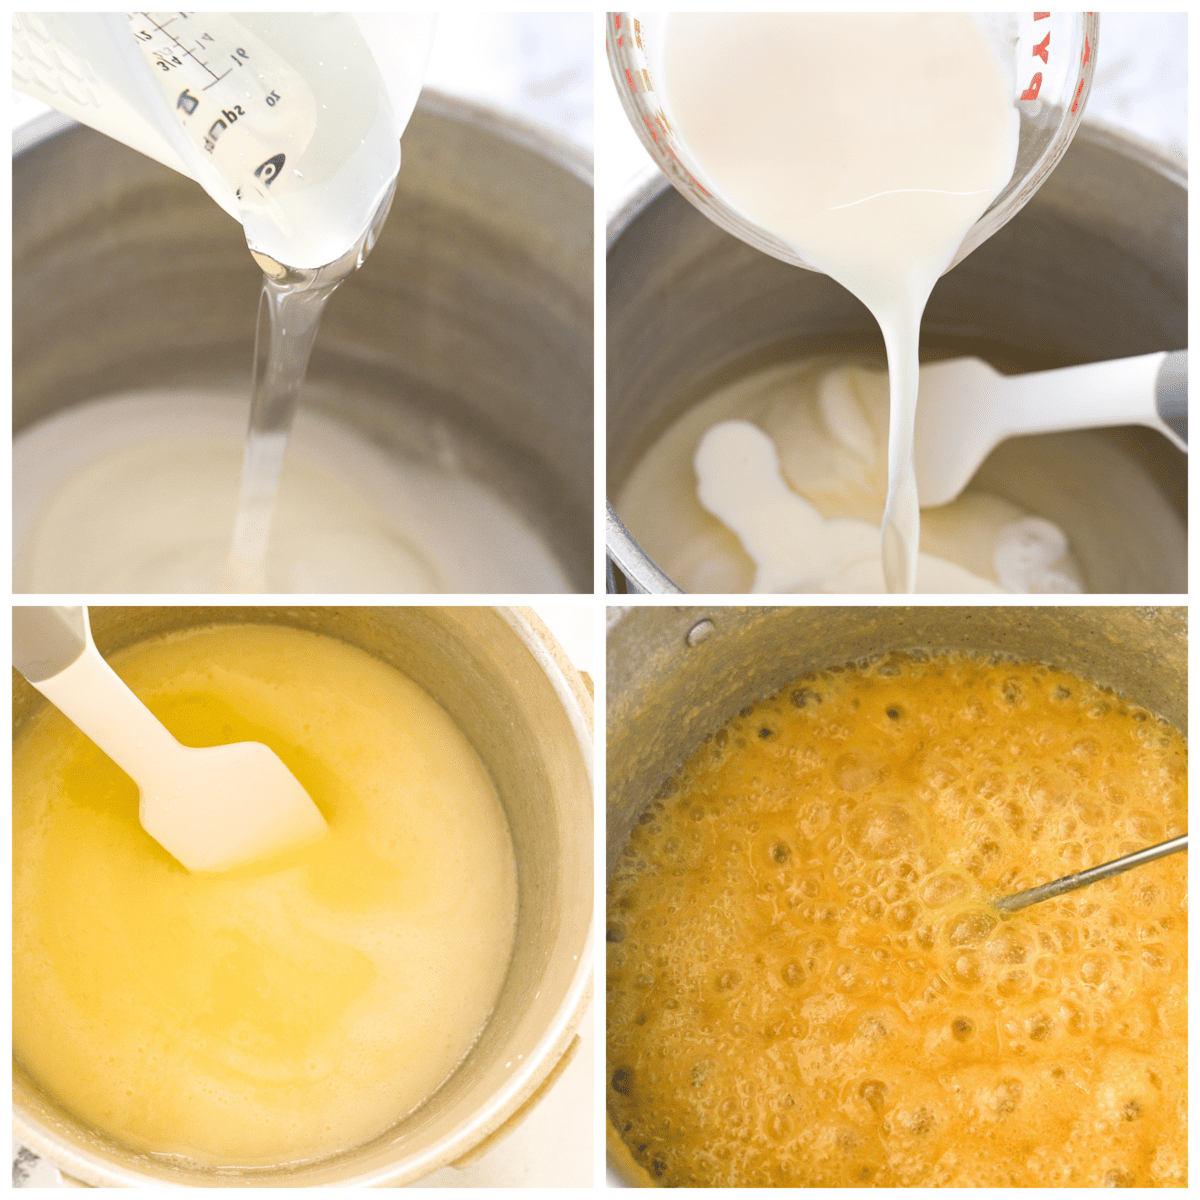
- Add in butter. Cut it into cubes.
- Bring back to a full low boil and cook over a medium low heat until a candy thermometer reaches 243 degrees F which is the soft ball stage. Stir now and then. Stir more often the closer it gets to the desired temperature and as the caramel begins to darken. Mixture will thicken and turn golden brown.
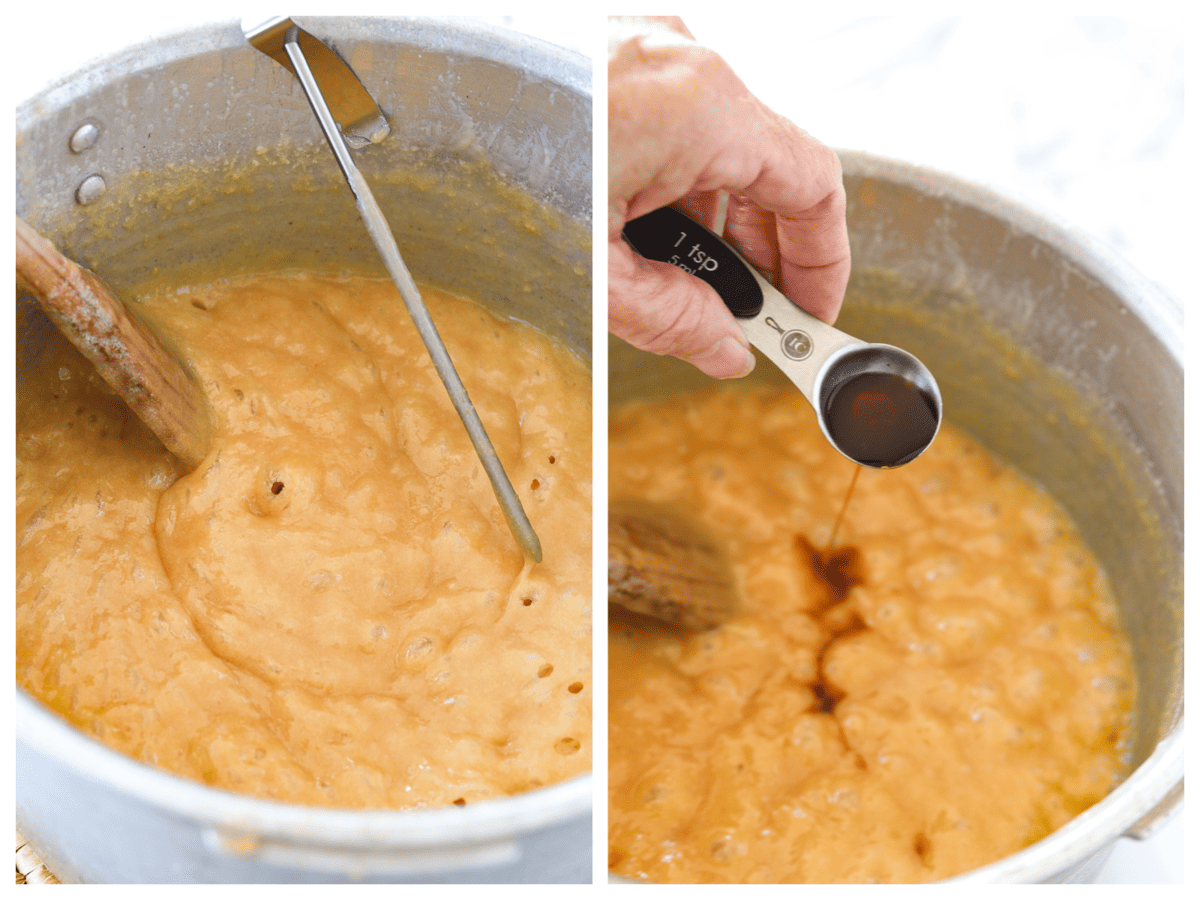
Tip #1 Don’t rush this stage or you will burn the caramel.
- Remove from heat and stir in vanilla.
- Pour into two 8 x 8 buttered pans or one 9 x 13 inch buttered pan and allow to cool and set up
Tip #2 As you pour it into the pan, do not scrap the bottom of the pot. You may find some of the caramel has stuck a bit and even turned dark brown. That is fine but you don’t want to scrap that into your finished caramels.
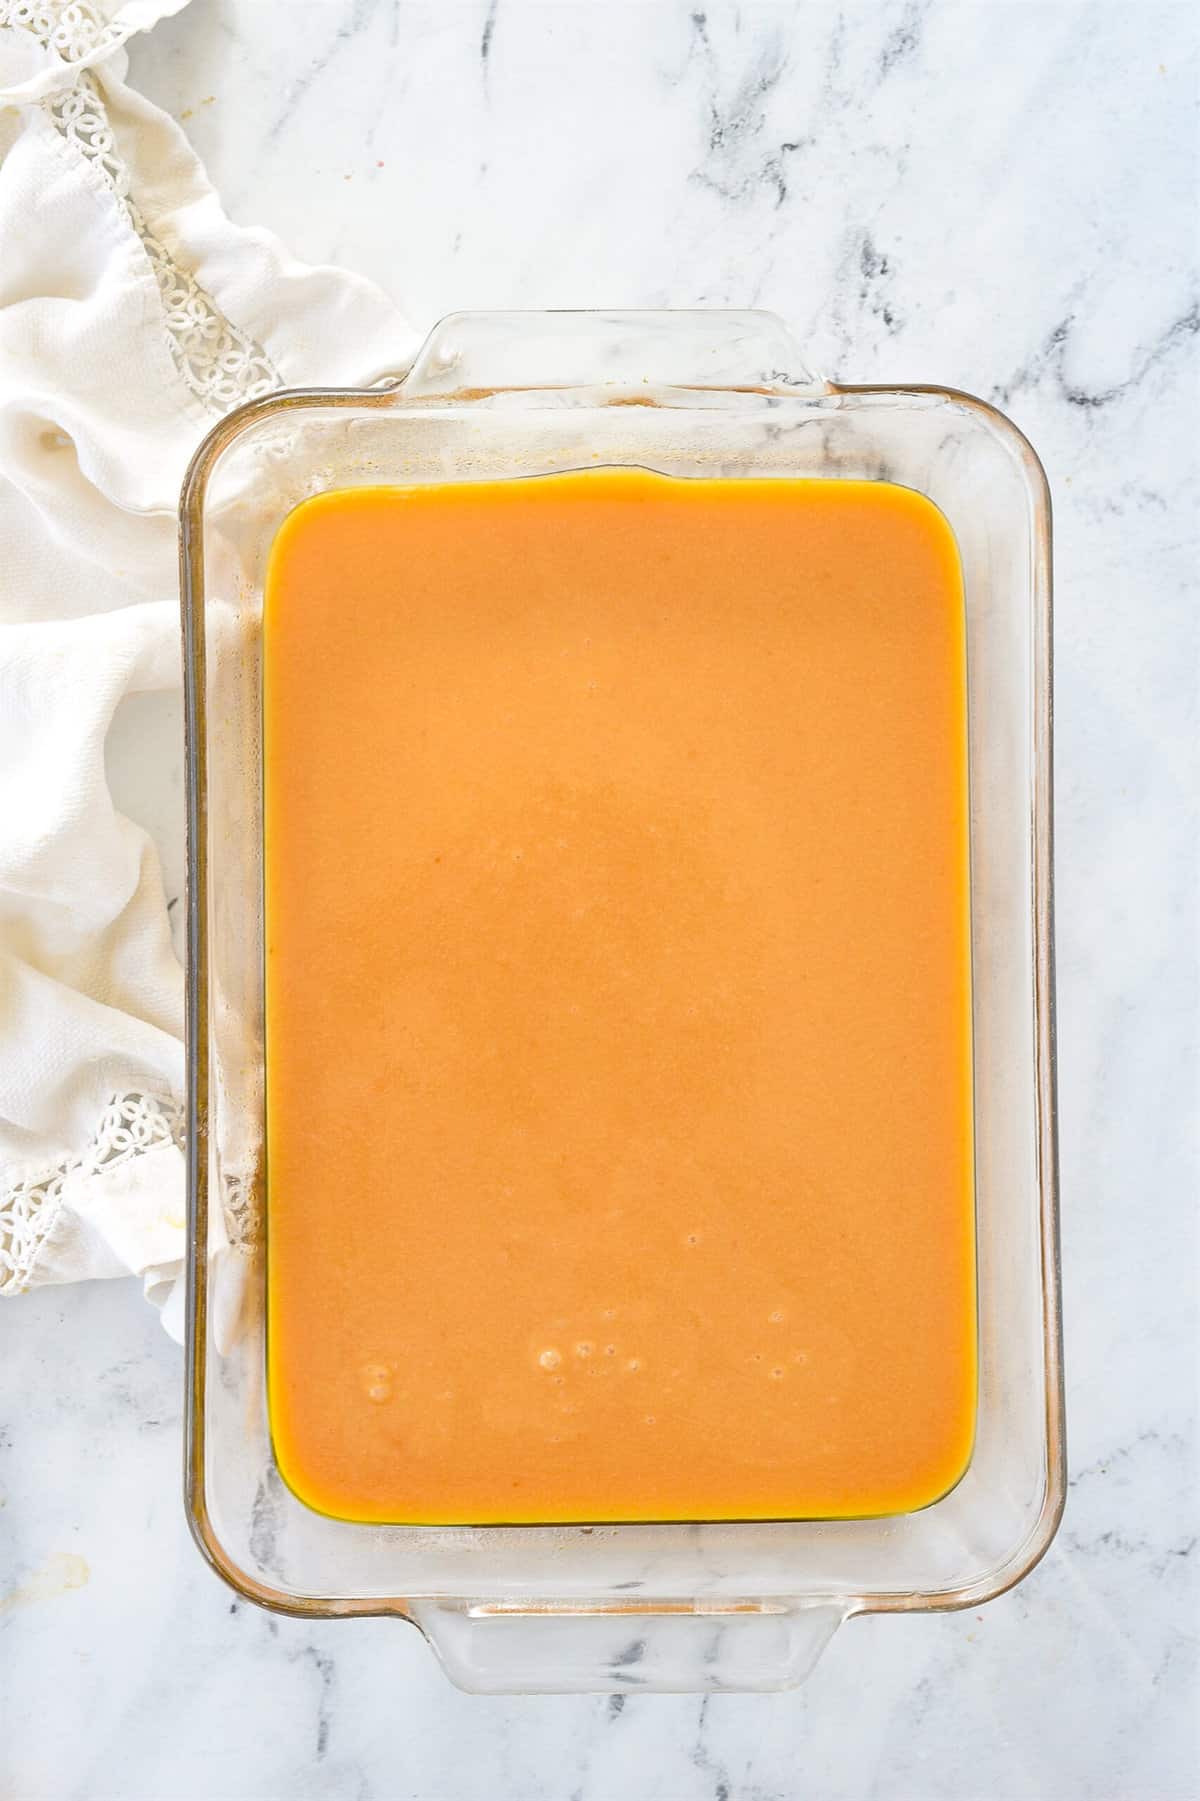
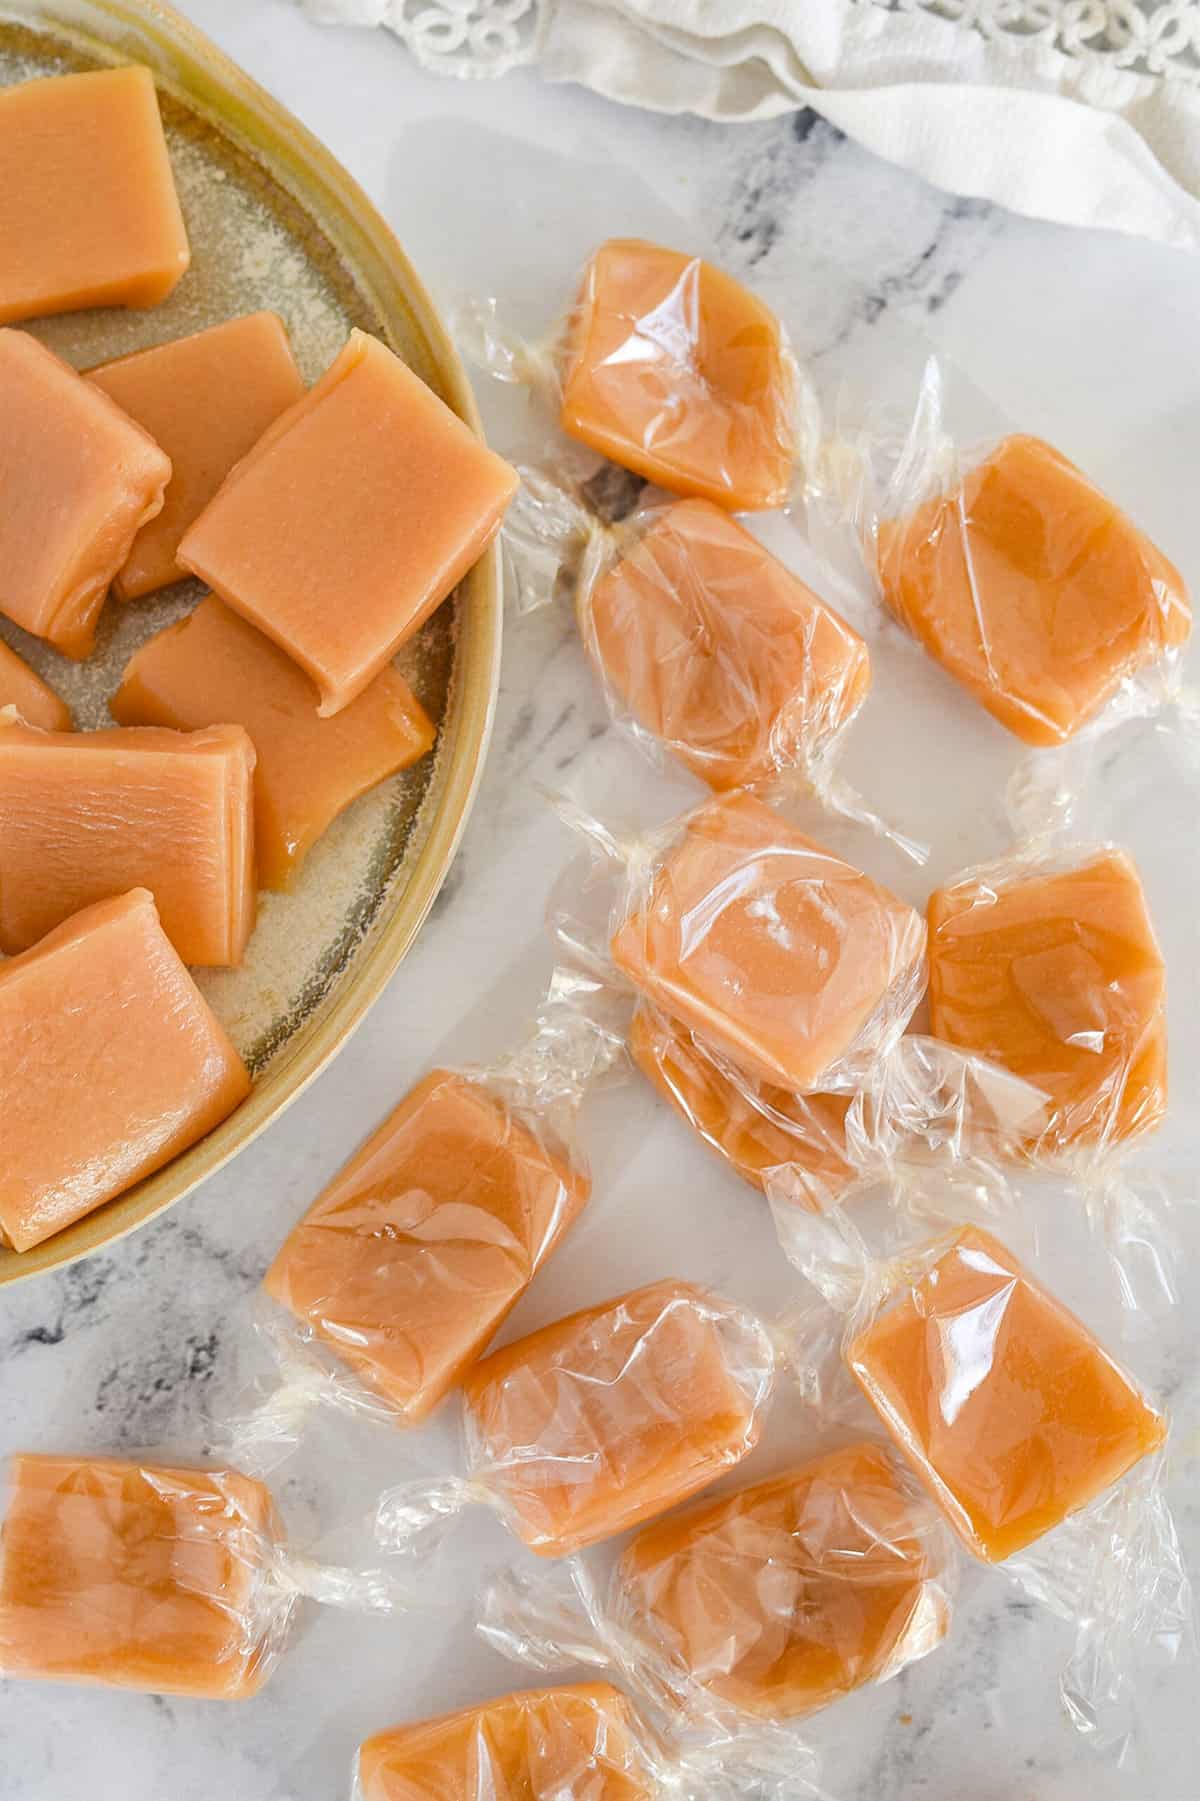
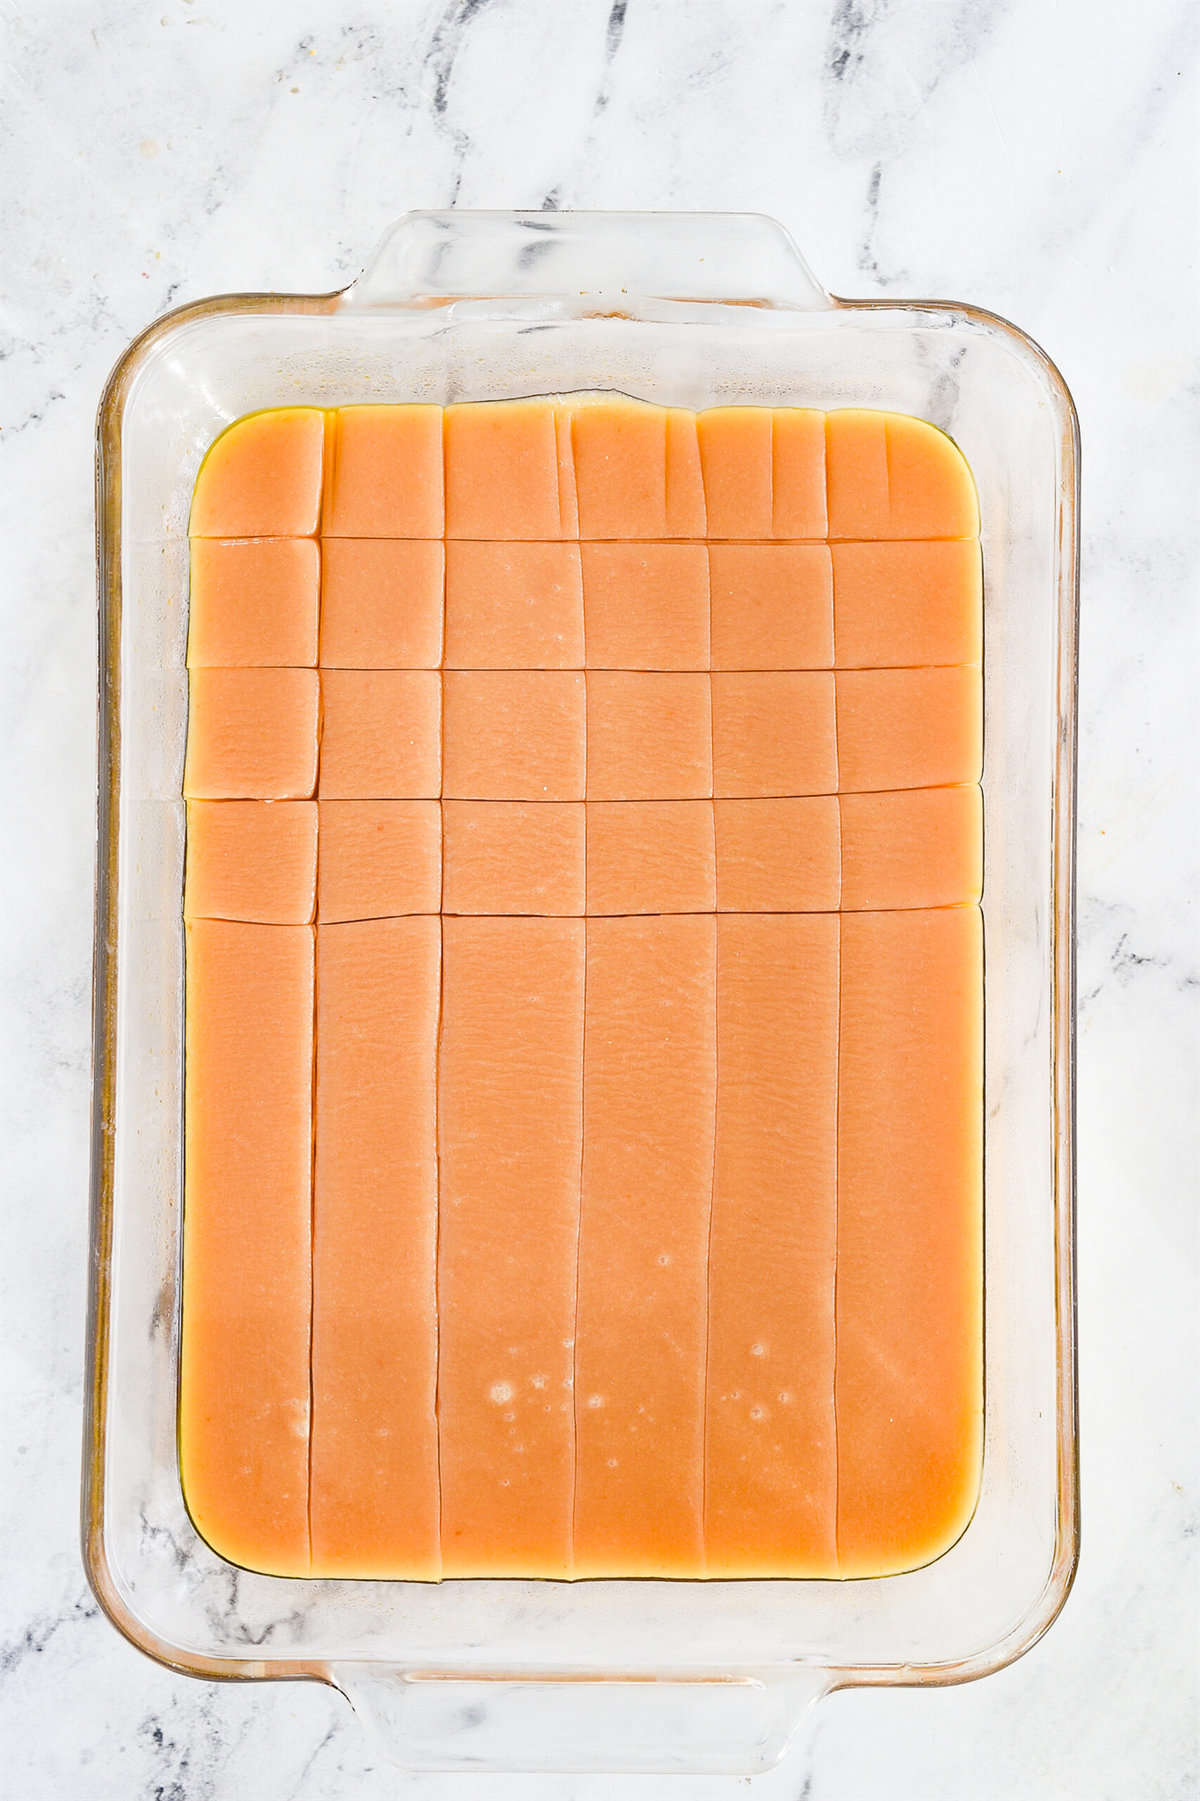
- When cool, cut into pieces and wrap.
How To Wrap Caramels
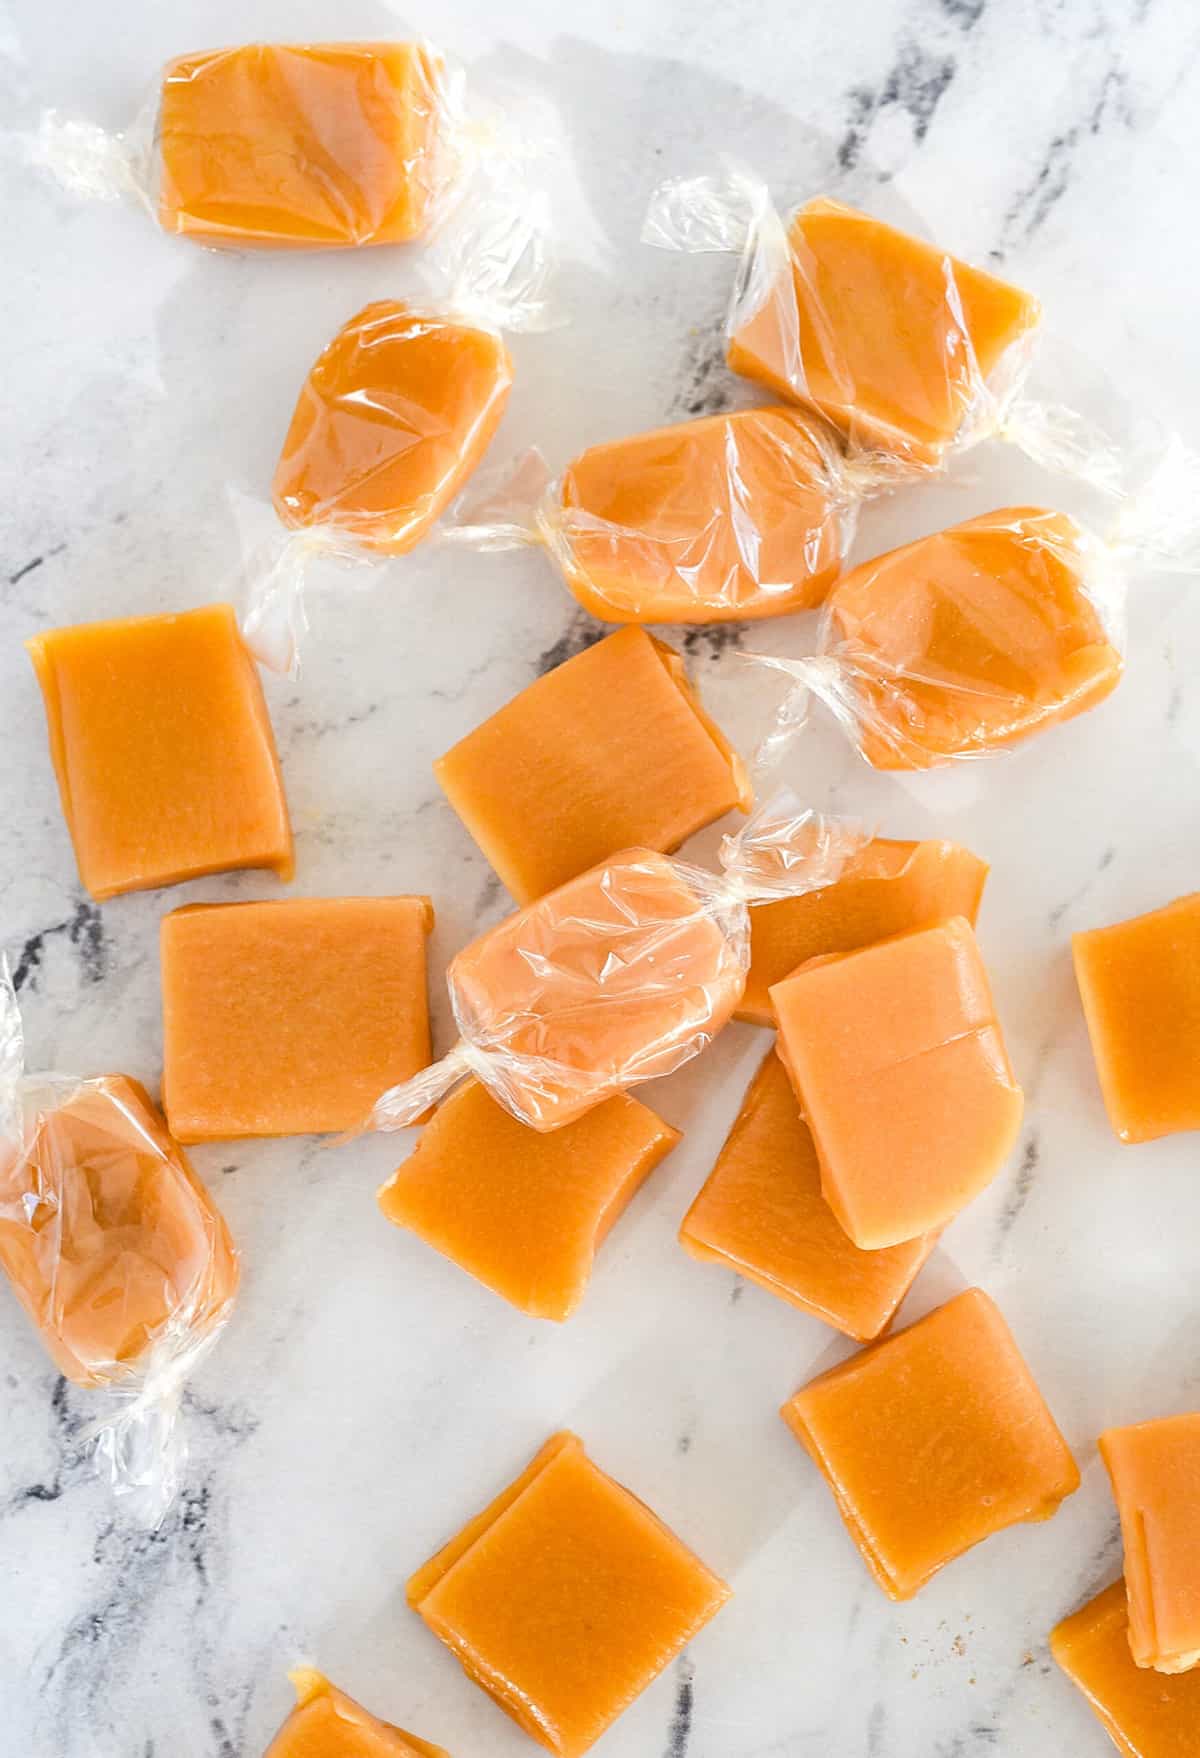
- Using a sharp knife, cut homemade caramels into 1 1/2 x 1 inch pieces. One batch of caramels will yield about 50-60 caramels.
- Caramels can be cut at room temperature or chilled. They can be easier to cut if they’ve been chilled. You want them chilled, not cold.
- If your knife blade is sticking to the caramels, dip it into cold water.
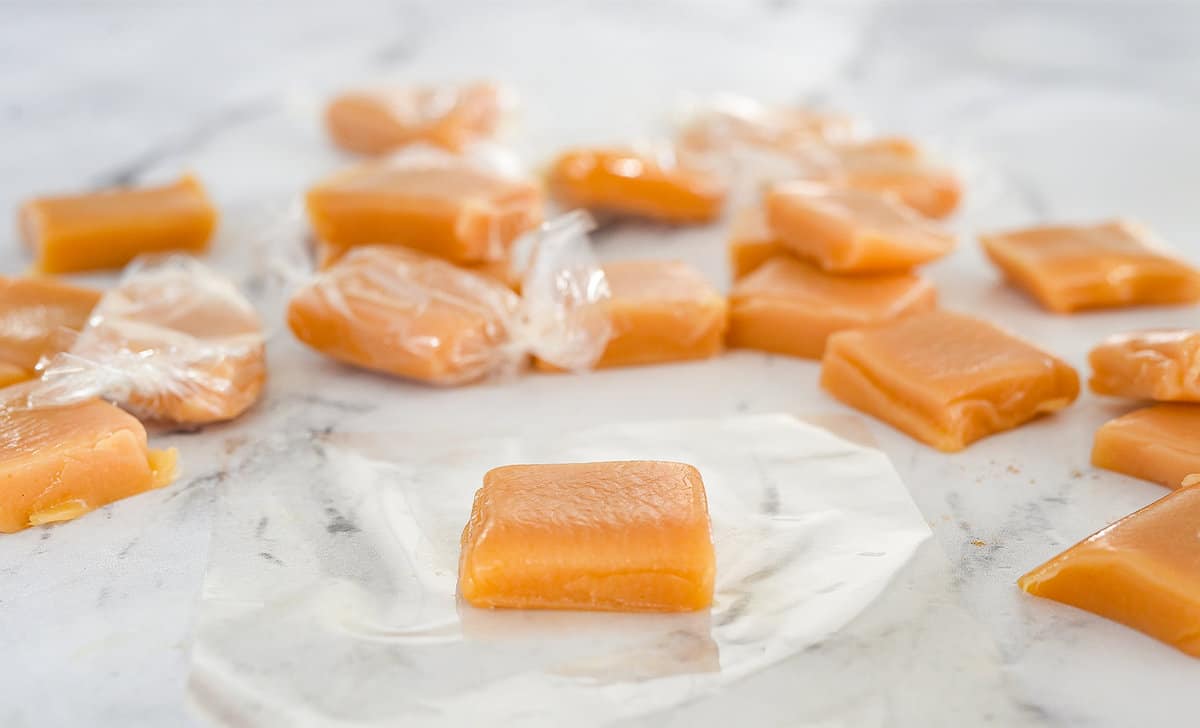
- Place the piece of caramel on a small piece of wax paper, parchment paper or you can also purchase these pre cut candy wrappers.
- Wrap caramel wrapper or wax paper around the caramel. You can then roll it to make a log shape if you like or leave it rectangular.
- Twist ends of wrapper.
Caramel Variations:
- Salted Caramels. After pouring caramels into pan, lightly sprinkle with some flakey sea salt.
- Chocolate Caramels. After cutting the homemade caramels, dip into some melted chocolate and allow to set before wrapping.
Frequently Asked Questions
Can I make homemade caramels without a candy thermometer?
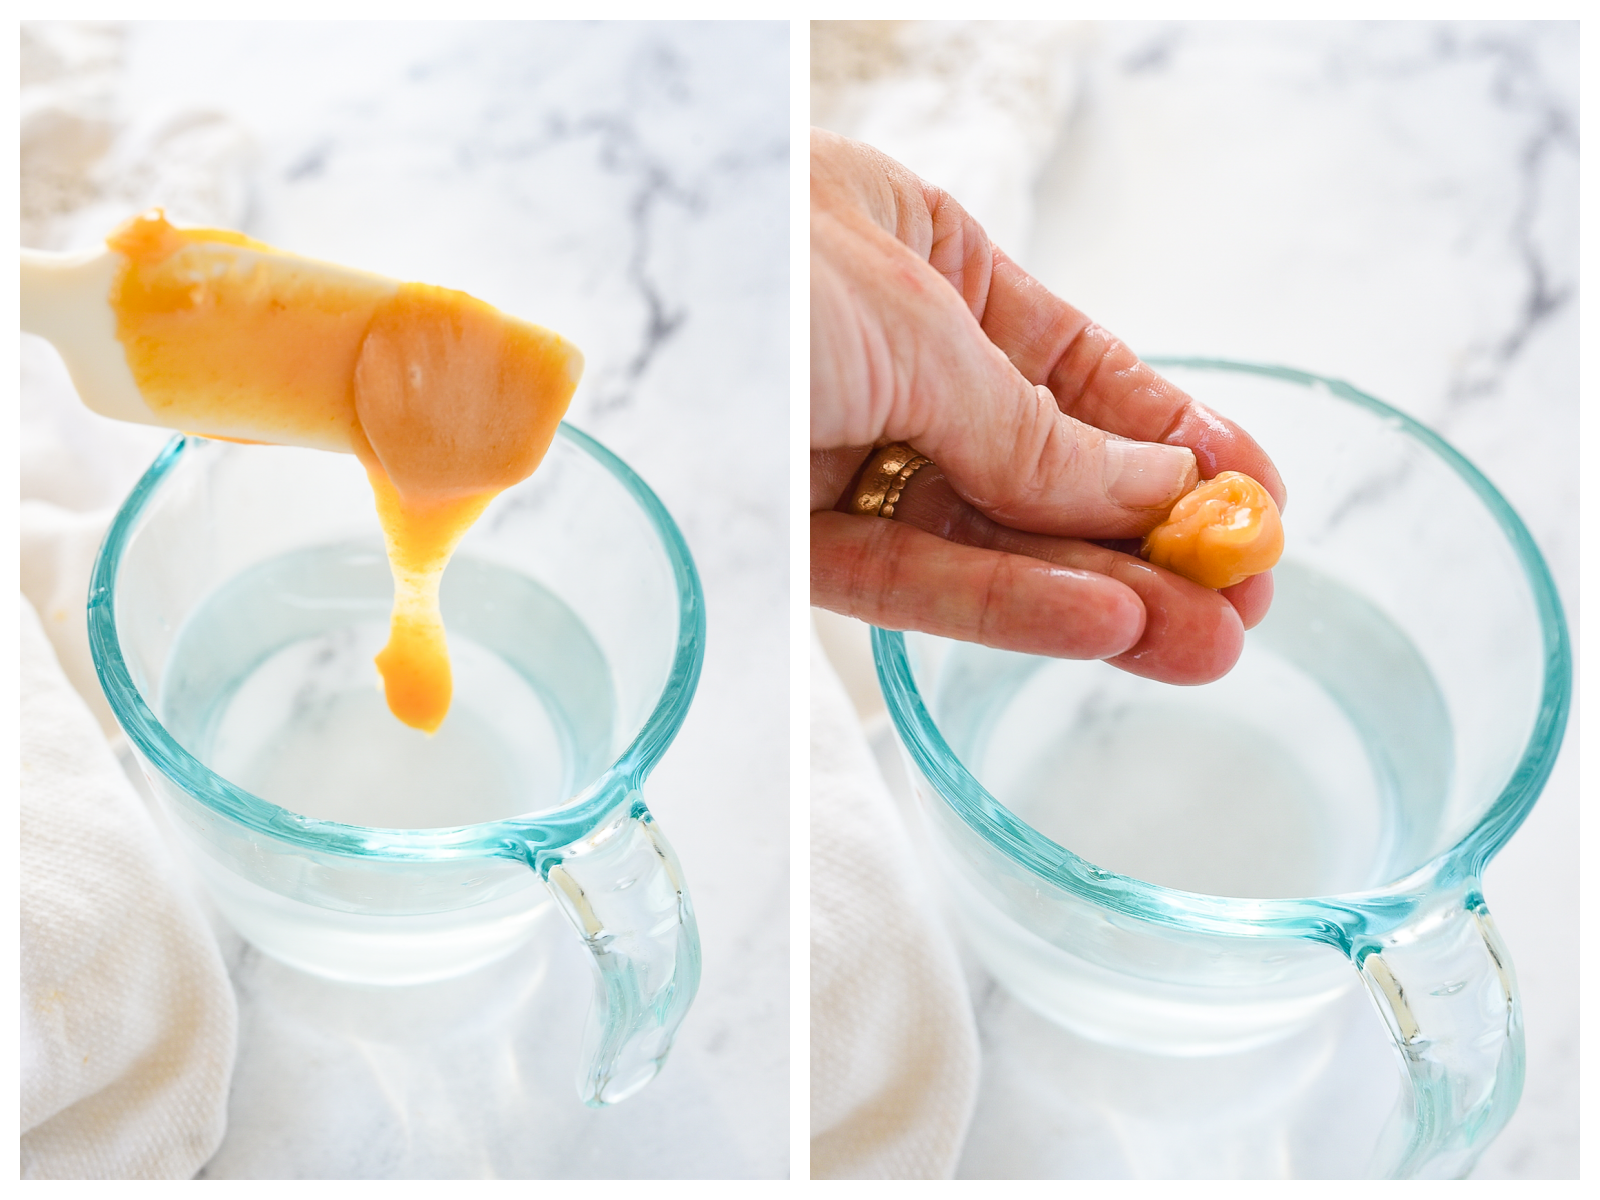
You can use the cold water test. Take a small amount of hot caramel and drizzle it into a glass filled with ice cold water. When it hits the soft ball stage you will be able to form the caramel into a ball with your fingers. The caramel should be soft and pliable and still slightly sticky. Even if you have a candy thermometer it is a good idea to do the ice water test too.
How to store homemade caramels?
Wrapped and stored in an airtight container, caramels will last for 2 weeks. You can also store them in the refrigerator. I recommend allowing them to come to room temperature before enjoying for the best texture and flavor.
Can you freeze homemade caramels?
Yes! They can be stored, wrapped, in a freezer container for up to 2 months. Be sure and thaw before eating.
Why are my caramels too soft?
If they are too soft, then the mixture didn’t get hot enough or cook long enough. You can place the caramel mixture back in the saucepan, add 2 Tablespoons of water and cook until it reach 243°F.
Why are my caramels too hard?
This means they were overcooked and passed the soft ball stage. You may also want to check your candy thermometer to make sure it is reading correctly.
Do I need to adjust anything for making homemade caramels at high altitude?
If you live at a high enough altitude where the water boils at 202 degrees, you’ll need to subtract an additional 2 degrees for every 1,000 feet above sea level for the temperature point listed in the recipe.
Try these other yummy recipes:
Be sure and follow me over on You Tube for weekly cooking demos.
Homemade Caramels
Ingredients
- 1 1/2 cups light corn syrup
- 2 cups granulated sugar
- 1/2 cup butter cut into pieces
- 1 cup half and half or use heavy whipping cream
- 5 oz evaporated milk
- 1 tsp vanilla
Instructions
- Using a heavby gauge pan, combine sugar, corn syrup and half and half. Stir until sugar is dissolved.
- Bring to a boil over low heat. Boil for 10 minutes.
- Add evaporated milk a little at a time.
- Add in butter.
- Bring back to a boil and cook until a candy thermometer reaches 243 degrees Stir now and then. Stir more the closer it gets to the desired tempeature. Mixture will thicken and turn golden brown
- Remove from heat and stir in vanilla.
- Pour into 2 8 x 8 butter pans and allow to cool and set up
- When cool, cut into pieces and wrap in wax paper.
Dana says
I have a questions about your instructions? See below
Caramel is made in stages. You first combine sugar, corn syrup and half and half and boil for 10 minutes and then gradually pour in the half and half.
Is it the evaporated milk you pour in gradually after it boils??
Also, do I need to make adjustments to temperature (243) if I live in Utah at around 4,000 feet above sea level.
Leigh Anne says
Dana, The complete, detailed instructions are at the bottom of the post. Just scroll down the post and you will find it at the bottom of the post. It is all explained there. I am not sure about the altitutde difference but I don’t think you need to make an adjustment.
Ania says
Hi, prob silly question but what is half and half?
Thanks
Leigh Anne says
It is a dairy/milk product you will find in the milk section of the grocery store, next to the whipping cream usually.
michelle says
I made this last night and received rave reviews. my question is when do u add the vanilla – I added it after the milk and it seemed fine but just want to make sure that’s the optimal time.
Leigh Anne says
Michelle, So glad you loved the caramels too! Sorry about leaving that direction off. I add it in at the very end when I take it off the heat but I realized when I made them this last time I forgot to add it in and they still tasted wonderful.
Mary Anne Best says
Even at such an advanced age, I learn something new every day. I like your brother more than you!? I think my children are perfect – all three of them.
Thanks for the memories. I’ve wrapped, and eaten, a lot of caramels through the years. These sound wonderful.
Leigh Anne says
Maybe I’ll get some divinity this year and you can prove me wrong 🙂