This post may contain affiliate links. Please see disclosure policy here.
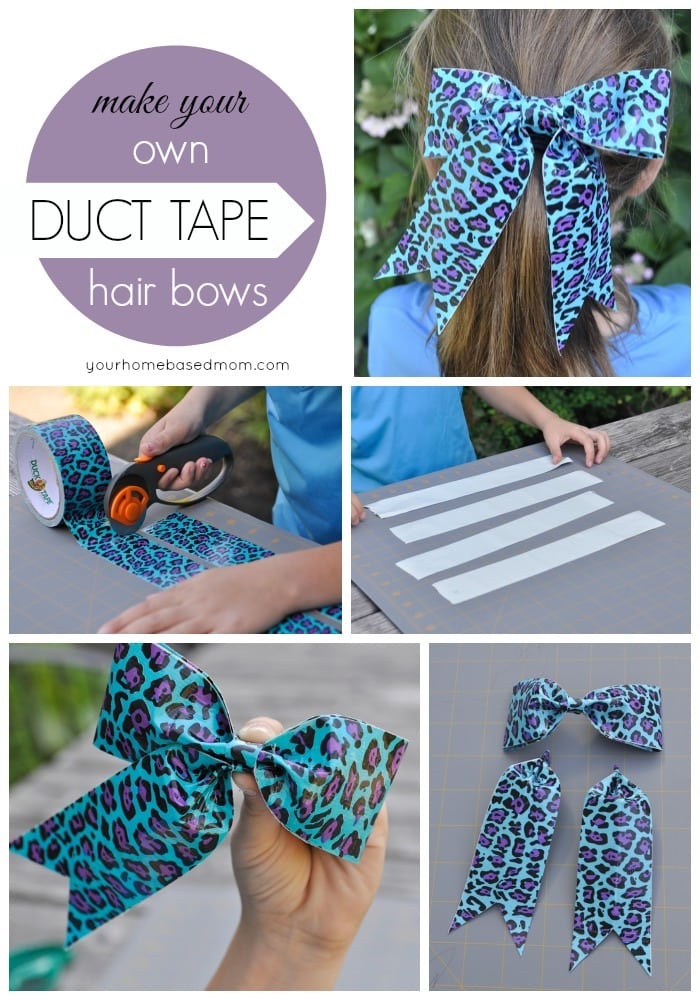
This summer we had a fun Daddy Daughter Activity in our backyard. One of the activities we did was make duct tape hair bows. One of my Activity Day girls is quite good at it so we had her teach all the other girls. Today I’ve got a step by step tutorial for you on how to make these darling duct tape hair bows.
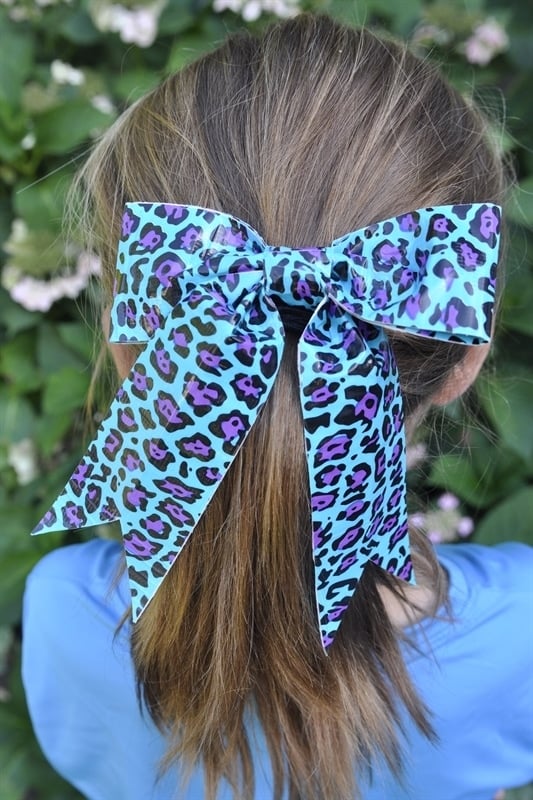
I have been told that the actual Duct Tape brand of tape works the best. We had a fun selection of colors and patterns for the girls to choose from.
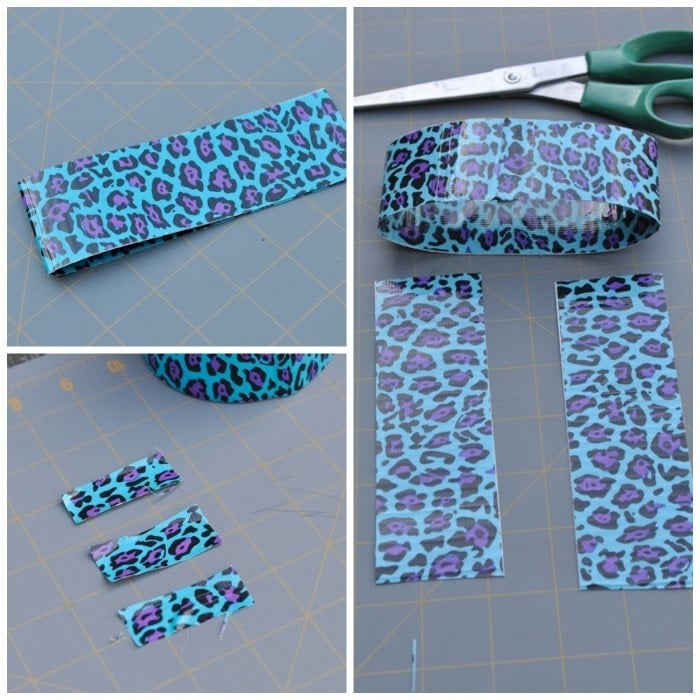
Step One: Cut four 12 inch pieces of duct tape. It is much easier to cut the tape with a rotary cutter or an exacto knife. Using scissors is much harder and frustrating for the girls as the adhesive sticks to the scissors.
Step Two: Turn the strips upside down and then place the sticky sides together so you end up with two strips. Be sure and get your edges nice and even. If you don’t, trim off any sticky edges that are exposed.
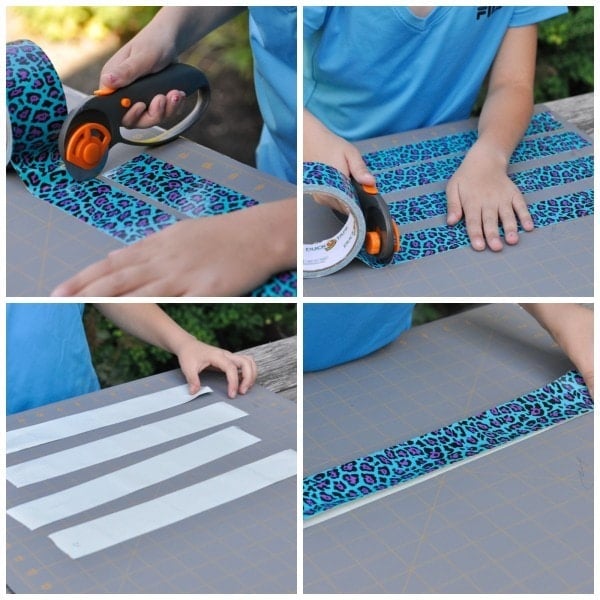
Step Three: You will need four strips of tape that are about 1/2″ wide. You will use these to fasten everything together.
Step Four: Take one of your 12 inch pieces and fold the two ends into the middle. Use one of your small pieces of tape to tape the edges down. You will now have a loop. This will form the bow.
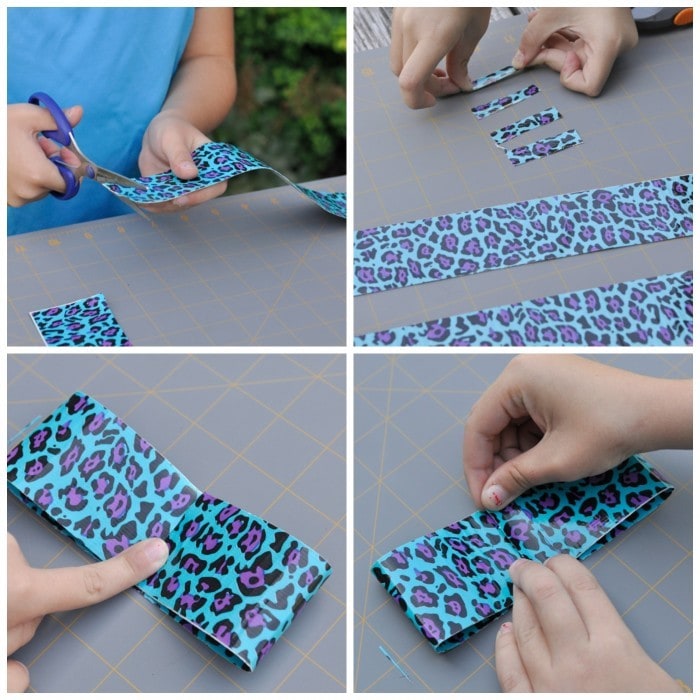
Step Five: Take your other 12 inch piece and fold it in half and then cut it in half so you have two 6 inch pieces. These are the tails of the bow.
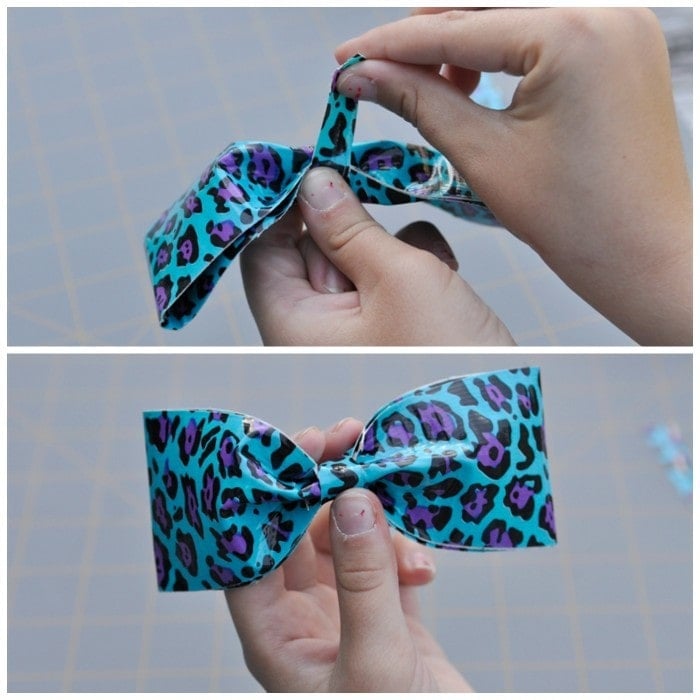
Step Six:Take your looped piece of tape and pull it together in the middle to form your bow. Pleat the center accordian style. Use a small piece of tape to wrap around it to hold it into place.
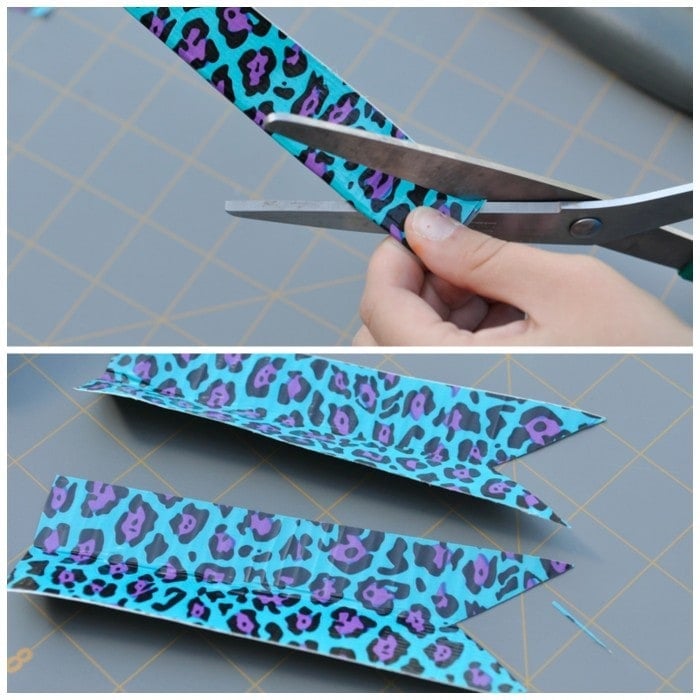
Step Seven: Fold the tails in half and cut them at an angle going from the open end to the fold edge.
Step Eight: Pleat the end of the tail accordian style and use your small piece of tape to tape it closed. Repeat with other tail.
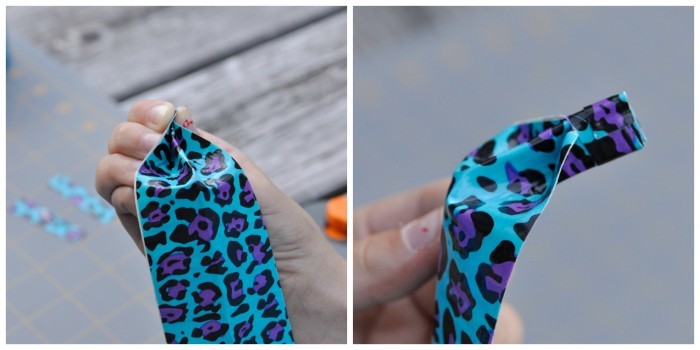
You will now have a bow and two tails. Almost there!
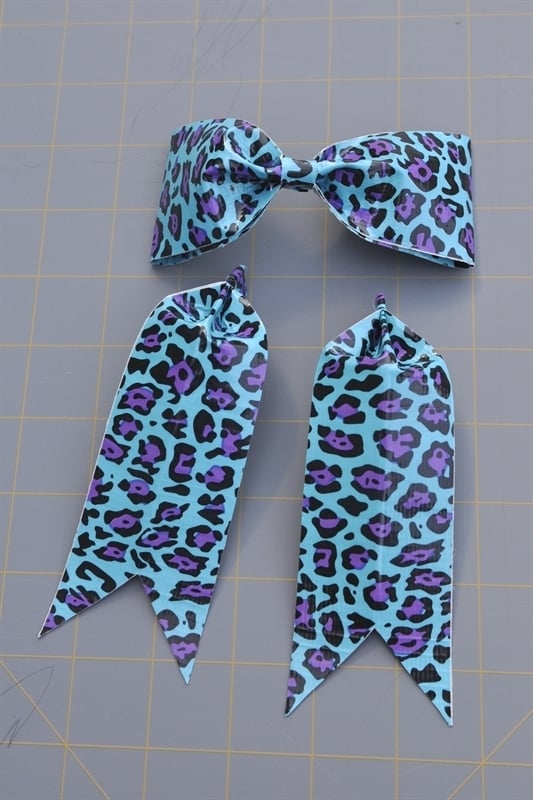
Step Nine: Cut three more pieces of tape, about 1/2 inch wide. These will be used to attach the tails to the bow.
Step Ten: Hold the tail onto the bottom of the bow and tape tail to bow. Repeat for other tail.
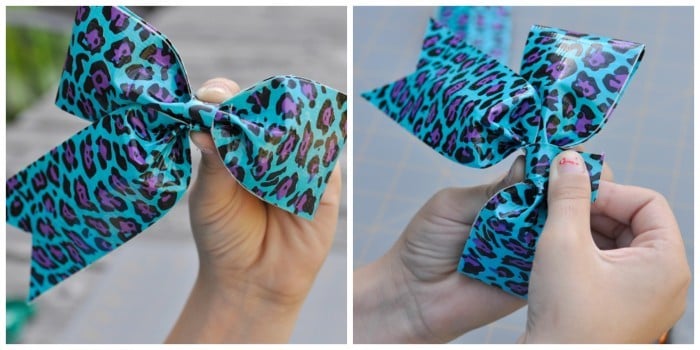
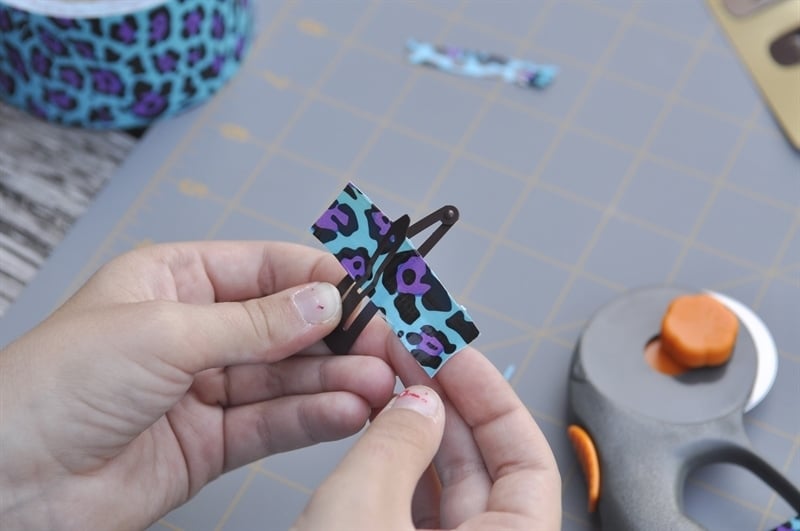
Step Eleven: The final step is to attach the hair clip to the bow. You will need another small piece of tape to do this. Put the sticky side against the inside of the top of the clip.
Step Twelve: Place onto back of bow and wrap tape around middle of bow.
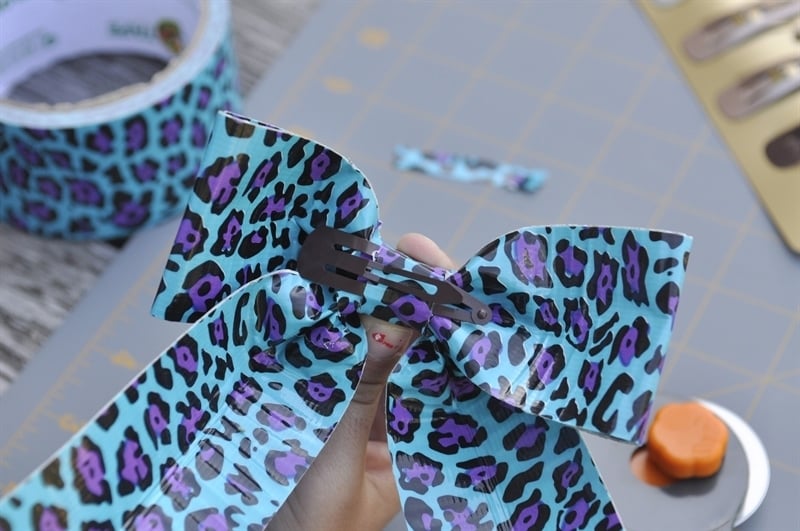
Ta da!! You are done! Isn’t it so cute!!

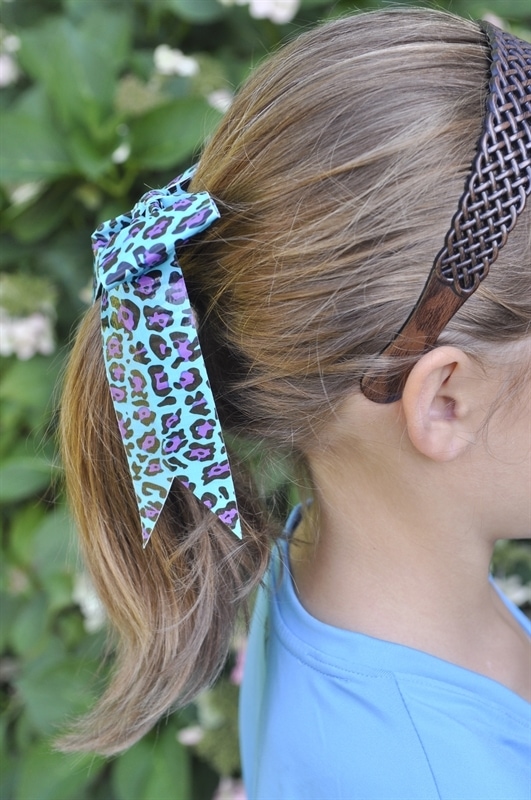
Here are the other girls and the cute bows they made.

While the girls were making their hair bows the dads were busy making bow ties! I’ll be back with a tutorial for the duct tape bow ties next week!!

Karen s says
I’m preparing things to sew with two young girls from church and found this. Thanks. Another idea for your girls to make is a positivity jar. Clean olive, small pickle jar works. Make a label positivity jar. We made up 100 positive words that go with the saying:. Today I will (be)……..
Say it three times and out loud. Draw one from the jar…..Today I will be the reason someone smiled! Today I will shine. At supper discuss what your word is and how it impacted your day? We handed them to each of our church members. We have had a lot of fun with it.
Amy says
This is awesome!! My niece would absolutely love this. She likes to make things out of duct tape. I will be pinning this for her. Thanks!
Leigh Anne says
Have fun with it!
LouLou says
This is amazing! Thanks!:)
jennifer @ Tatertots & Jello says
Super cute! My girls will love these!
xoxo
Leigh Anne says
Thanks Jennifer! The girls had so much fun making them!