This post may contain affiliate links. Please see disclosure policy here.
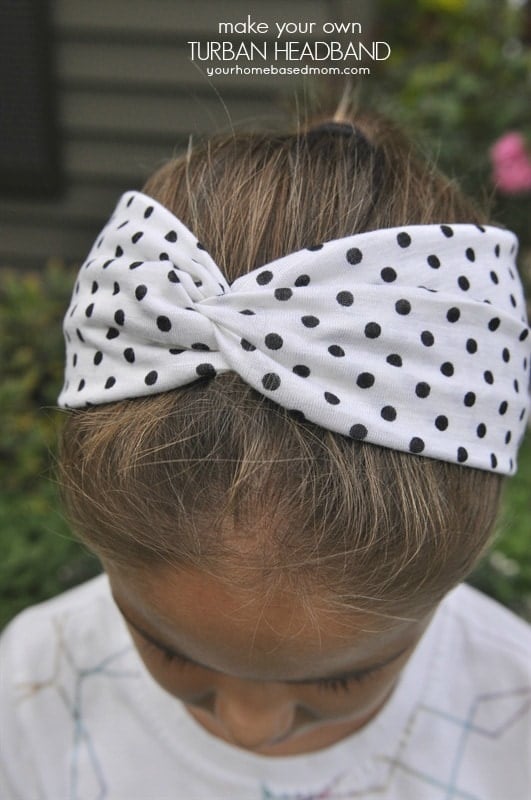
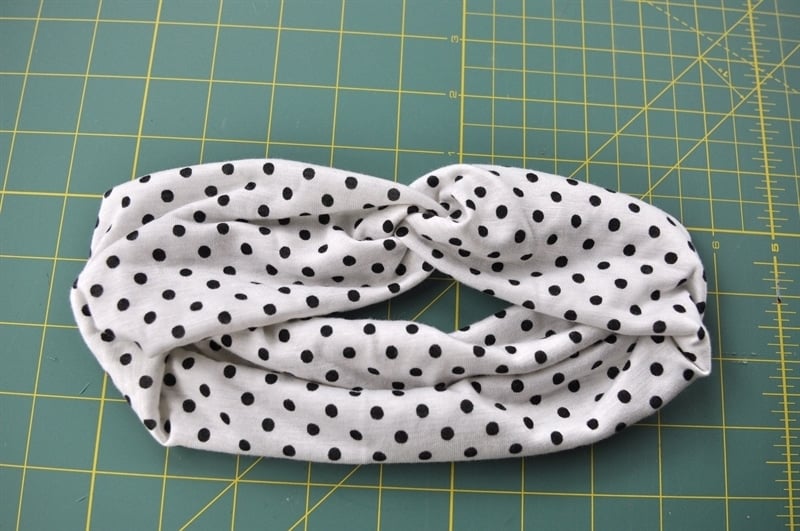
Make your own cute turban headbands in a matter of minutes with this step by step tutorial.
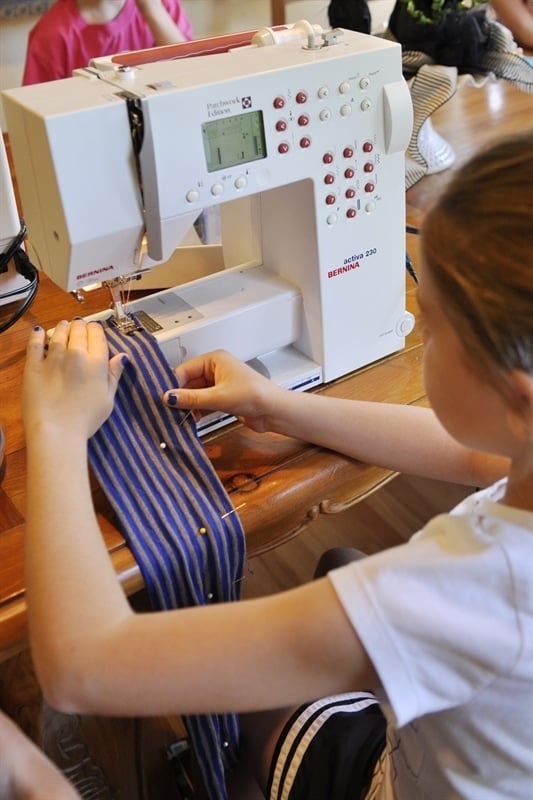
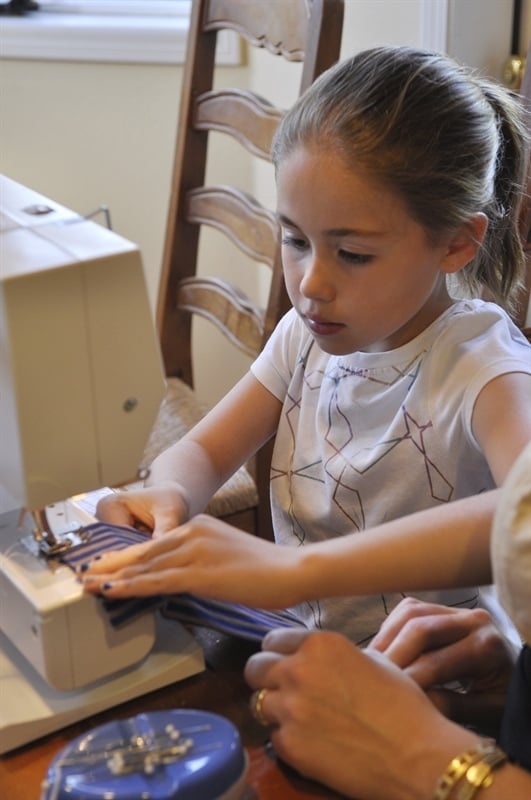
Last week I was able to hang out with my Activity Day girls again. They haven’t gotten someone to take my place yet but I know it’s coming. This week we did a fun little sewing activity. I spent many years teaching children’s sewing classes so I love being able to do a sewing project with these girls now and then. I also wanted to make myself some of those cute knit turban headbands I’ve seen people wearing so I thought I’d teach the girls how to do it too.
When my girls were younger, around the holidays, I was always on the look out for a quick, inexpensive, easy to make gift that my girls could give to their girlfriends and these turban headbands would be perfect for that.
I borrowed one from a friend and took it apart so I could see how it was put together! So easy and so cute!
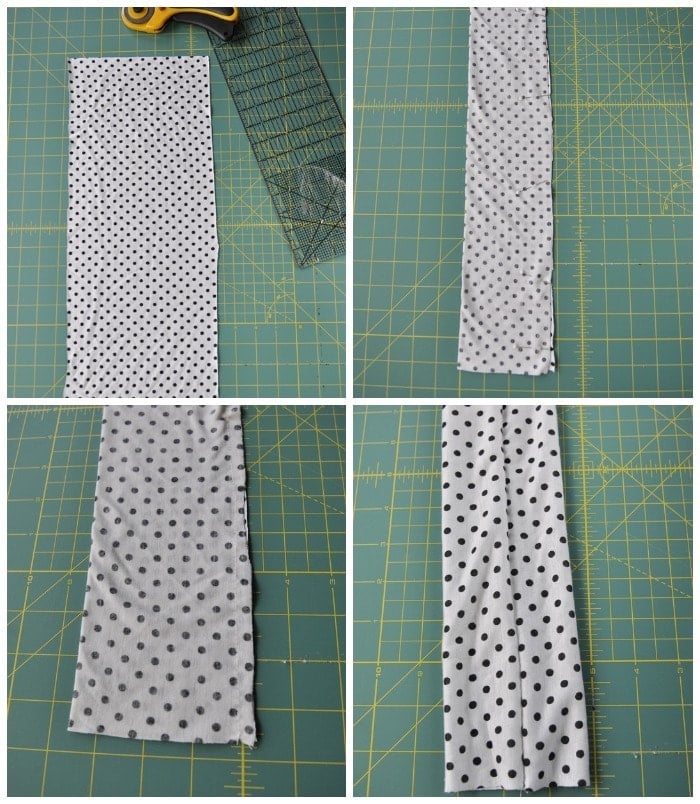
All you need is some 1/4 yard stretchy knit fabric, thread, a cutting mat, rotary cutter, straight edge ruler and a sewing machine. You will be able to get two headbands out of 1/4 yard of (60″ fabric)
How To Make a Turban Headband
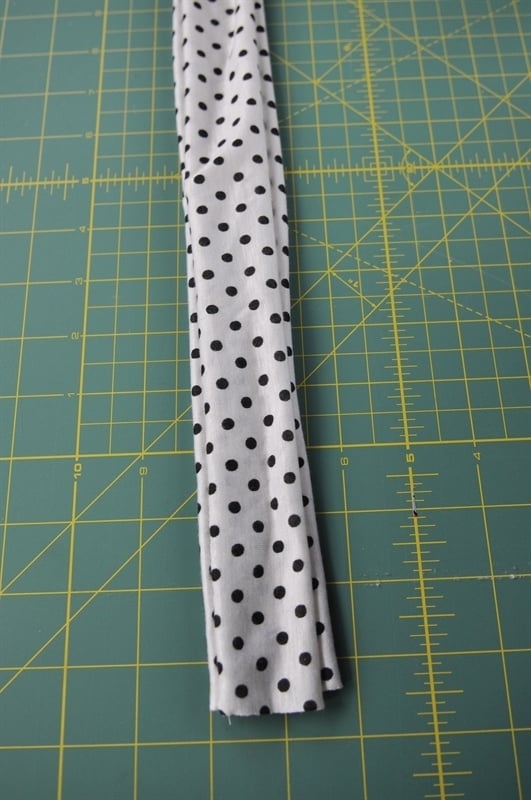
Step One: Cut your fabric into an 8 x 20-22″ strip for an adult head. For the girls I cut them 8 x 18″. You want it to comfortably fit around the head, not too tight, not too lose.
Step Two: Fold strip in half, right sides together and stitch up the side using a 1/4 inch seam. Turn the tube right side out with the seam down the middle.
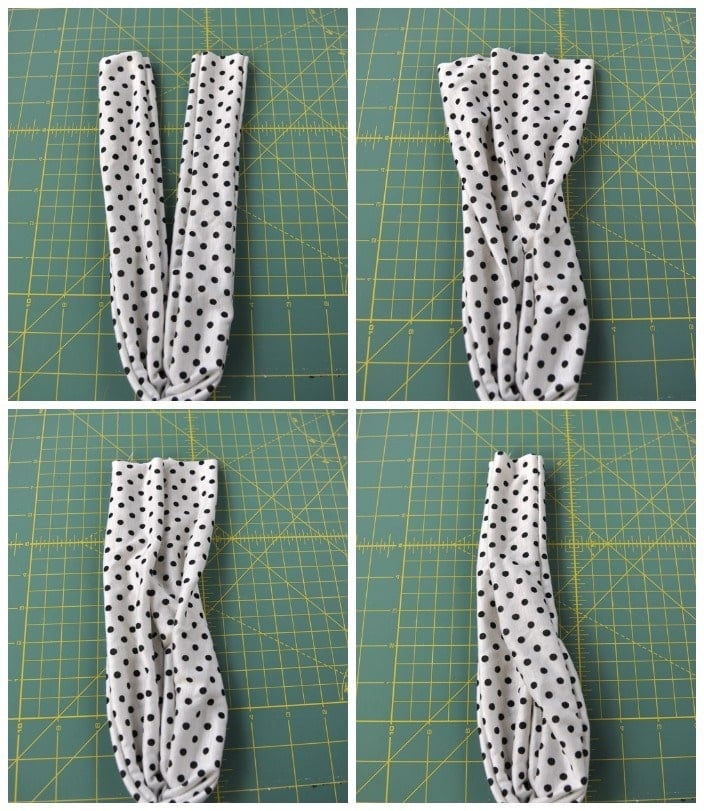
Step Three: Fold strip in half with the seam down the left hand side.
Step Four: Bring the bottom end up to the top end. Open up the ends and place one half of the right side inside one half of the left side. Then fold the left side over the right side and the right side over the left side so that the ends end up sandwiches in between each other.
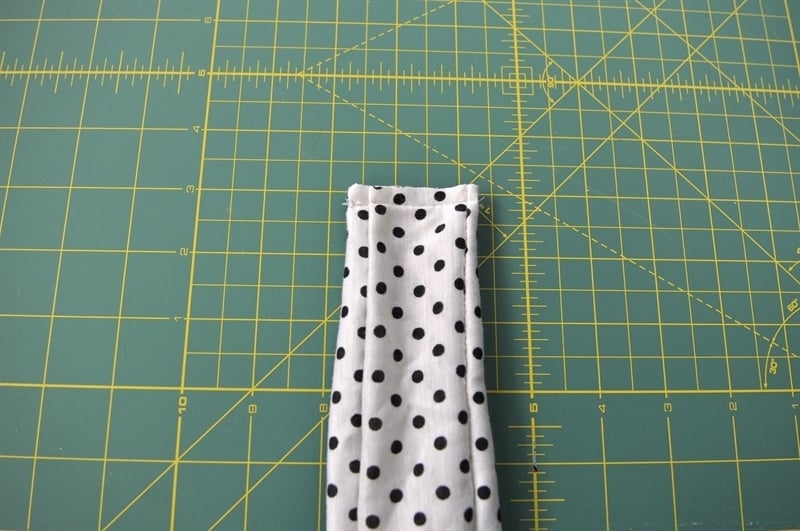
Step Five: Stitch across the ends with a 1/4 inch seam
Step Six: Fold the right side in about 1/3 of the way and then stitch down again.
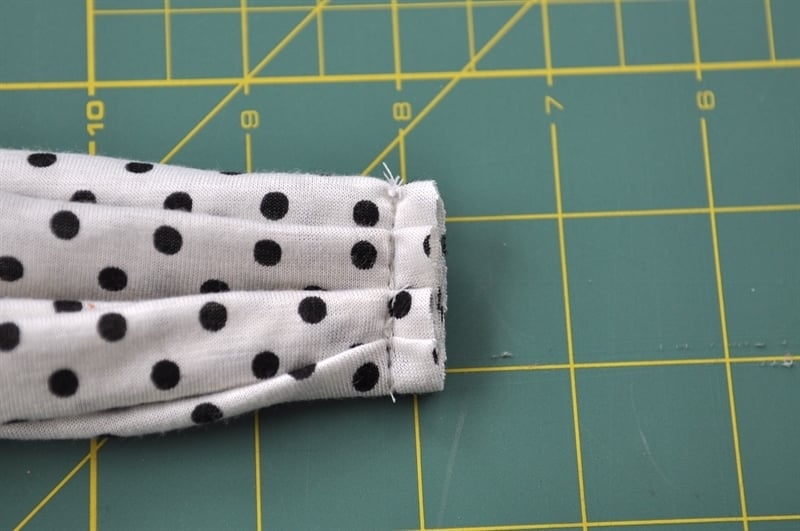
And you’ve got a turban headband!
The girls loved making them and had lots of fun with it. With each activity I try to tie in a spiritual message. After we had made our headbands we had a discussion about the following scripture and what it means to wear a crown of righteousness.
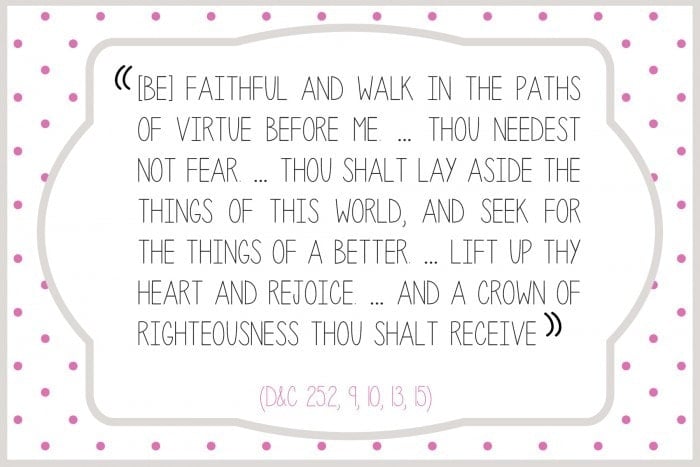
We talked about how we can wear a crown of righteousness each day by making good choices, offering service, saying prayers, reading scriptures, etc. The girls came up with lots of great ways they can wear a crown of righteousness. I told them that each time they wear their headband to remember this scripture and to ask themselves how they can wear a crown of righteousness that day.
Click here to download scripture

Haley says
Hello! I have seen a tutorial somewhat similar to this. Basically you sew a tube and then flip it right side out. Sew it together – so it’s basically a circle. and then twist it a few times. Is there much of a difference between your headbands and the other tutorials? Thank you!
Carolyn questions this says
I found the directions very vague as others must have also. You lost me at step 4. I love this headband, but apparently I need a tutorial for dummies!
Jen says
You wouldn’t happen to have a video or know of a video that shows this? I am having the hardest time getting this right. I sewed and ripped out the headband 3 times. Ha. It’s close, but doesn’t seem quite right.
Stacey L says
Im confused about the flipping 1/3 part. Please help =)
gina says
hello! so you only do one side folded to 1/3 at the end? one side folded and the other end just flat? the seam is visible unless you adjust it properly once its on the head? i hope i make sense! thank you
Leigh Anne says
Yes, that is right. The seam should not show. Depending on how you put the headband on you may need to adjust it a bit.