
This post may contain affiliate links. Please see disclosure policy here.
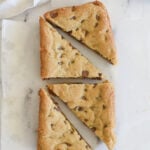
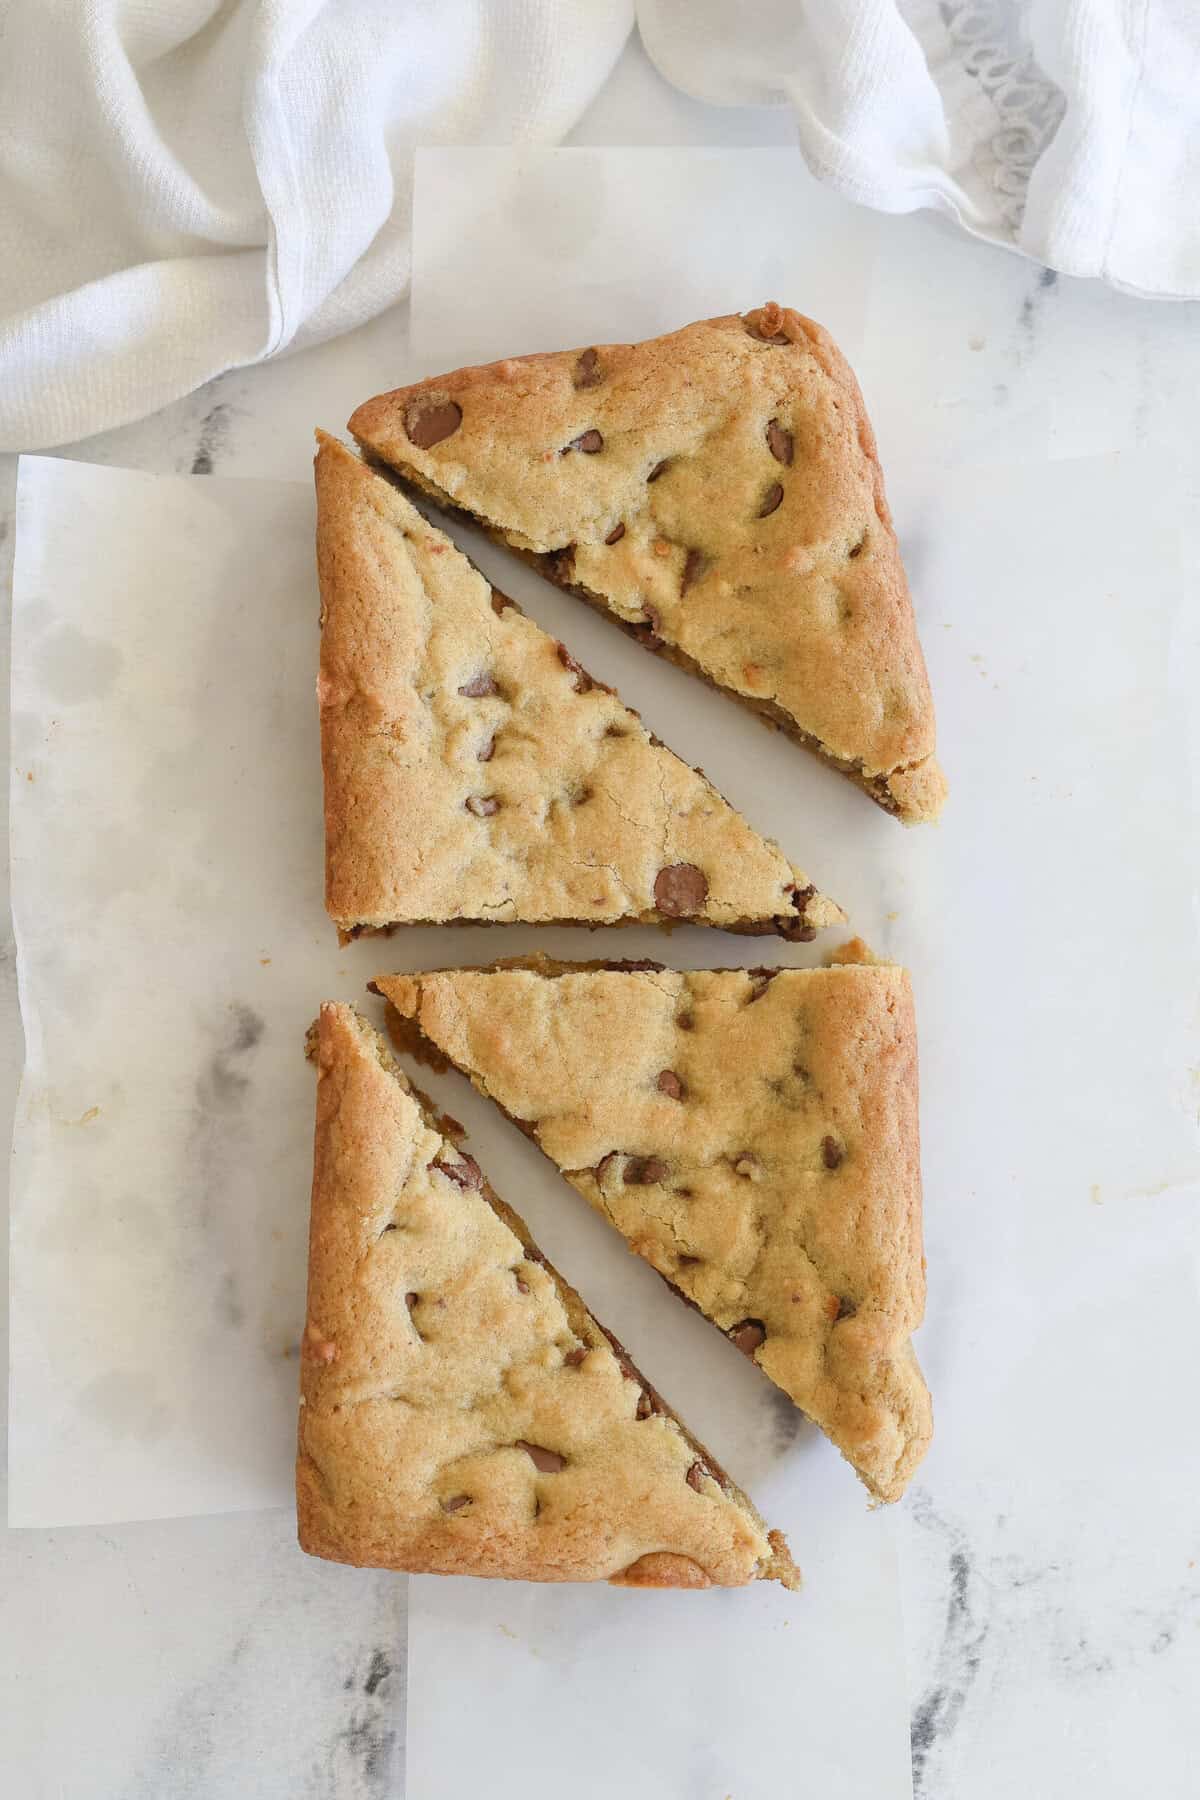
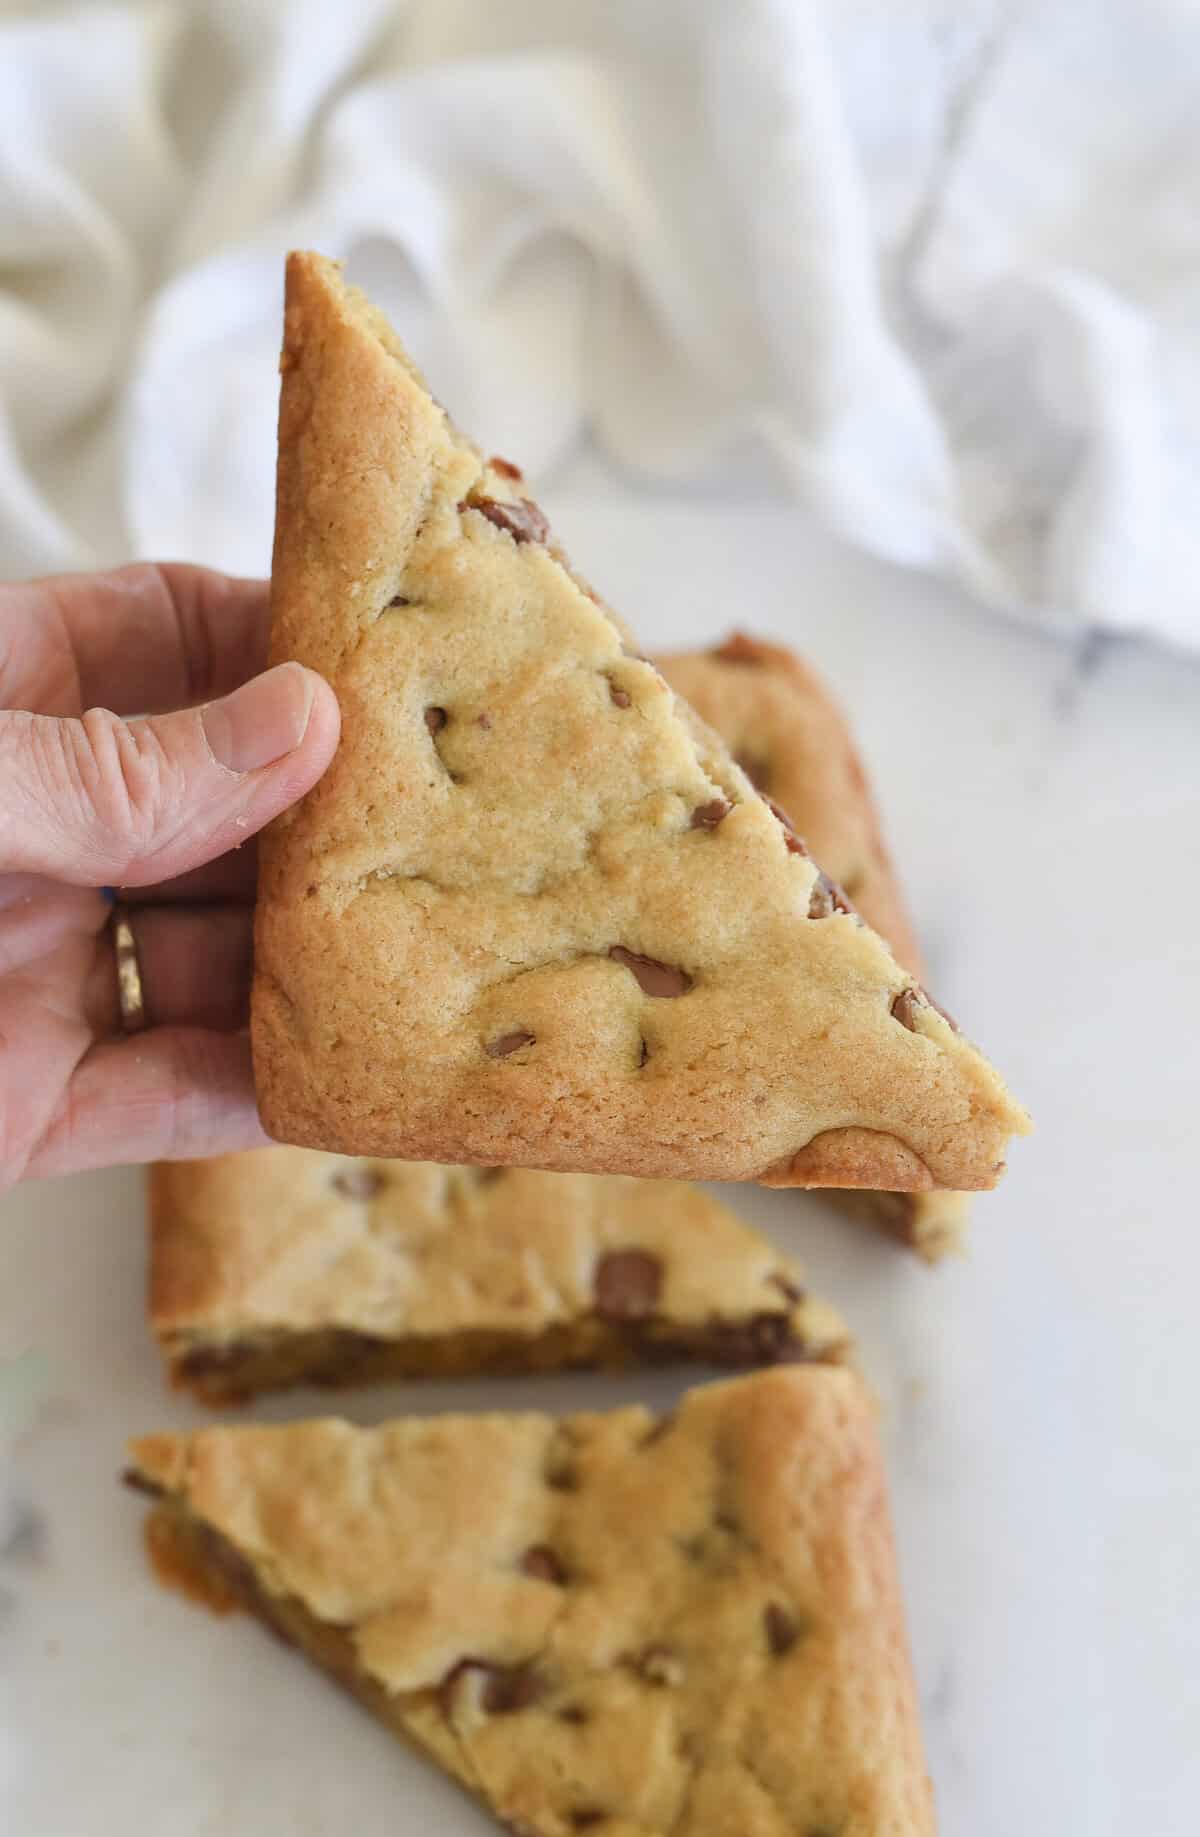
These small batch chocolate chip cookie bars are soft, chewy and loaded with chocolate chips. Baked in a loaf pan, they’re the perfect dessert when you only need a few cookies.
Why You’ll Love This Recipe
Sometimes you want a chocolate chip cookie, but you don’t need two dozen of them! These small batch chocolate chip cookie bars are made in a loaf pan so you get just the right amount to satisfy that cookie craving without a lot of leftovers. You get everything you love about a chocolate chip cookie—soft and chewy in the middle, lightly crisp around the edges and plenty of melty chocolate chips in every bite.
Cookie bars are one of my favorite shortcuts because they are so quick and easy. There’s no scooping dough, rolling balls or baking multiple batches. Just mix up the dough, press it into the pan and bake!
Your loaf pan isn’t just for bread! It’s the perfect size for making a smaller batch of your favorite desserts and treats, especially when you’re cooking for one or two.
Ingredients Needed
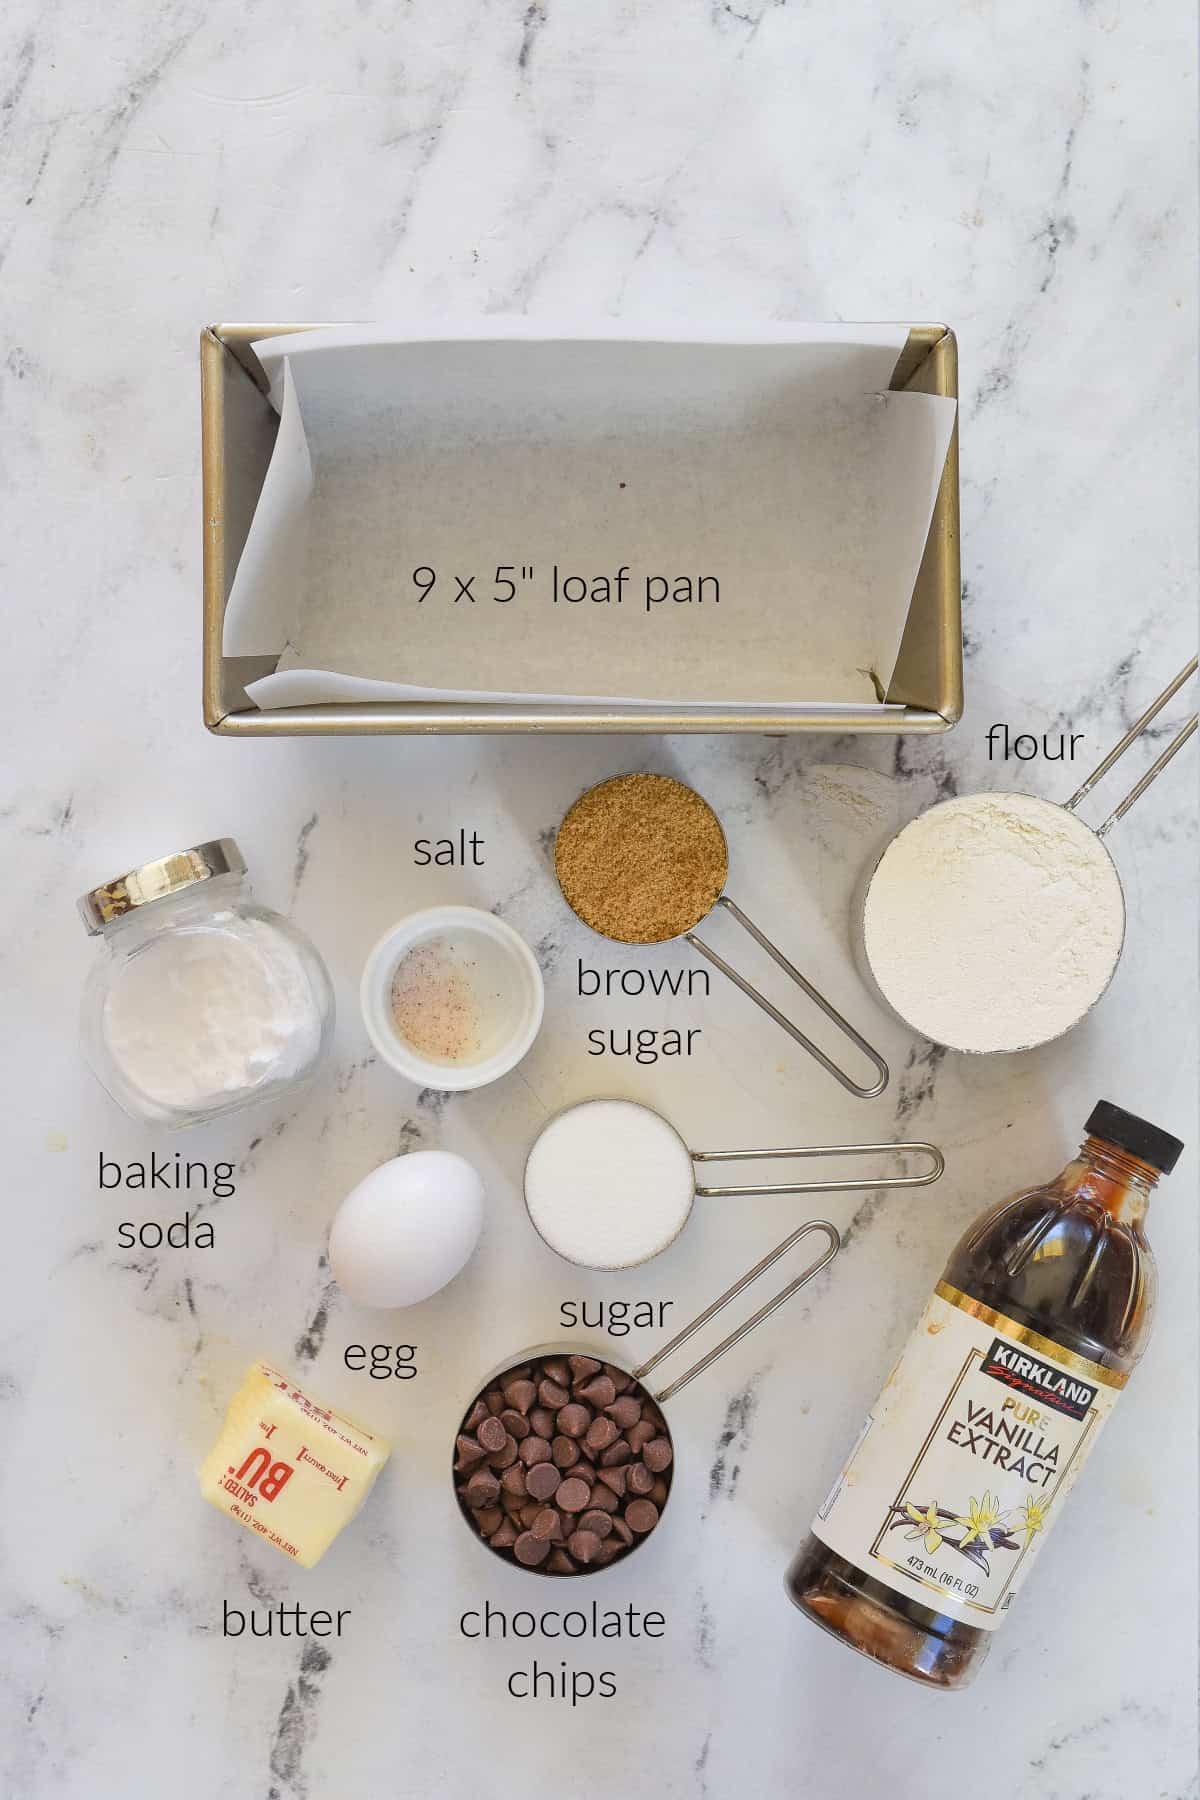
- Butter, salted and softened
- Brown Sugar
- Granulated Sugar
- Egg
- Vanilla Extract
- Flour, all purpose, unbleached
- Baking soda
- Salt
- Chocolate Chips
How to Make Small Batch Chocolate Chip Cookie Bars
- Cream together the softened butter and sugars until light and fluffy. You can do this by hand or use an electric hand mixer.
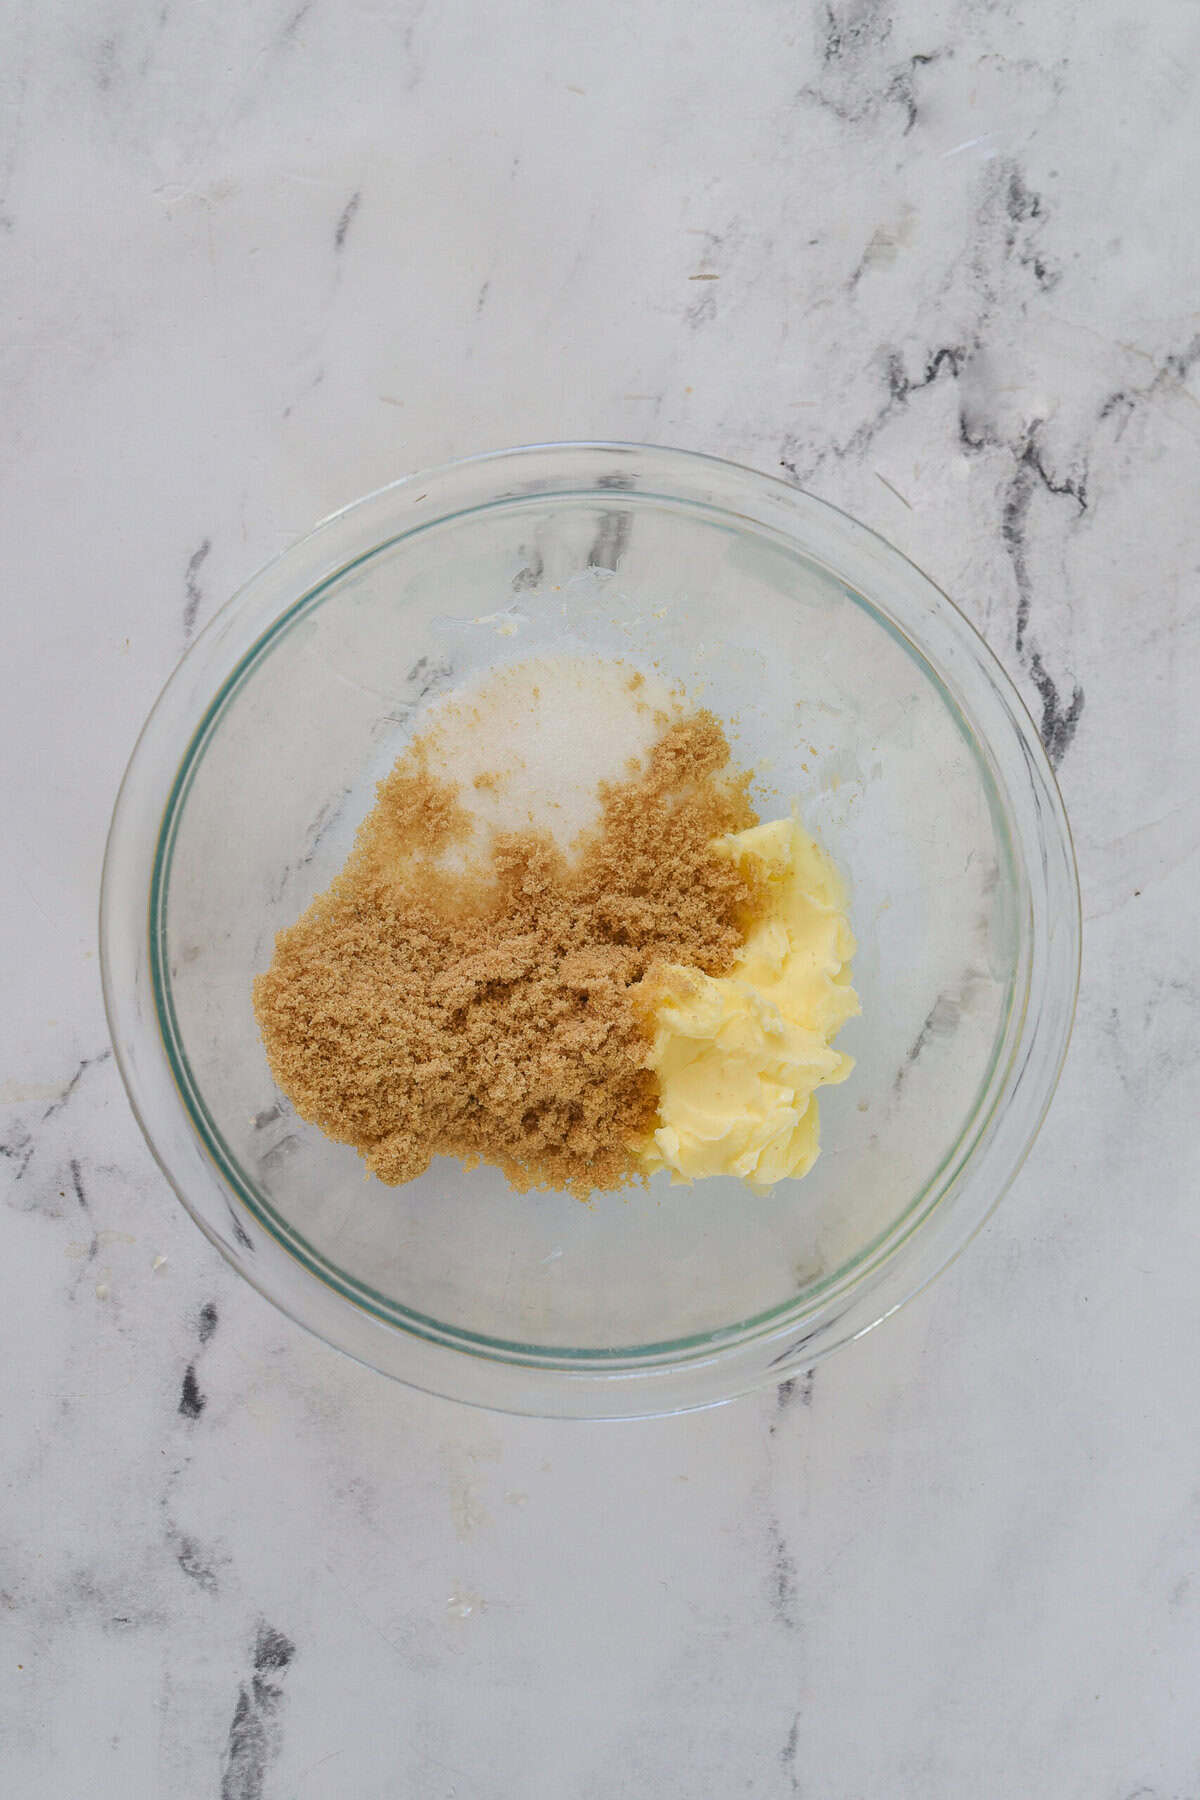
- Add in egg and vanilla extract, mix until combined.
- Add in dry ingredients, flour, baking soda and salt. Mix just until combined.
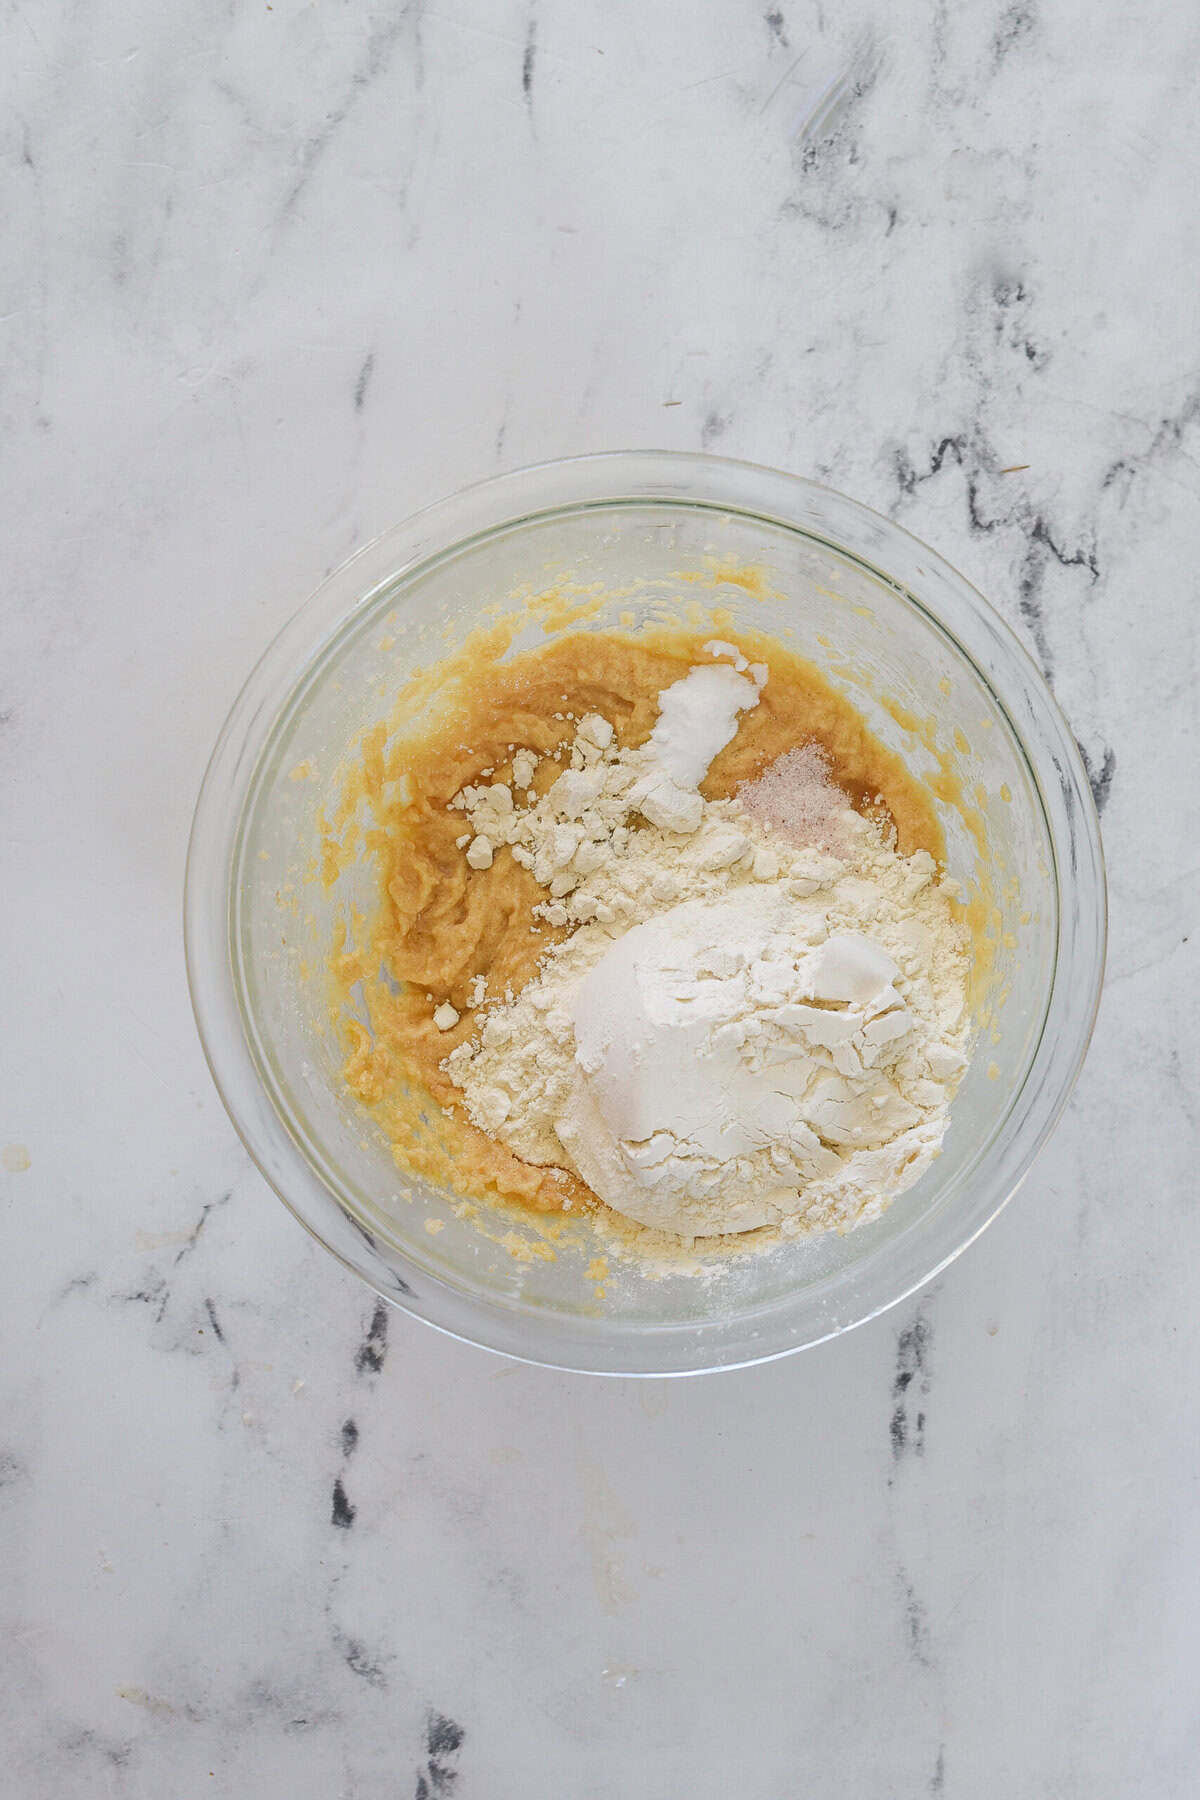
- Pour in chocolate chips and stir to incorporate.
- Spread mixture in a 9 x 5 inch loaf pan that has been lined with parchment paper or lightly greased.
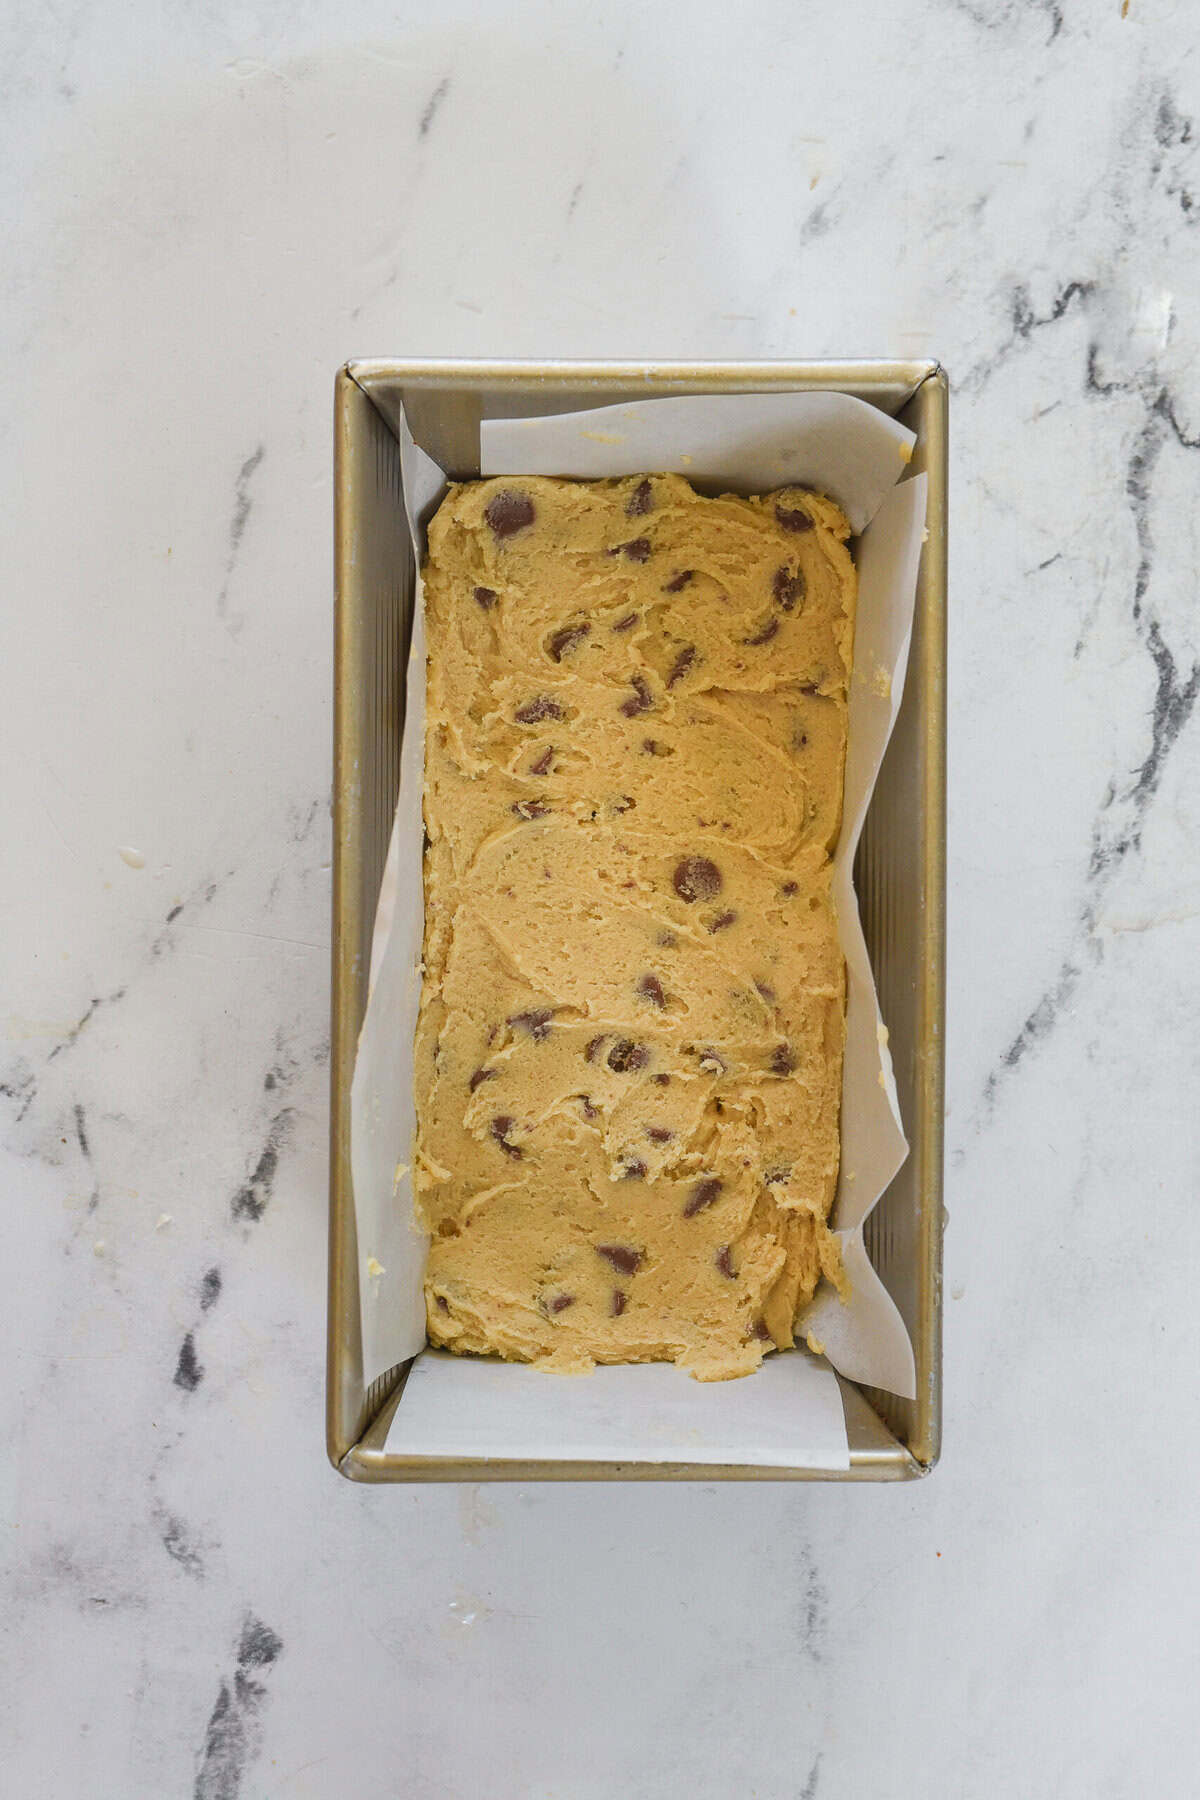
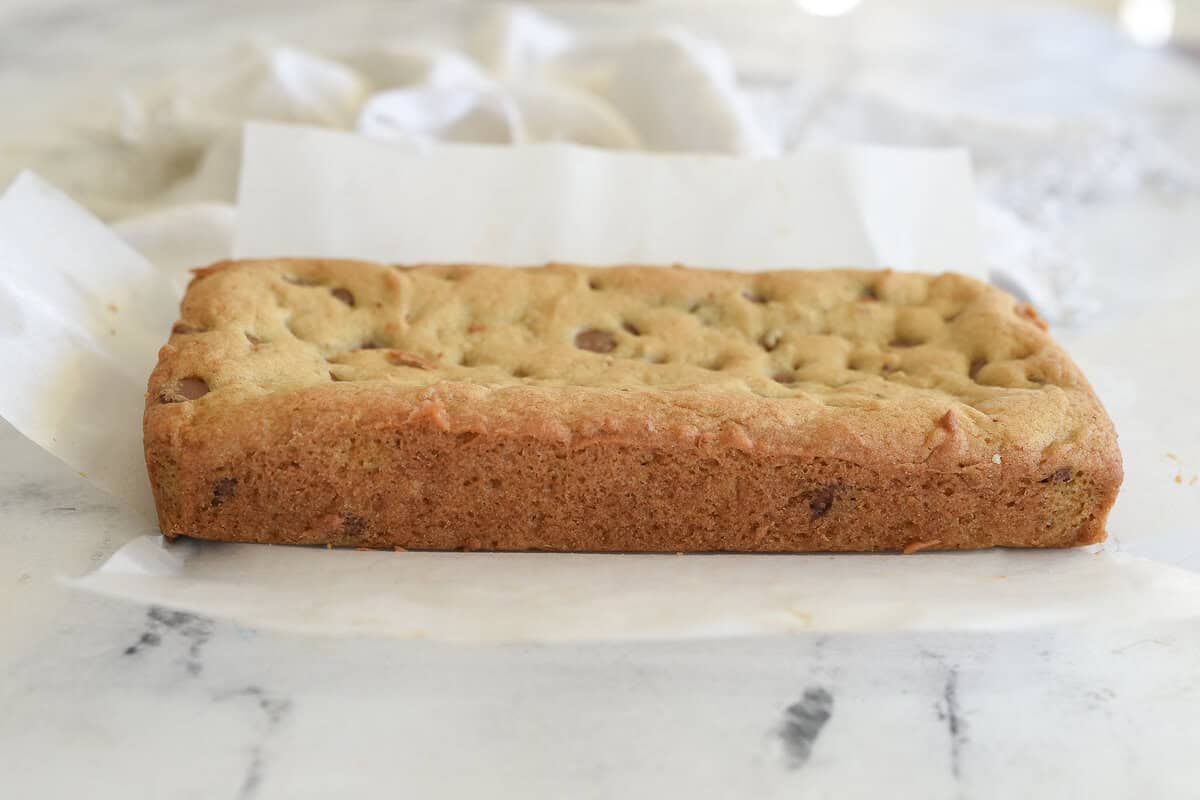
- Spread batter into prepared loaf pan and bake for 18-20 minutes or until lightly golden brown around the edges and set in the middle. Do not overbake.
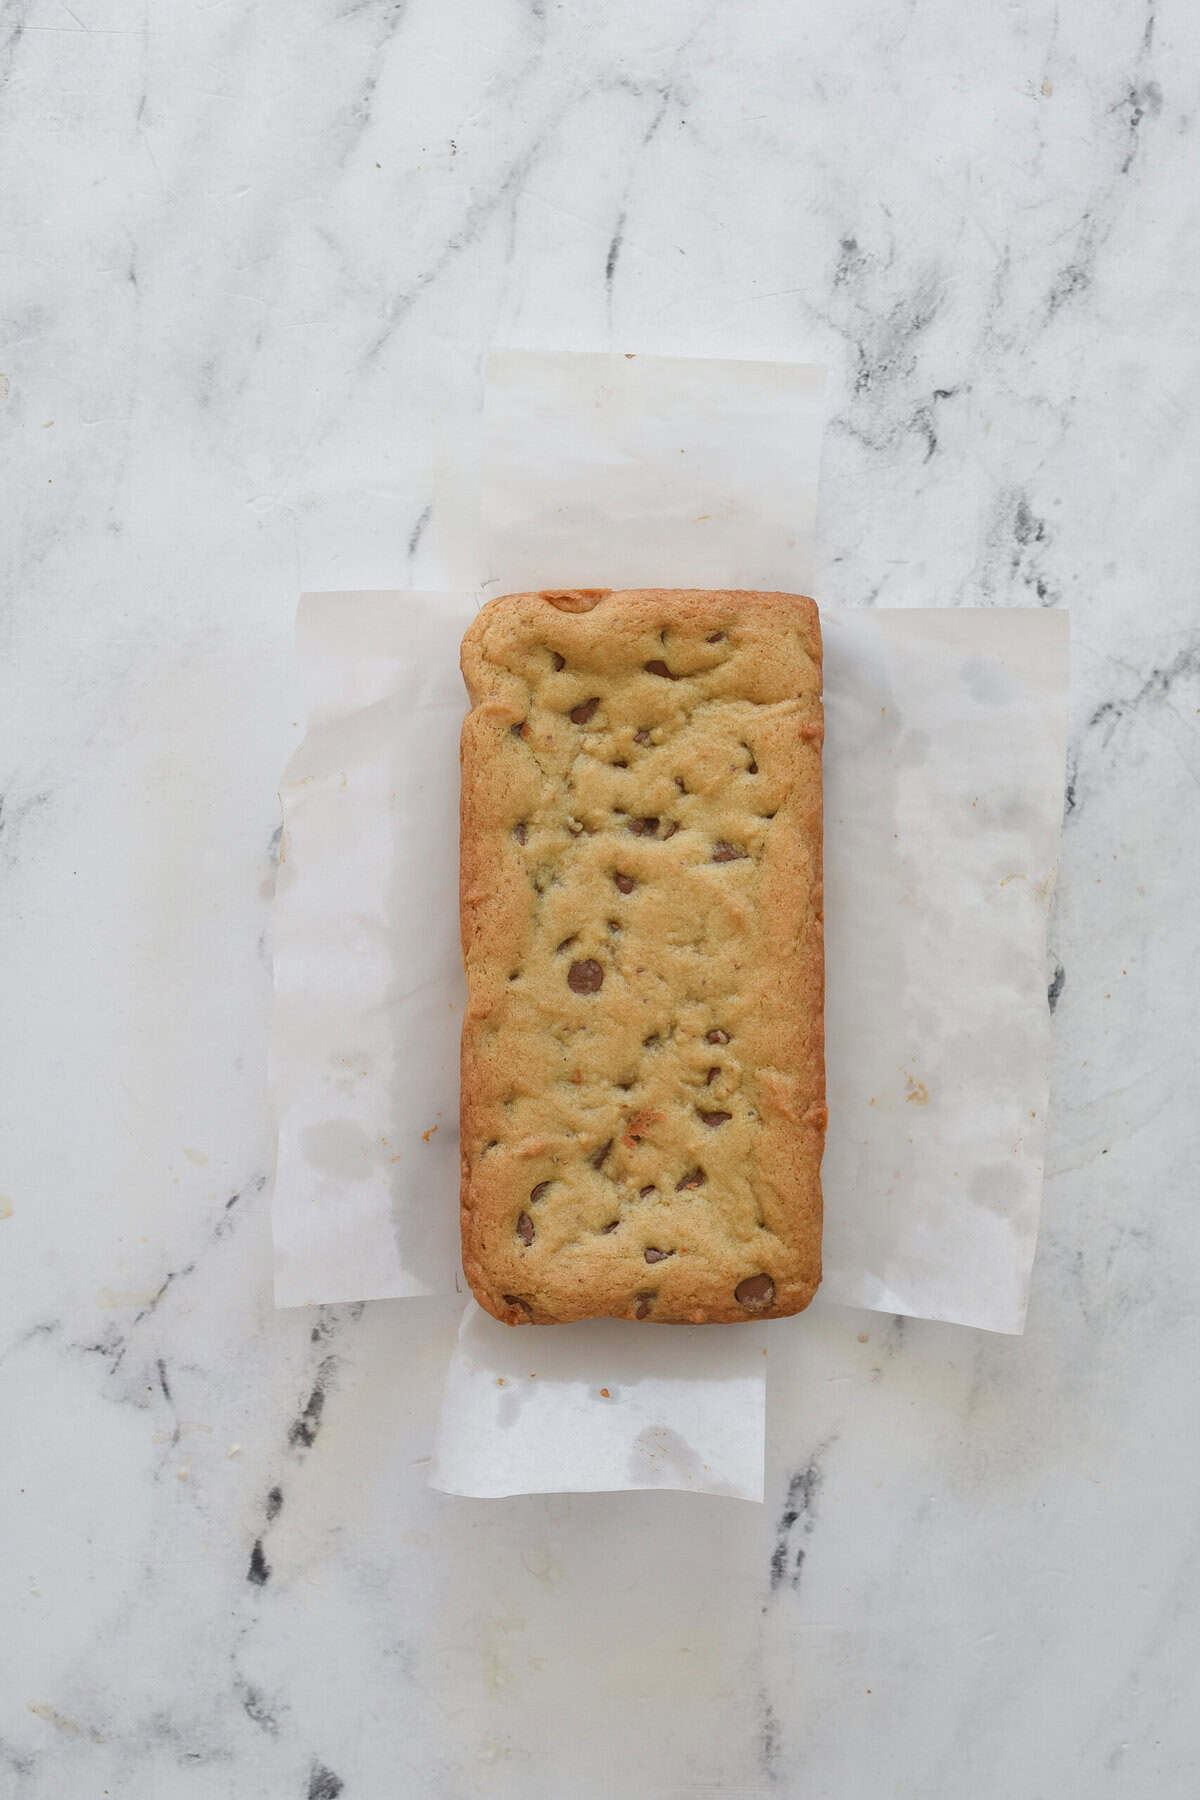
- Cool and enjoy!
Tips from leigh Anne
- Don’t overmix. Once you add the flour, mix just until everything is combined. Overmixing can make your cookie bars tougher instead of soft and chewy.
- Line your loaf pan with parchment paper. Leave a little parchment hanging over the sides of the pan. This makes it easy to lift the bars right out of the pan for slicing. You can check out my video for how to cut a parchment sling here.
- Don’t overbake. This is the secret to a soft and chewy chocolate chip cookie bar! The edges should be lightly golden and the center should look set but still soft. Remember, the bars will continue to bake a little as they cool.
- Add a few extra chocolate chips on top. After spreading the dough into the pan, press a few additional chocolate chips into the top. It makes the finished bars look even better—and there’s no such thing as too much chocolate!
- Let them cool before slicing. I know it’s hard to wait, but the bars will slice much more cleanly if you give them a chance to cool and set up first. Of course, if you don’t care what they look like, a warm cookie bar with melty chocolate is pretty hard to beat!
- Use a 9 x 5-inch loaf pan. The smaller pan gives you nice, thick cookie bars without making a whole pan of them. It’s one of my favorite ways to make a small batch dessert.
Frequently Asked Questions
How do I know when cookie bars are done?
The edges should be lightly golden brown and the center should look set but still be soft. Don’t wait until the center looks completely dry or your bars may be overbaked. I always prefer to pull them out a little sooner rather than later.
Can I use different kinds of chocolate chips?
Absolutely!Milk chocolate chips are my favorite, but semi-sweet chocolate, dark chocolate, white chocolate or even a combination will work. You could also use chocolate chunks.
Can I add nuts?
Yes. Chopped walnuts or pecans would both be delicious. Just remember that this is a small batch recipe, so you don’t need a lot, I’d start with 1/4-1/3 cup.
How should I store leftover cookie bars?
Because we are making a small batch version you probably won’t have too many leftovers! Store any leftovers you might have in an airtight container at room temperature. They are best enjoyed within a few days. You can also warm one in the microwave for a few seconds to get that fresh-from-the-oven, melty-chocolate goodness again. You can also freeze them,wrap them individually before placing them in an airtight freezer container or freezer bag. That way you can pull out one whenever you need a little something sweet.,
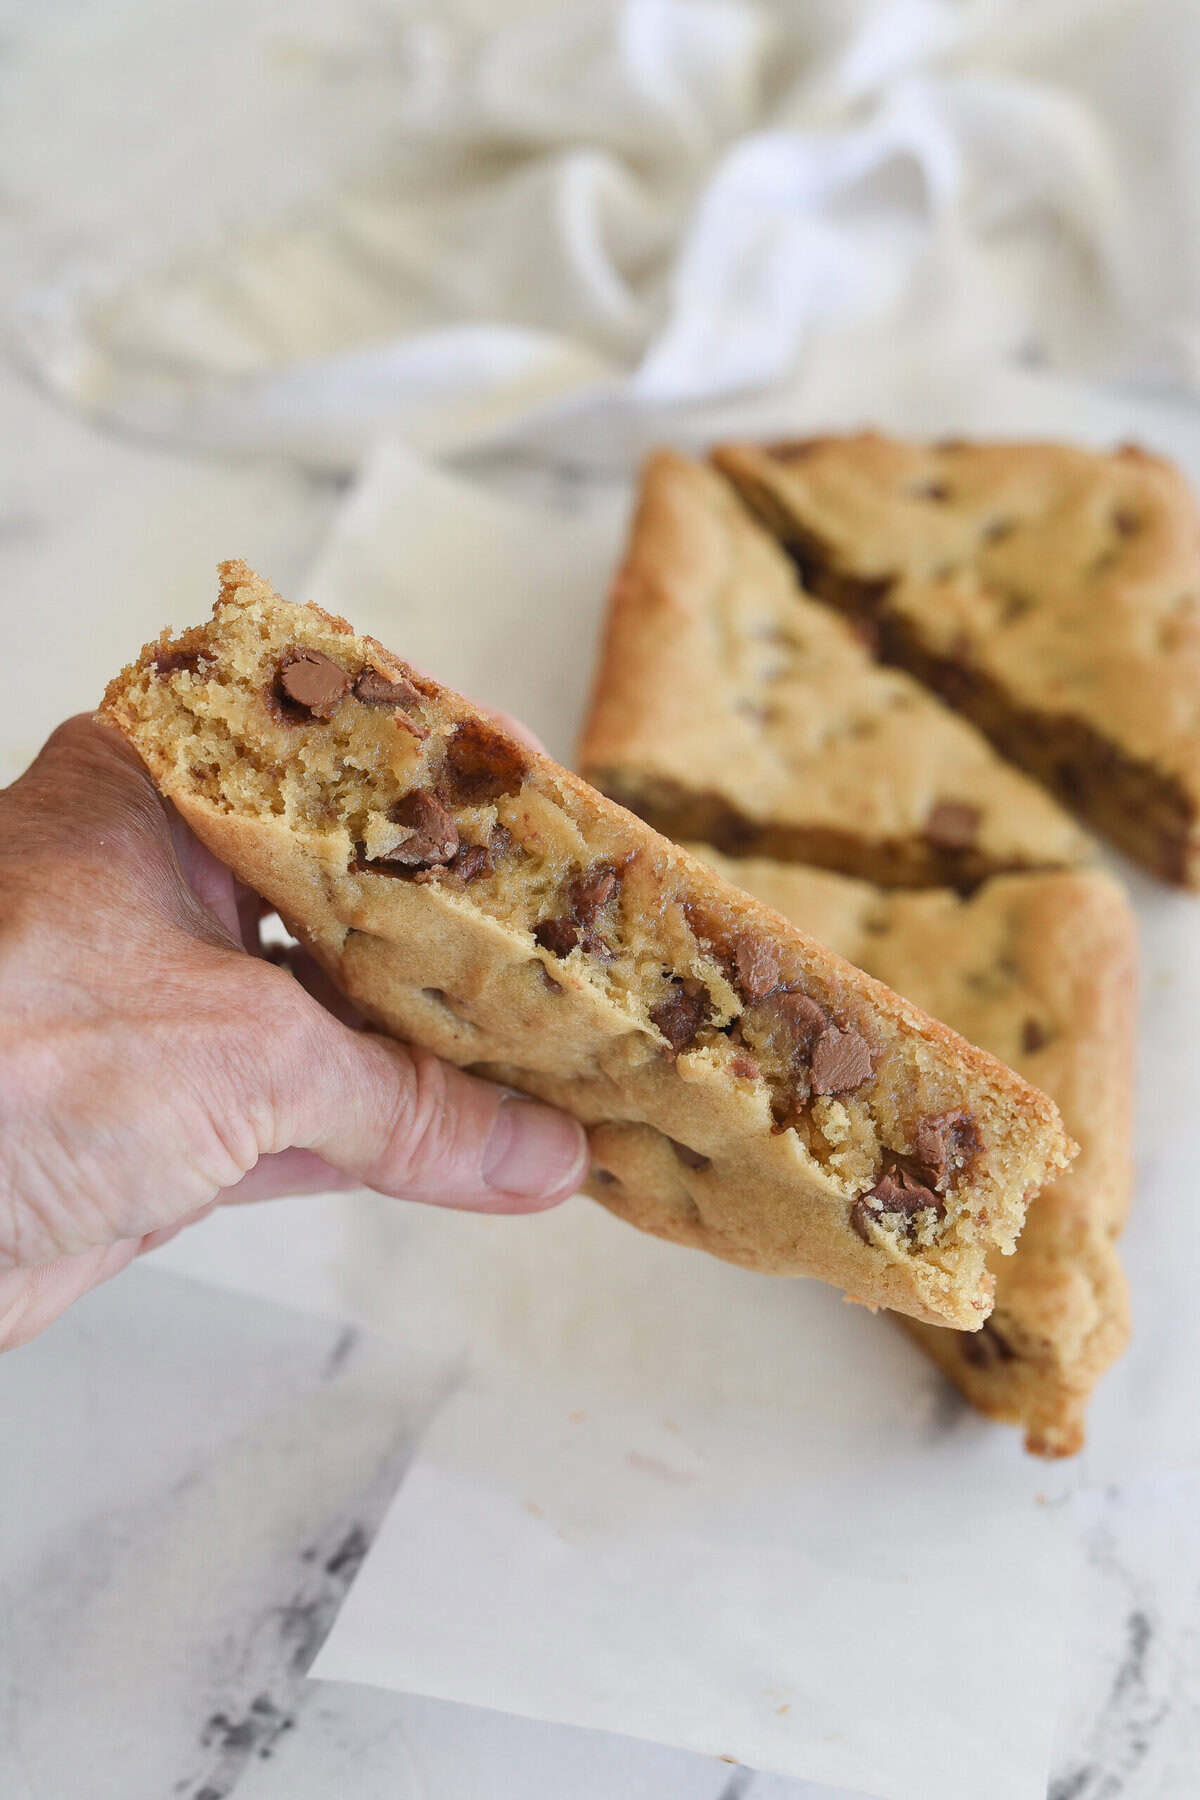
These Small Batch Chocolate Chip Cookie Bars are proof that you don’t need to make a full pan of dessert to enjoy something homemade. They’re soft, chewy, full of chocolate and just the right amount for a smaller household or when you simply don’t want a lot of leftovers. I love finding new ways to use my loaf pan for more than just bread, and this recipe is definitely one I’ll be making again and again. Just grab your loaf pan!
Try these other yummy treats:
Be sure and follow me over on YouTube for weekly cooking demos.
Small Batch Chocolate Chip Cookie Bars
Ingredients
- 1/4` cup butter softened, salted
- 1/4 cup granulated sugar`
- 1/4 cup brown sugar
- 1 egg large
- 1 tsp vanilla extract
- 1 cup all purpose, unbleached flour
- 1/4 tsp baking soda
- 1/4 tsp salt
- 1/2 cup chocolate chips
Instructions
- Preheat oven to 350 degrees F>
- Line a 9 x 5 inch loaf pan with parchment paper or lightly grease.
- In a bowl, cream together softened butter and sugars, either by hand or with an electric hand mixer. Mix until light and fluffy.
- Add in egg and vanilla extract, beat to combine.
- Add in dry ingredients, flour, salt and baking soda. Mix just until combined.
- Spread batter into prepared loaf pan and bake for 18-20 minutes or until lightly golden brown around the edges and set in the middle. Do not overbake.
- Allow to cool and then enjoy!
Tips & Notes:
- Don’t overmix. Once you add the flour, mix just until everything is combined. Overmixing can make your cookie bars tougher instead of soft and chewy.
- Line your loaf pan with parchment paper. Leave a little parchment hanging over the sides of the pan. This makes it easy to lift the bars right out of the pan for slicing. You can check out my video for how to cut a parchment sling here.
- Don’t overbake. This is the secret to a soft and chewy chocolate chip cookie bar! The edges should be lightly golden and the center should look set but still soft. Remember, the bars will continue to bake a little as they cool.
- Add a few extra chocolate chips on top. After spreading the dough into the pan, press a few additional chocolate chips into the top. It makes the finished bars look even better—and there’s no such thing as too much chocolate!
- Let them cool before slicing. I know it’s hard to wait, but the bars will slice much more cleanly if you give them a chance to cool and set up first. Of course, if you don’t care what they look like, a warm cookie bar with melty chocolate is pretty hard to beat!
- Use a 9 x 5-inch loaf pan. The smaller pan gives you nice, thick cookie bars without making a whole pan of them. It’s one of my favorite ways to make a small batch dessert.
Recommended Products
Nutrition Facts:
Beth says
Delicious. And the perfect size for my family of 3.