This post may contain affiliate links. Please see disclosure policy here.
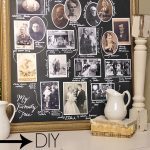
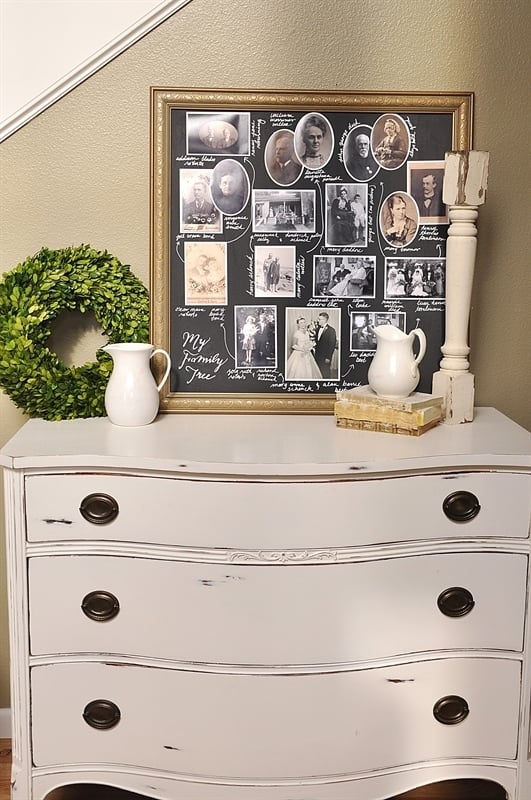
Create a DIY Family Tree Chalkboard which is a fun way to display old family photos. This step by step tutorial walks you through the process.
I love pictures – old and new! This week I did a little antiquing with a friend and it never fails, every time, every antique store I go to there is a large basket full of old family photos. Somebody’s photos, somebody’s family. Photos that no one cared enough to do anything with. It always makes me sad.
My mother has a deep love and appreciation for family history and family photos and I have developed that same love and am now the keeper of the photos and memories in our family. I have lovingly scrapbooked 32 years of family life as well as all the old heritage photos my mother is lucky enough to have. No relative of mine is going to end up in a basket full of photos in some antique store.
I believe in getting those photos out of the box and putting them somewhere that you can see them and enjoy them. I don’t just want to know my ancestors names and stories but I want to know their faces too.
When I was a young girl we had a guest room in our house. On the wall my mother had painted a family tree. She also added family names to the tree later so it was our family tree.

So I decided I wanted a family tree on my wall but I didn’t want to have to paint a tree on the wall. I decided a chalkboard family tree would work much better and that way I wouldn’t have to paint over it some day like my mother did!
How to Make a Family Tree
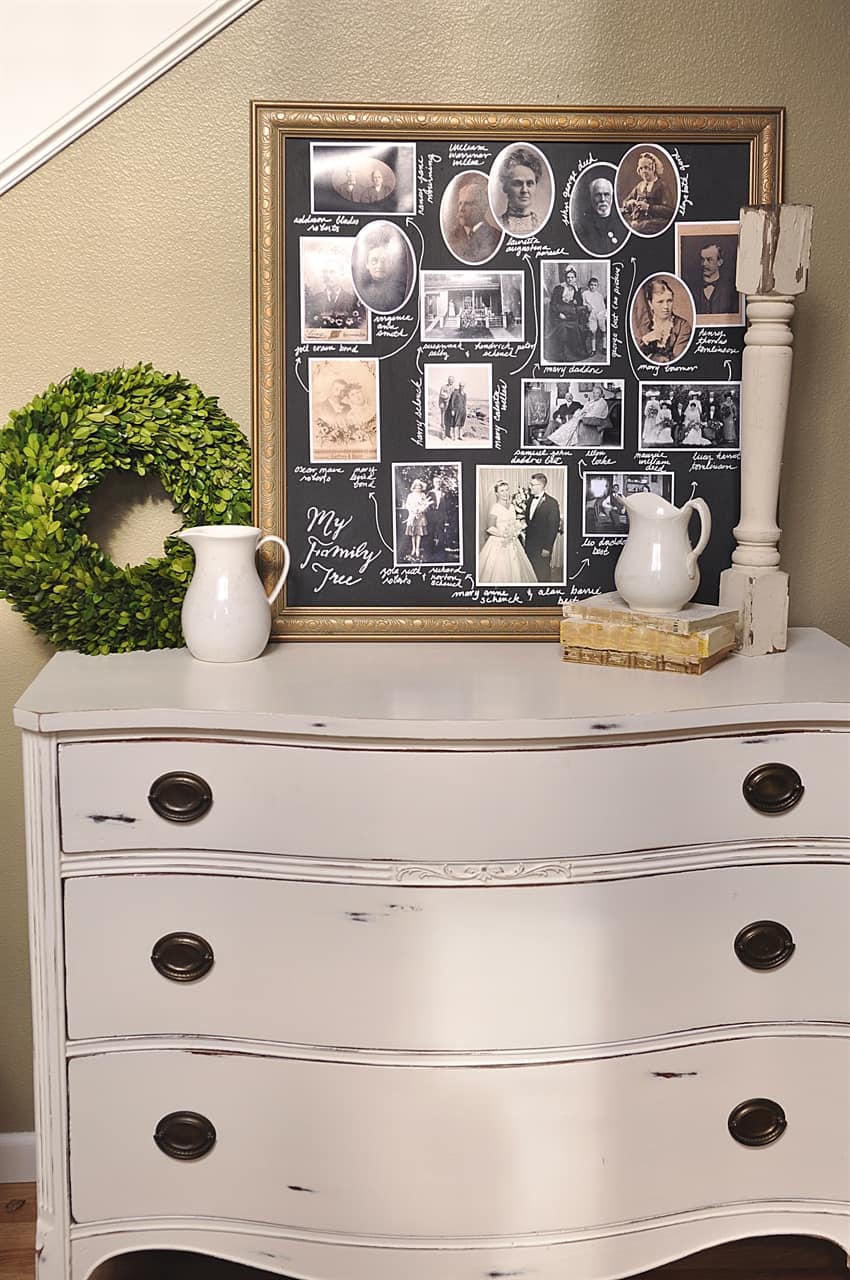
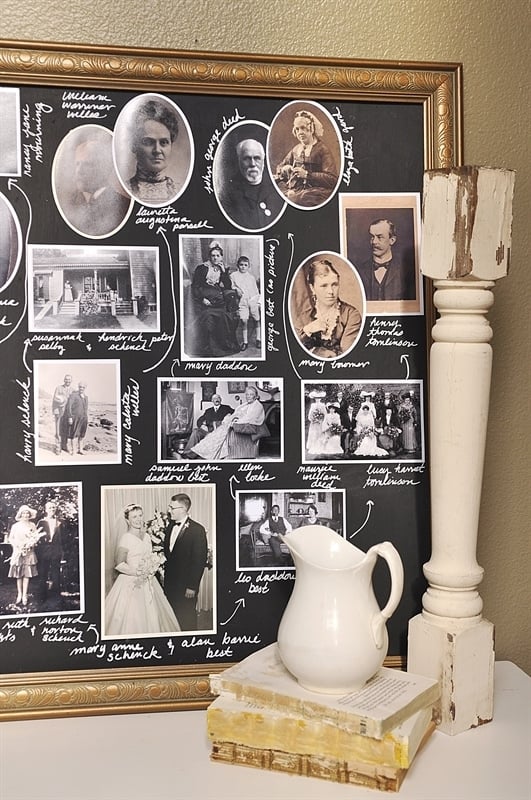
I used the frame from an old faded print we had hanging around the house.
My husband cut a piece of thin masonite board to fit the frame (27 x 27) and I painted it with chalkboard paint.
Then I started going through all the old family photos. Fortunately for me several years ago I had scanned in all of my mother and father’s family photos so I already had them digitized. I didn’t want to use the original photos since they are safely tucked away in an archival quality scrapbook so I used copies.
Step One:
Gather your photos. If they are not in your possession, beg, borrow or steal (just kidding, maybe) from who ever has them. This is a great opportunity to call you grandparents or other relatives you may not have spoken to in a while and see what family photos they have. Another option is to try Google. Really! Google your ancestors name and then click on images. You may be surprised what you find.
If you can’t find photos because you don’t even know who your relatives are try using Family Tree. This is a website from the LDS church but is open to anyone to use. It is amazing resource. You will have to put your information in and probably that of your parents and grandparents if you have it and then possibly you may be able to hook yourself into some of your family lines and connect with relatives you don’t even know. People also are able to upload photos to Family Tree so if you connect with some ancestors they may already have some photos in there for you.
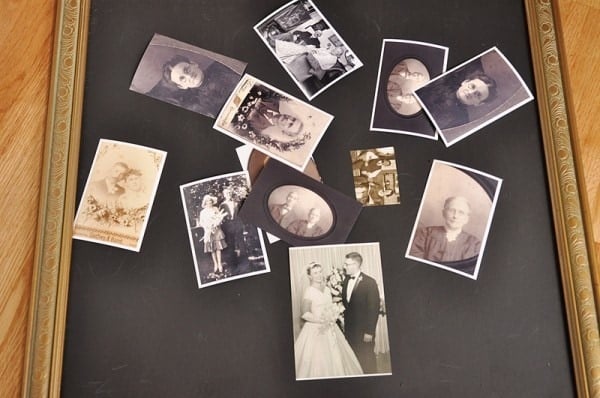
I decided to start with my parents wedding picture and work my way back from there.
Step Two:
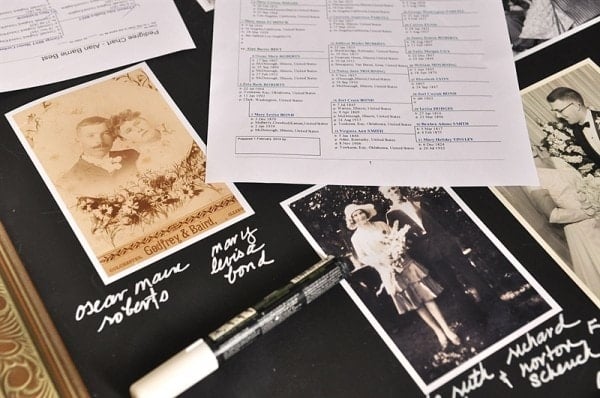
Print off a pedigree chart or gather the names for the lines you are going to use so you have the right names and people in order. You can do this from Family Tree. Or talk to your grandma to get the names.
Step Three:
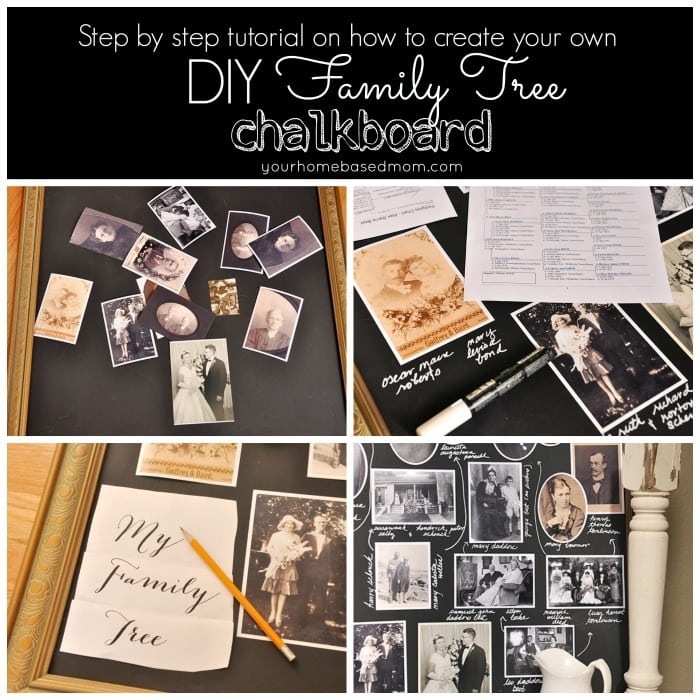
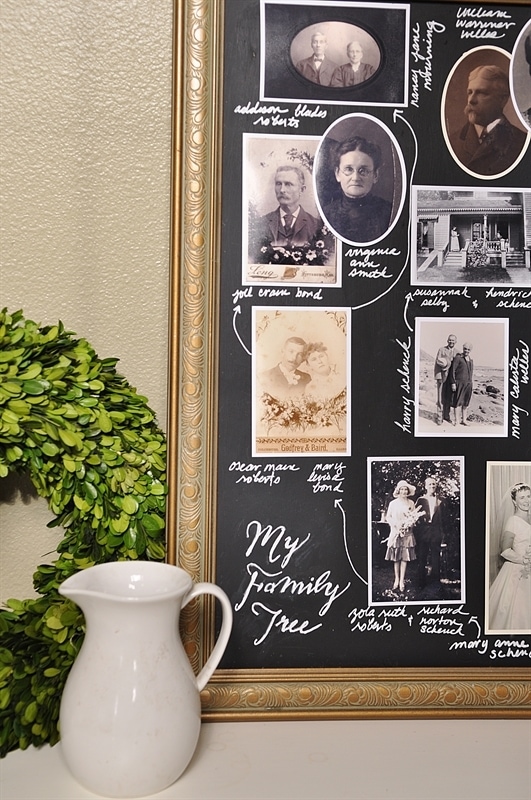
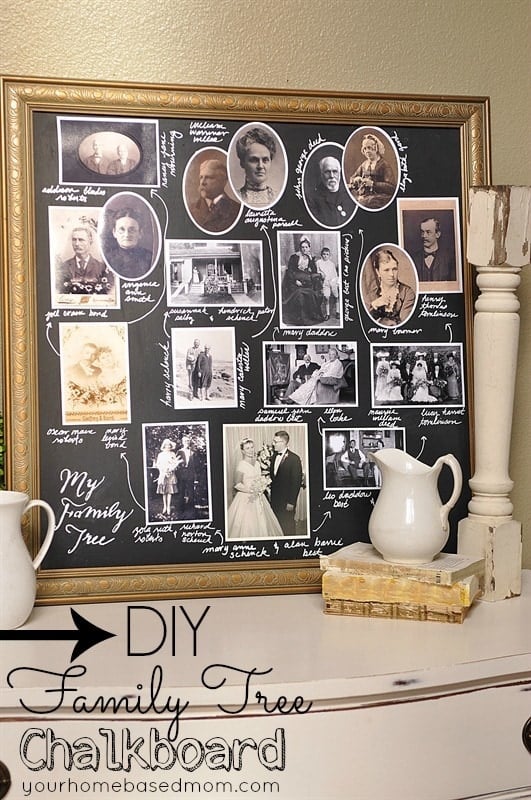
Assemble your family tree. Lay out the photos on the chalkboard so that everyone is connected properly. Cut some of the photos into ovals and back them with white or cream paper. I prefer to print my photos with a matte finish instead of glossy.
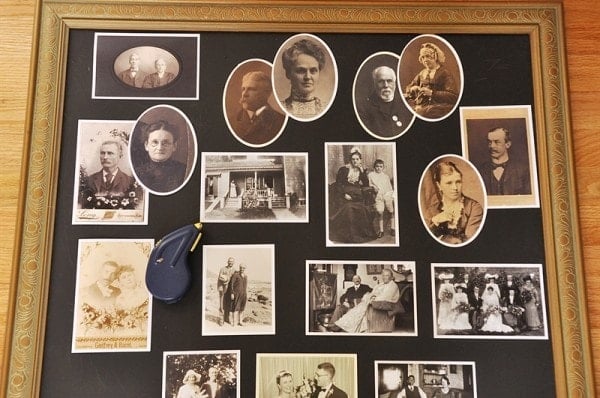
Once you are sure everyone is where they should be use some double sided photo adhesive to adhere them to the chalkboard.
Step Four:
Use a chalk pen to label the photos. I prefer the round tip chalk pen. Chalk pens are easier to work with than actual chalk. Be sure and check your pedigree chart for proper spelling. If you do make a mistake just use a damp cloth to erase the chalk pen.
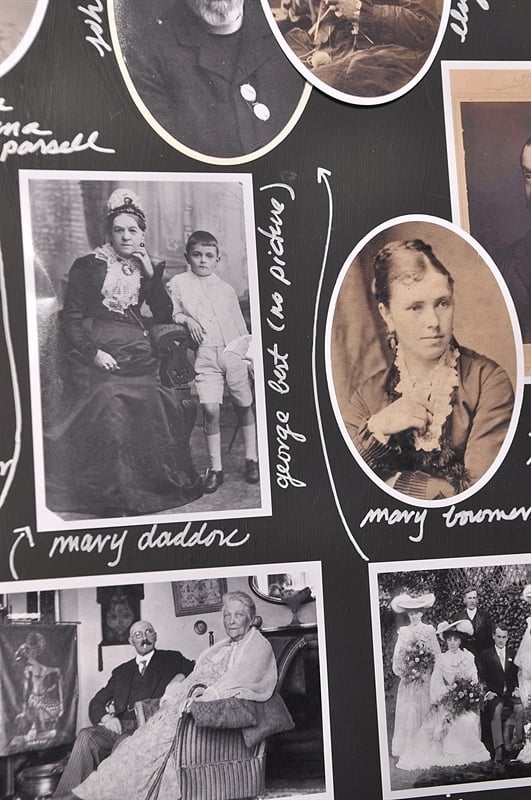
You may not have a photo for everyone so I just included their name and made a note that there was no photo. I used arrows to connect everyone.
Step Five:
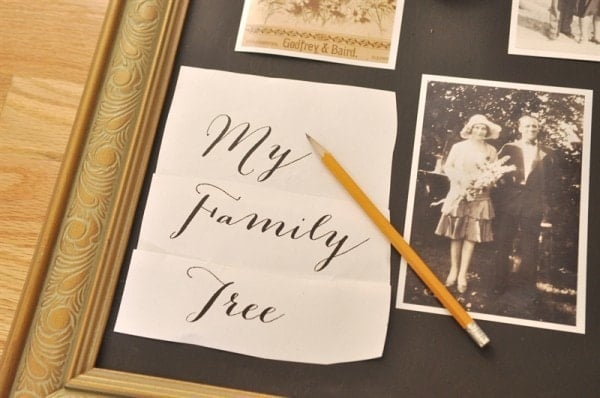
Create a title for the chalkboard. I printed off the words My Family Tree in the font Bombshell.
and then covered the back with chalk to create a “carbon like” paper.
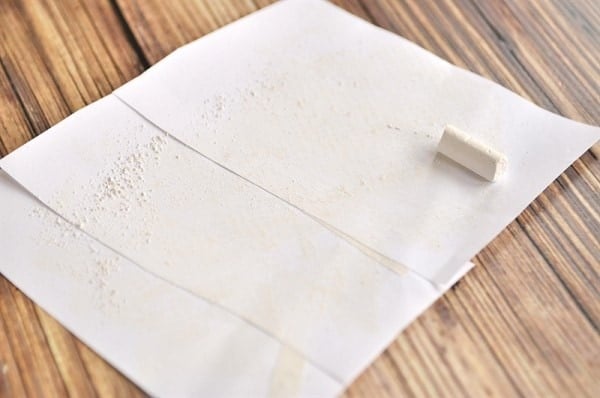
I then placed it chalk side down on the chalkboard and traced around my letters with a pencil. The chalk dust will leave a pattern on the chalkboard.
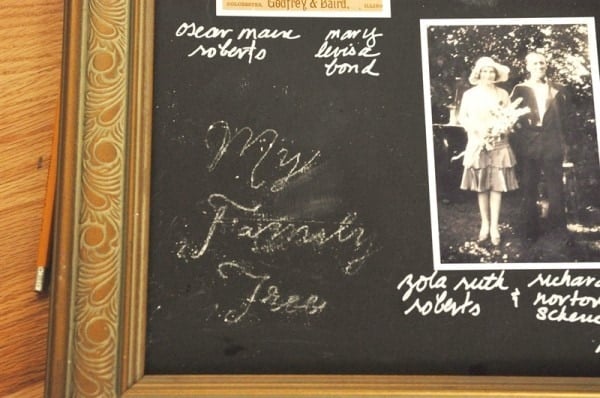
You will get some extra chalk dust and marks around your lettering which can easily be removed with a damp cotton swab when you are done with the lettering and it is dry.
Now you are ready to get to know your relatives!
Be sure and follow along with the Decorating with Pictures series – lots of awesome ideas being shared.
Melanie says
I am also a “Family History Consultant” and I love how you bring your ancestors to life. I am currently working on one with only the women titled “Grandma’s are Antique Little Girls”. Keep up the good work.
Leigh Anne says
Love the idea of doing one with just the Grandma’s. My daughter Calista is named after 3 different great grandmas so I put together a frame with her photo and the three other Calista’s for her room.
CatieP says
I wanted to thank you for the idea of googling our relatives – I tried my grandparents without much success but found a gem when I googled an uncle. I have a lot of photos of him but I found an online obituary from several years ago and a handful of people had posted condolences and memories and it was so touching to read.
Leigh Anne says
It is amazing what can happen when you Google a relative you thought there was no info on- so glad you found something. I recently Googled a 7th generation grandfather and found an old county history that told me his wife’s name and that she had been kidnapped by Indians at the age of seven and lived with Indians for seven years -isn’t that cool!!!
Val H. says
That is very cool Leigh Anne. Captured by Indians…wow! I can also say that random searches on the computer pay off. One time I was doing just that and discovered that an ancestor on my husband’s side of the family made boot’s for Prophet Joseph Smith and let him hide out in their house while the mob was after him. So very interesting what we learn when doing some digging.
Meghan says
Love this! How creative!!! You give me such inspiration to do all this…now I just need the gumption to get up & do it. LOL
Leigh Anne says
Meghan, You can do it! It was such a fun project to work on.
Val H. says
What a great way to use and show the pictures! I must say that I’m impressed with your Mother’s painting skills! I could spot you off in the picture right away. How sweet! 🙂 Great tutorial Leigh Anne!
Leigh Anne says
Val, Yes my mother is quite artistic. I have several paintings she has done in my home. I’m not hard to spot am I!?? Thanks!!
Meg Merkley says
I love your idea. It looks amazing. Better then leaving them in a box or album!
Leigh Anne says
So much better than a box! I am a firm believer in getting those photos out and enjoying them.