This post may contain affiliate links. Please see disclosure policy here.
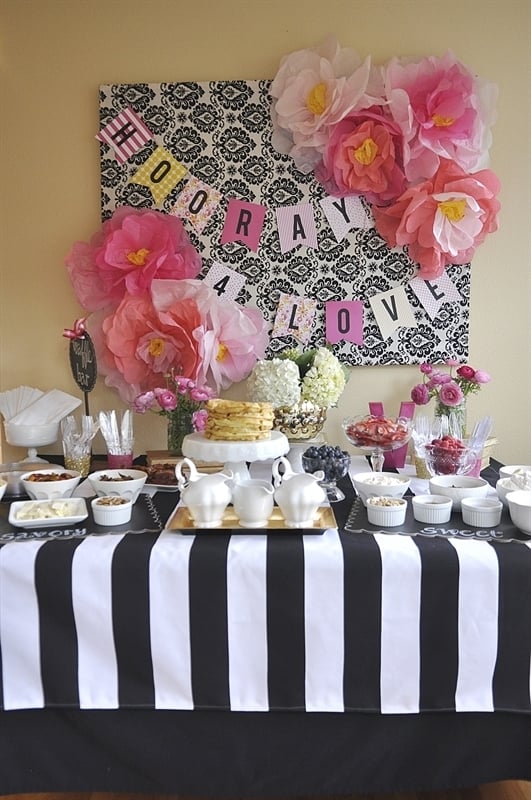
Creating a party backdrop is easy and inexpensive and is the perfect way to let your guests know this is a party!
Party Backdrop
One of my favorite things to do when I host a party is to create a party backdrop. It creates a special space and tells people that this is a party. Over the years I have done it several different ways in different places in my home.
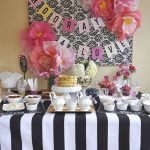
When I host a party I usually serve food from my kitchen nook area. I push the table right up against the wall. There is a painting that usually hangs there but for a party I will take it down and hang this party backdrop. Creating a backdrop is easy and inexpensive.
Supplies Needed
I found everything I need at Home Depot and Joanne Fabrics
- 2 – 2″ x 1″ x 8′ pieces of wood. They will cut the pieces into the size. you want at Home Depot.
- Nails
- Staple Gun
- Fabric. Piece big enough to cover your frame.
How Big is It?
You can make it any size. you want but mine is 36 x 47 inches. Measure the wall space that you want to fill.
How to Make a Party Backdrop
- Lay out wood pieces to the size and shape you want.
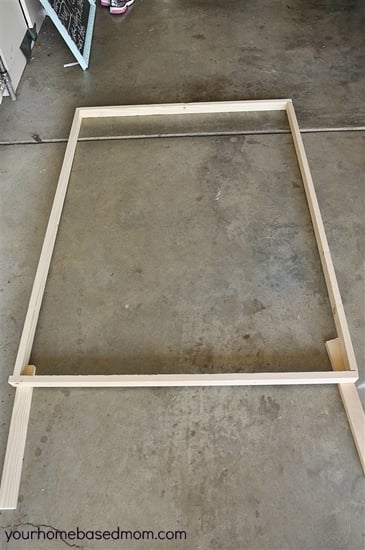
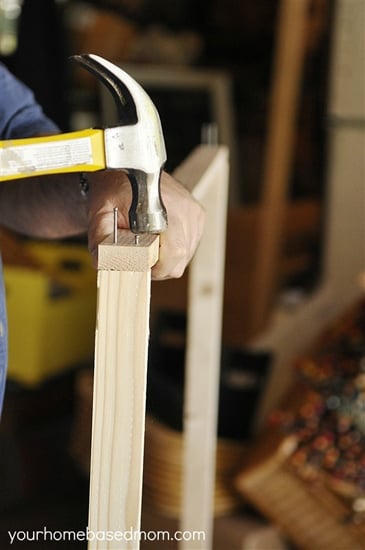
- Nail boards together
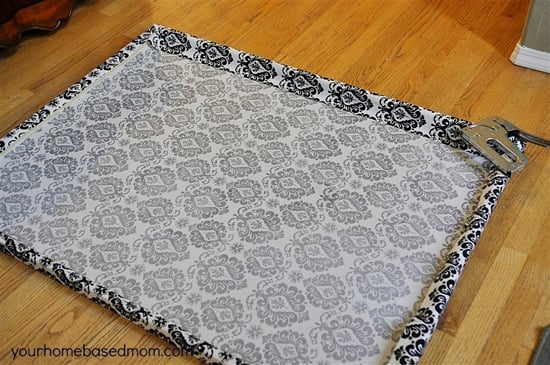
- Use nail gun to attach fabric to frame.
- Use a mitered corner to fold fabric smoothly in each corner.
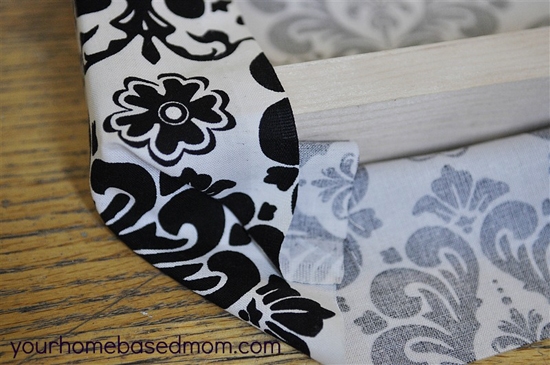
- Pull the fabric nice and tight so the fabric is pulled taut over the frame.
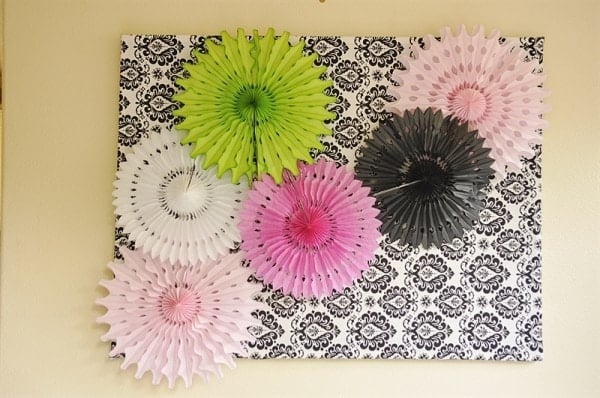
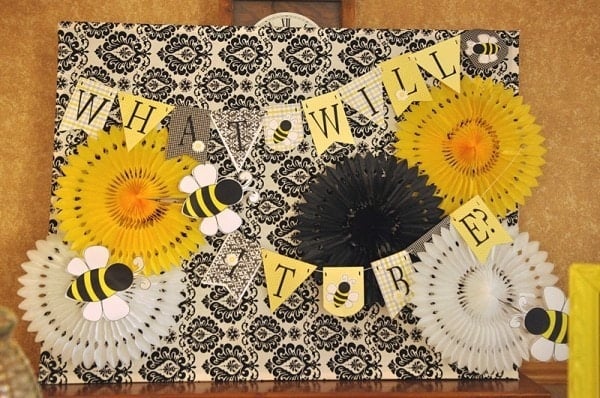
You now have a nice blank canvas on which to create whatever backdrop you’d like. I use straight pins to attach whatever I am adding to the backdrop.
Backdrop #2
Another, slightly easier type of backdrop I’ve used is the one I used for our Wedding Cake Buffet. The cake buffet was set up in my dining room and I had a wall of family photos I needed to cover up. This fabric panel backdrop worked great. I used it on two different walls in the dining room.
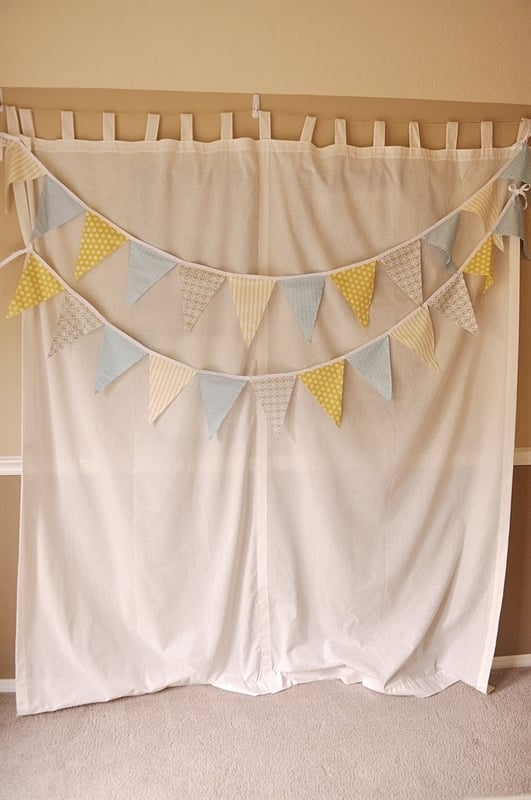
- Purchase two curtain panels for each backdrop. I found mine at Goodwill.
- Overlap the two panels on the long edge. Top stitch down the length of the panel to join the two together.
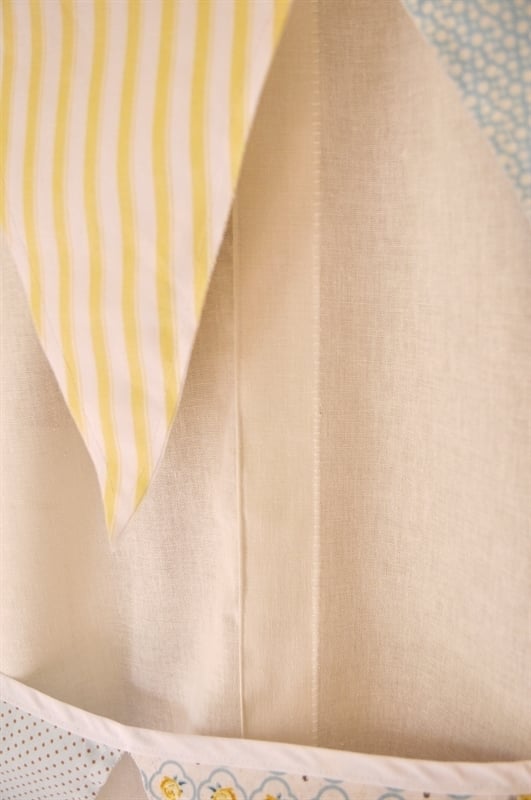
- Use 3M Commando hooks to hang the curtain on the wall. I put three hooks up – one on each side and then one in the middle.
- Run twine through the loops on the panels and then attach the twine to the hooks.
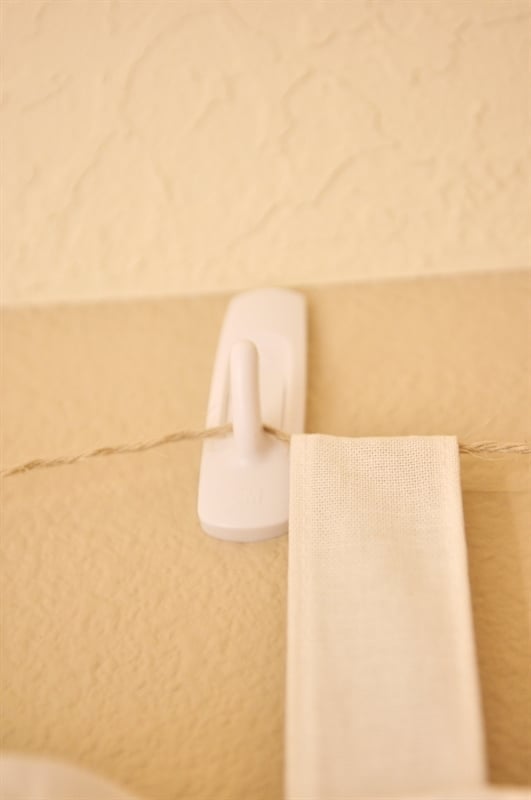
Within a few minutes I had an easy and fun party backdrop.
I then added the pennant banners I had made. I just used a straight pin to attach them to the backdrop.
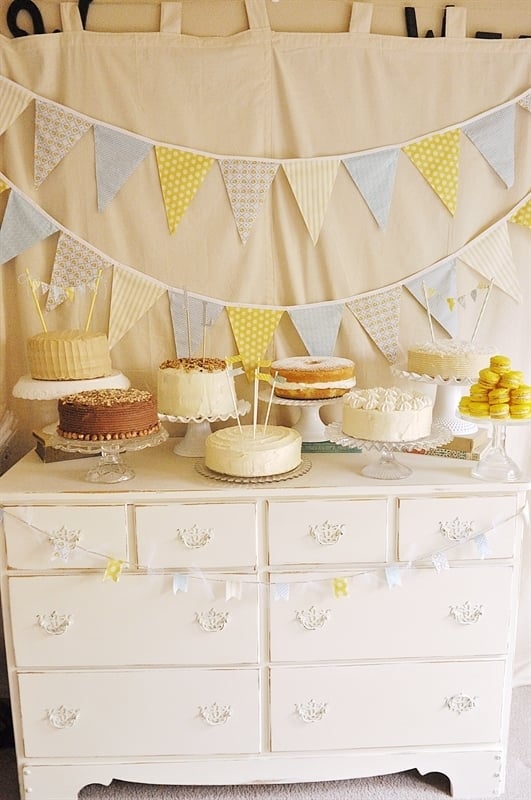
Easy, quick, inexpensive and pretty! What more could you ask for.
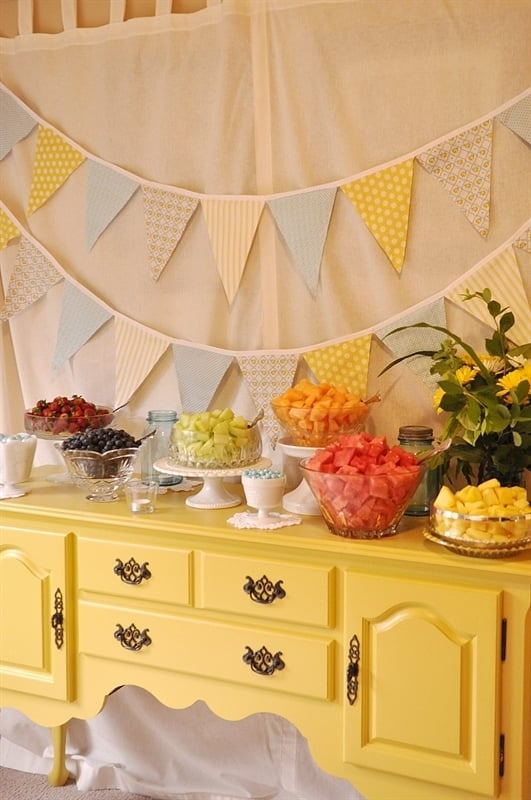
I especially love how versatile this backdrop is. I will be able to use it for so many different parties!
For other party decor ideas check out these posts:
- Wedding Cake Buffet
- Fabric Pennant Tutorial
- Chalkboard Party Backdrop
For all my other favorite kitchen products and tools visit my Amazon Store.
Did you know I wrote a cookbook? Check out the Holiday Slow Cooker Cookbook for 100 delicious recipes.
Be sure and follow me over on You Tube for weekly cooking demos
Joanne T Ferguson says
G’day! What a novel idea, TRUE!
LOVE the simplicity, economical and versatile too!
Cheers! Joanne
lisa says
So pretty! I have been a bit mia from the blogging world lately…but your cake shower is beautiful. Don’t you just love painting old pieces of furniture? Have you ever visited the Purple Pear? If not, you should take a field trip!! :}
Leigh Anne says
Thanks Lisa! It was so fun to do and the bride and groom were so happy. haven’t been to Purple Pear but I think I must!!!
Just painted a new Goodwill fine yesterday and picked up another one today!!
Shirley says
I love the idea….but when I looked for the fireside tab top window curtain panels on Amazon….they are $60.00….so you got quite a deal at Goodwill!!
lisa says
Shirley…IKEA has the tab top curtains for less than half of that.
Here are the ones I got at IKEA. I use them for tablecoths, too. I figured that less than $15 a panel is a bargain. :}
http://thepearsonfamilee.blogspot.com/2012/02/baby-shower-season.html
Leigh Anne says
Thanks for the great tip Lisa!
Leigh Anne says
Shirley – mine were less than $10.00 a set at Goodwill.
Julie Spady says
You make it look so simple!!
Leigh Anne says
Julie- this one really, truly is simple! I promise!!!
Zainab @ Blahnik Baker says
I was going to ask yesterday if you could share a tutorial for the beautiful backdrop, but decided to wait it out! I’m glad I did. Thanks for sharing 🙂
Leigh Anne says
So glad I could help!!