FREE 5 Instant Pot Meals in 5 Minutes E Course!
Your Homebased Mom
Leigh Anne Wilkes
Recipe Index
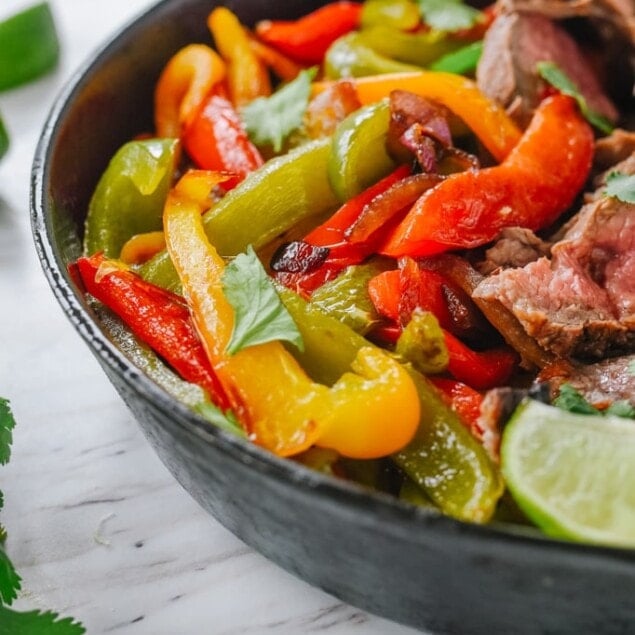
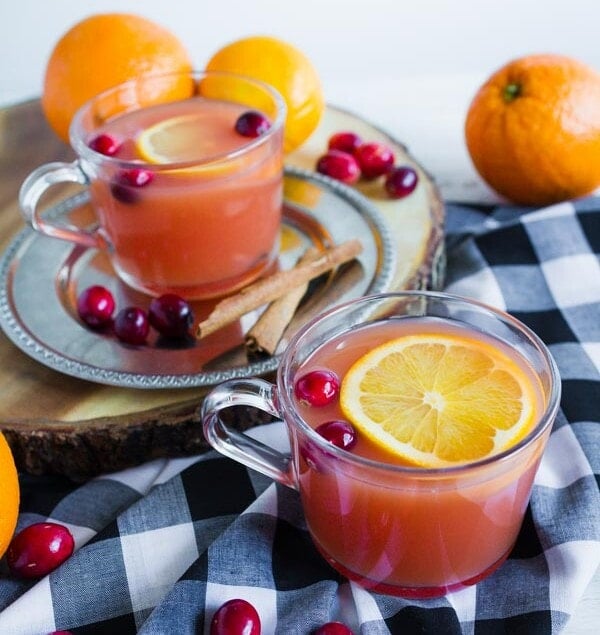
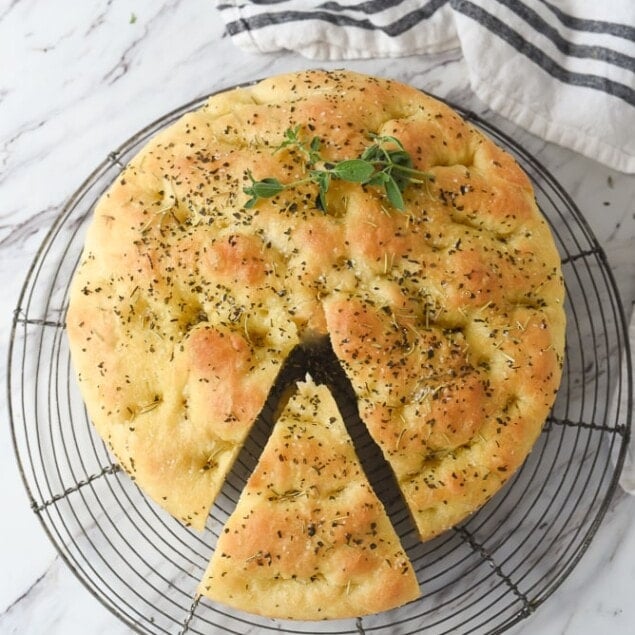
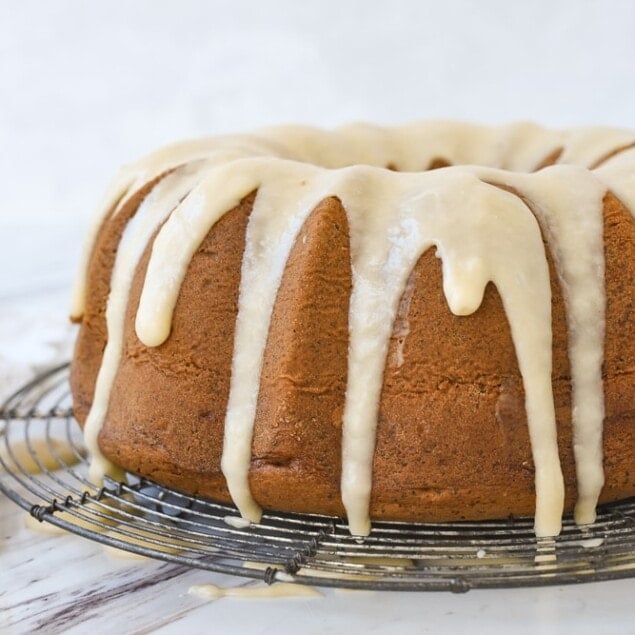
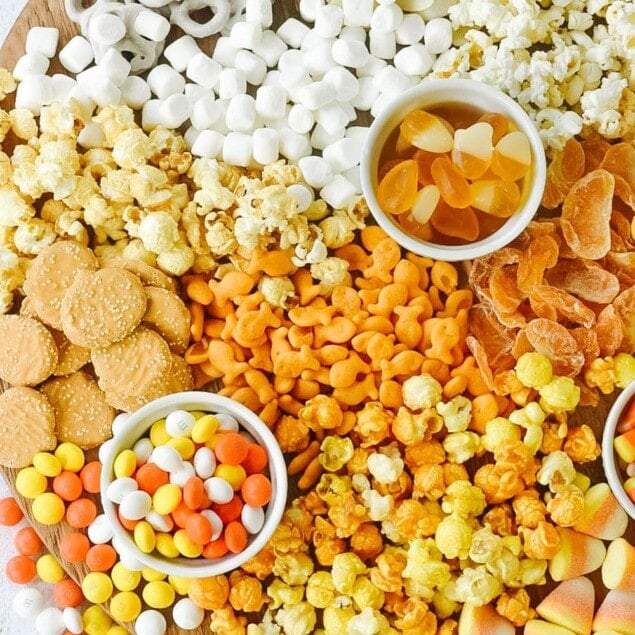
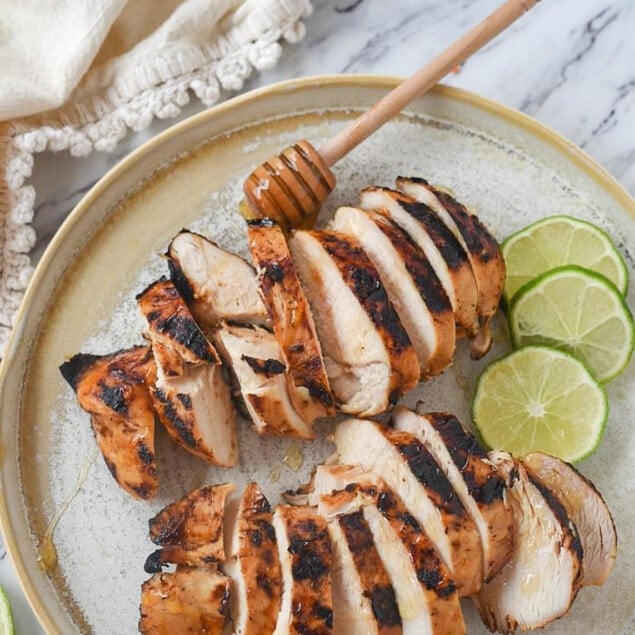
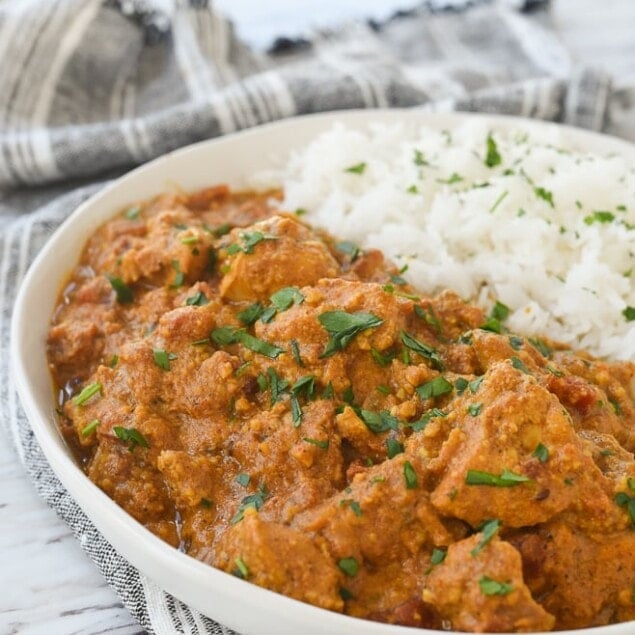
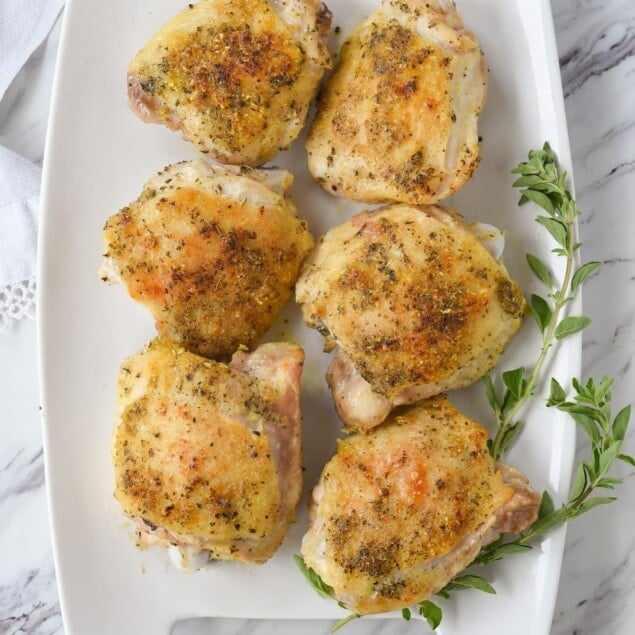
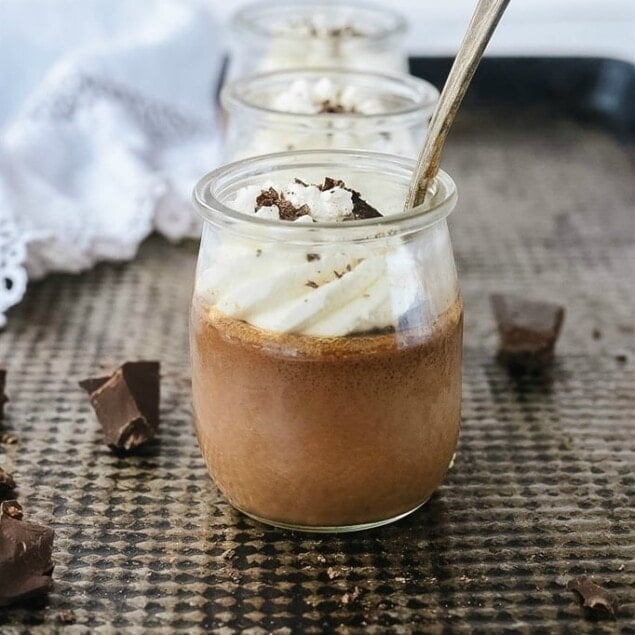
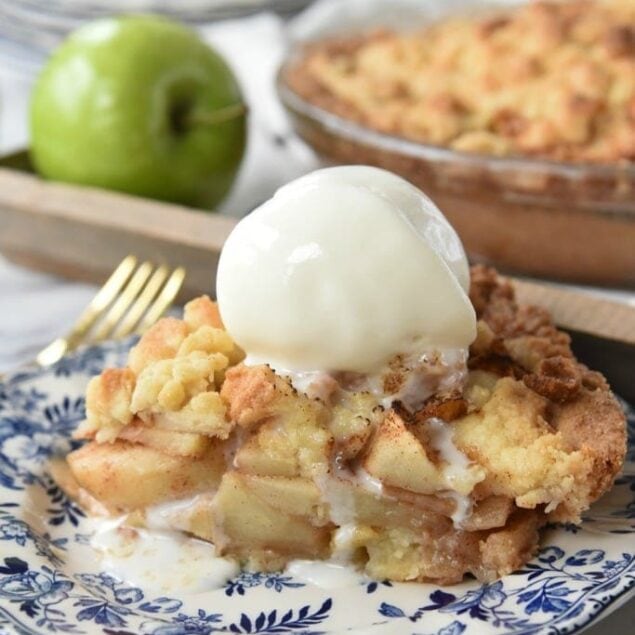
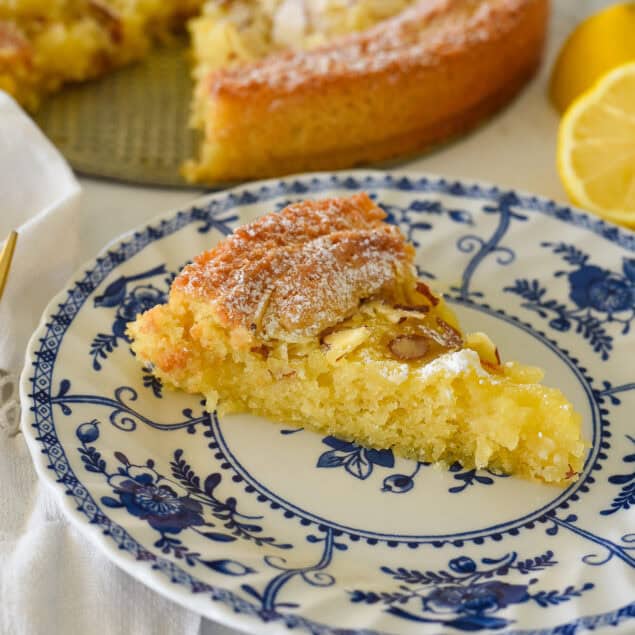
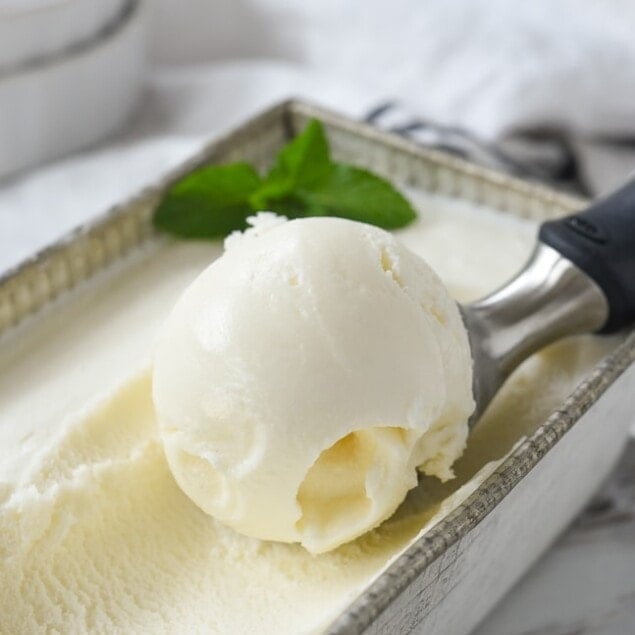
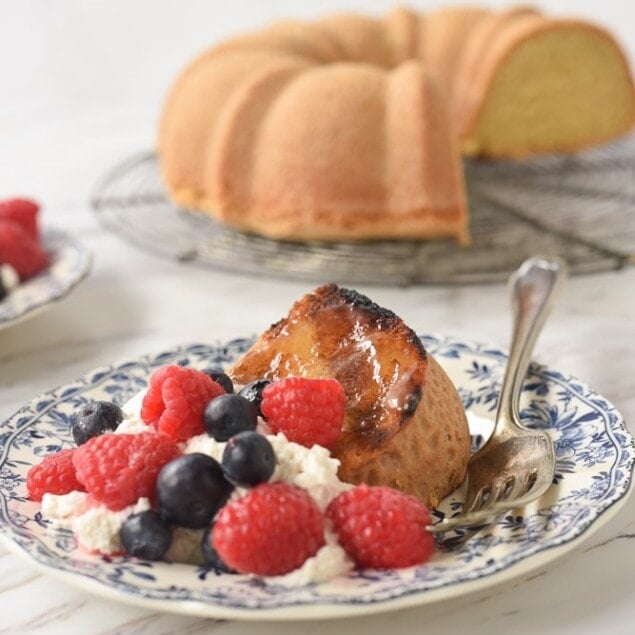
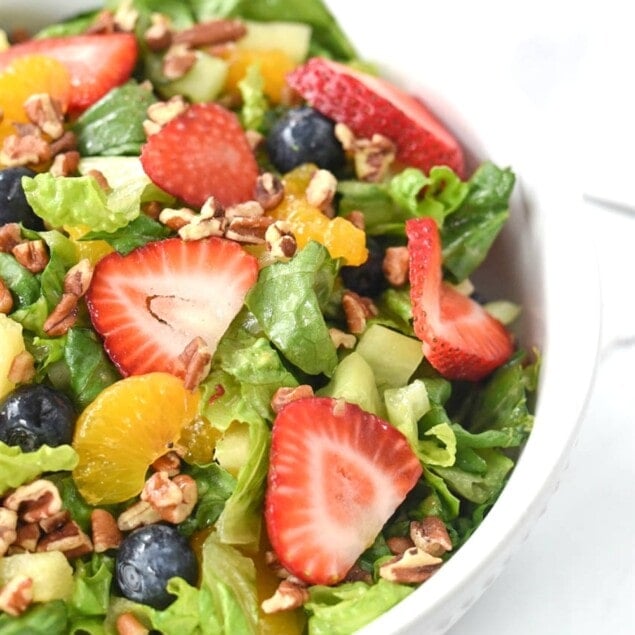
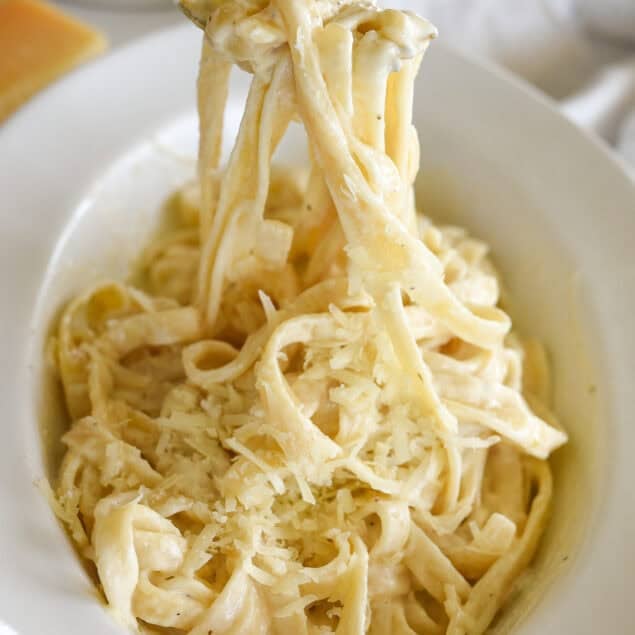
Need some inspiration for dinner? Or maybe you are looking for a new chicken recipe? Or what about searching for the perfect appetizers for your next party? This is the place for all of those things. See all of my delicious recipes by category!