This post may contain affiliate links. Please see disclosure policy here.
A Wedding Carnival is the perfect way to celebrate a new bride and groom. We celebrated with carnival games, food, decorations and fun!
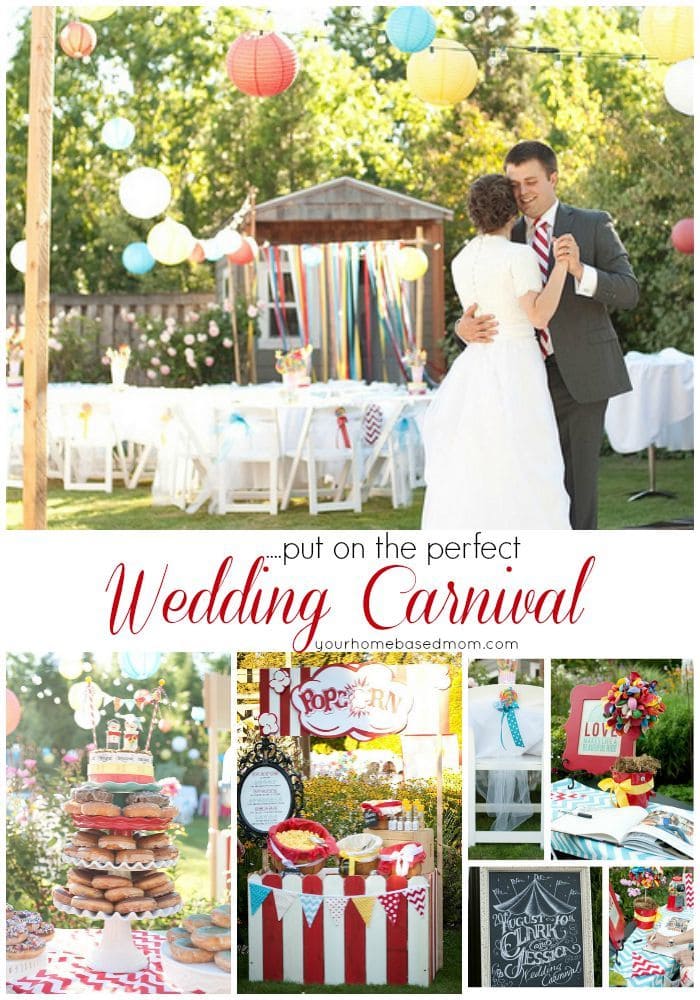
Today I am so excited to share with you photos from the Wedding Carnival!
DIY Wedding Carnival
I began working on the carnival soon after I knew about the engagement last March. I spent the next four and a half months having so much fun and pouring my heart and soul into the wedding carnival. It was so much fun and I loved every minute of it. It was a total DIY wedding thanks to all the creative efforts of my husband and friends. Jim spent the last four months working building booths, hanging lights, and tending the garden in every free moment. I have some amazingly creative friends who spent uncountable number of hours helping me too! I am also grateful for my great group of friends who showed up at my door on Friday to help set up and those who worked behind the scenes that evening making sure everything ran perfectly so I could enjoy the evening.
So welcome to our Wedding Carnival!
Wedding Carnival Decorations
After coming up with the Carnival theme for our party, my next decision was the color scheme. Red and white were a natural choice for the wedding carnival decorations and we added in teal and yellow too.
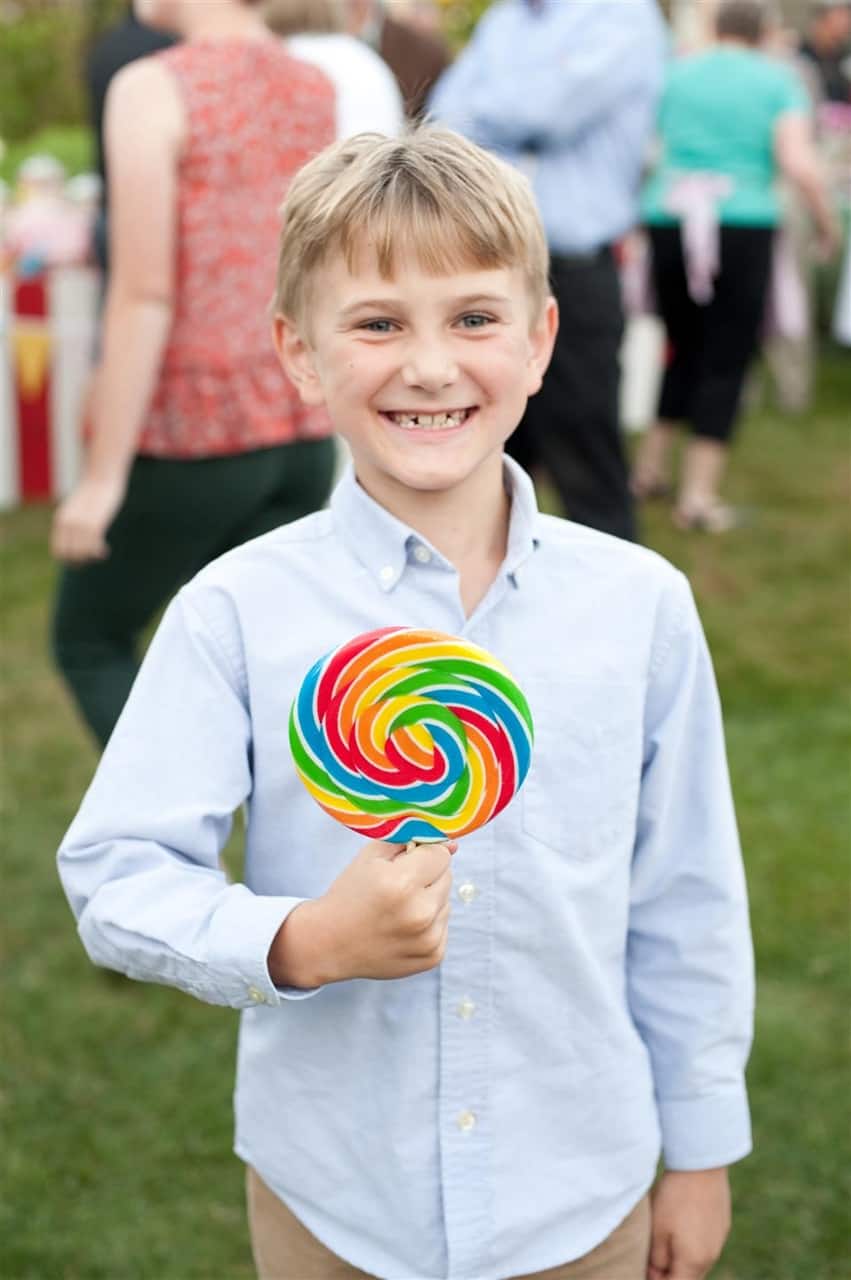
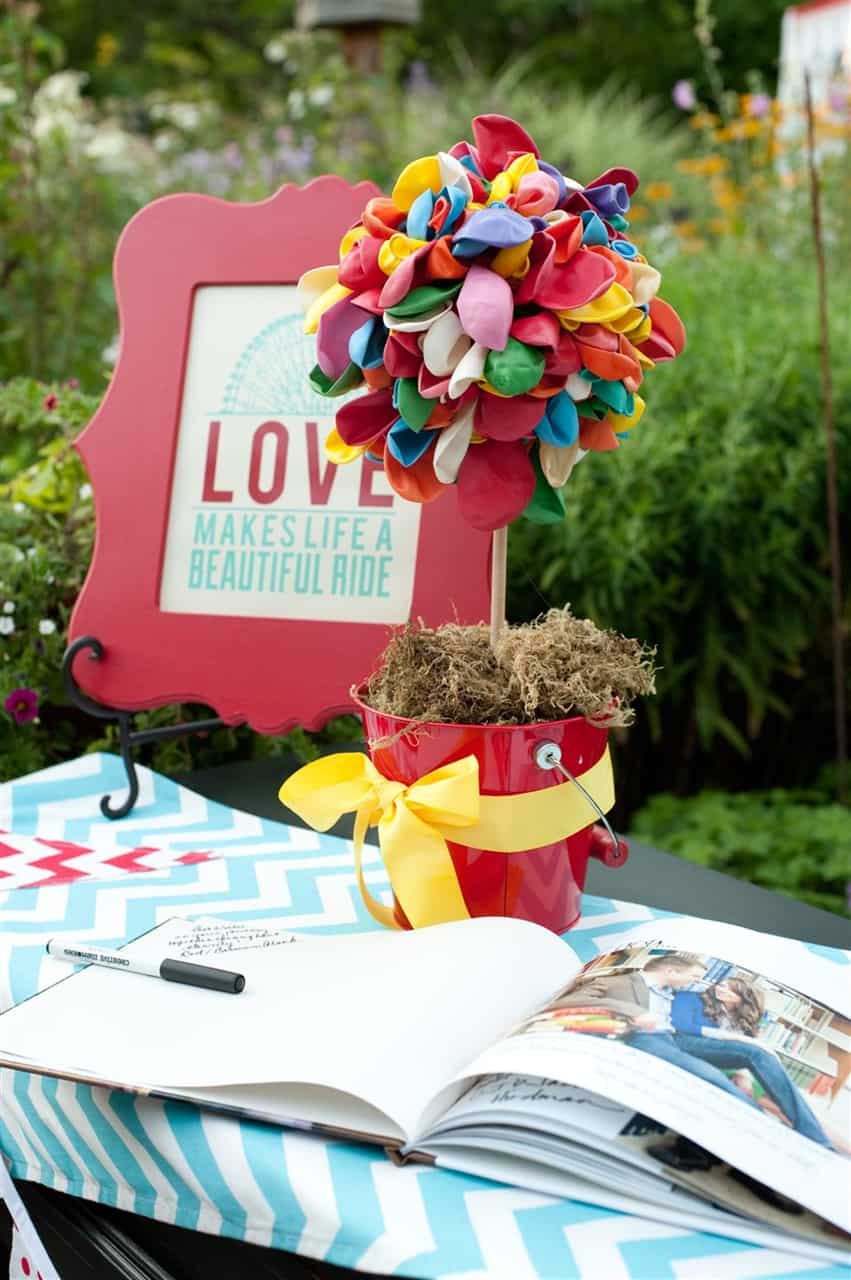
I also chose this swirly sucker as my carnival motif. I used it in the invitation as well as the wedding carnival decorations for the evening.
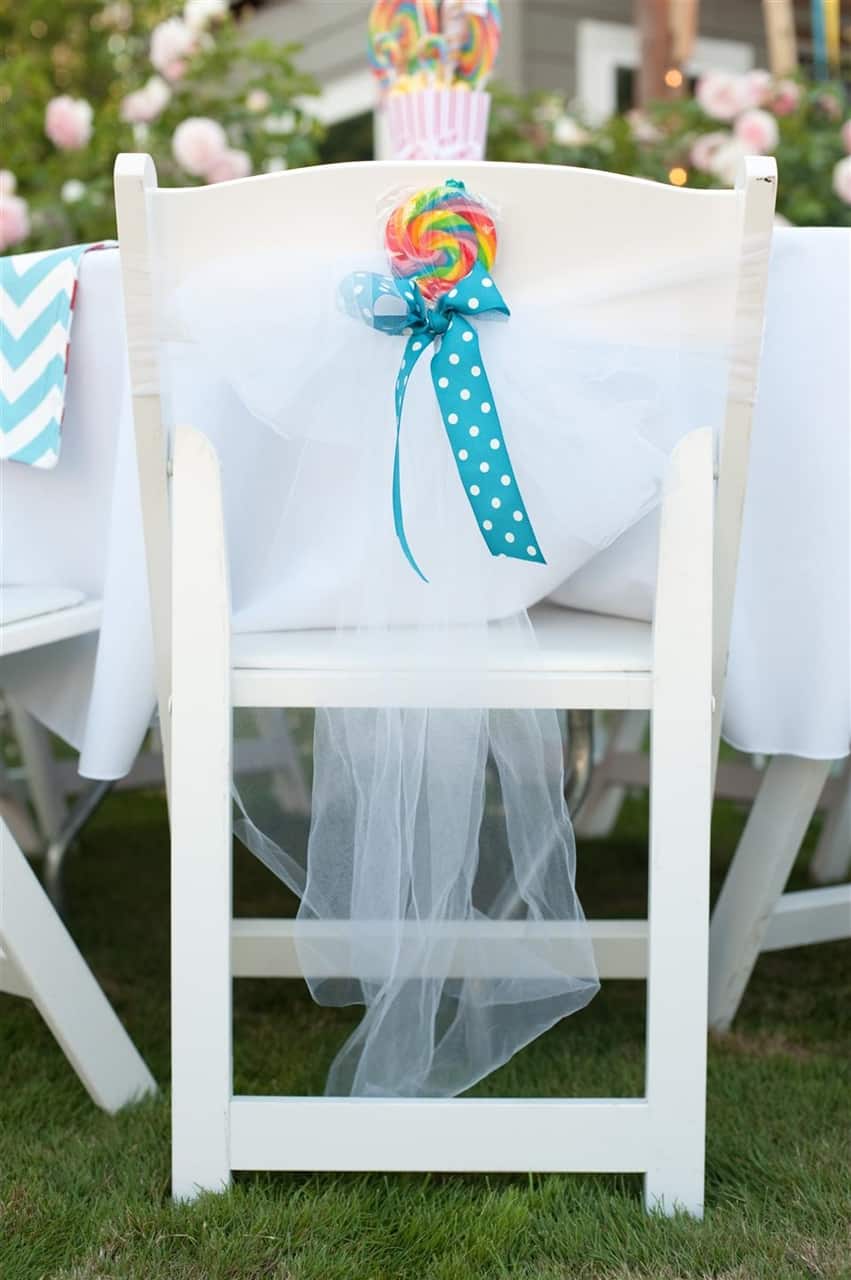
Suckers were also used to decorate the tables. The tulle chair back ties were borrowed from a friend and I added the polka dot ribbon and suckers.
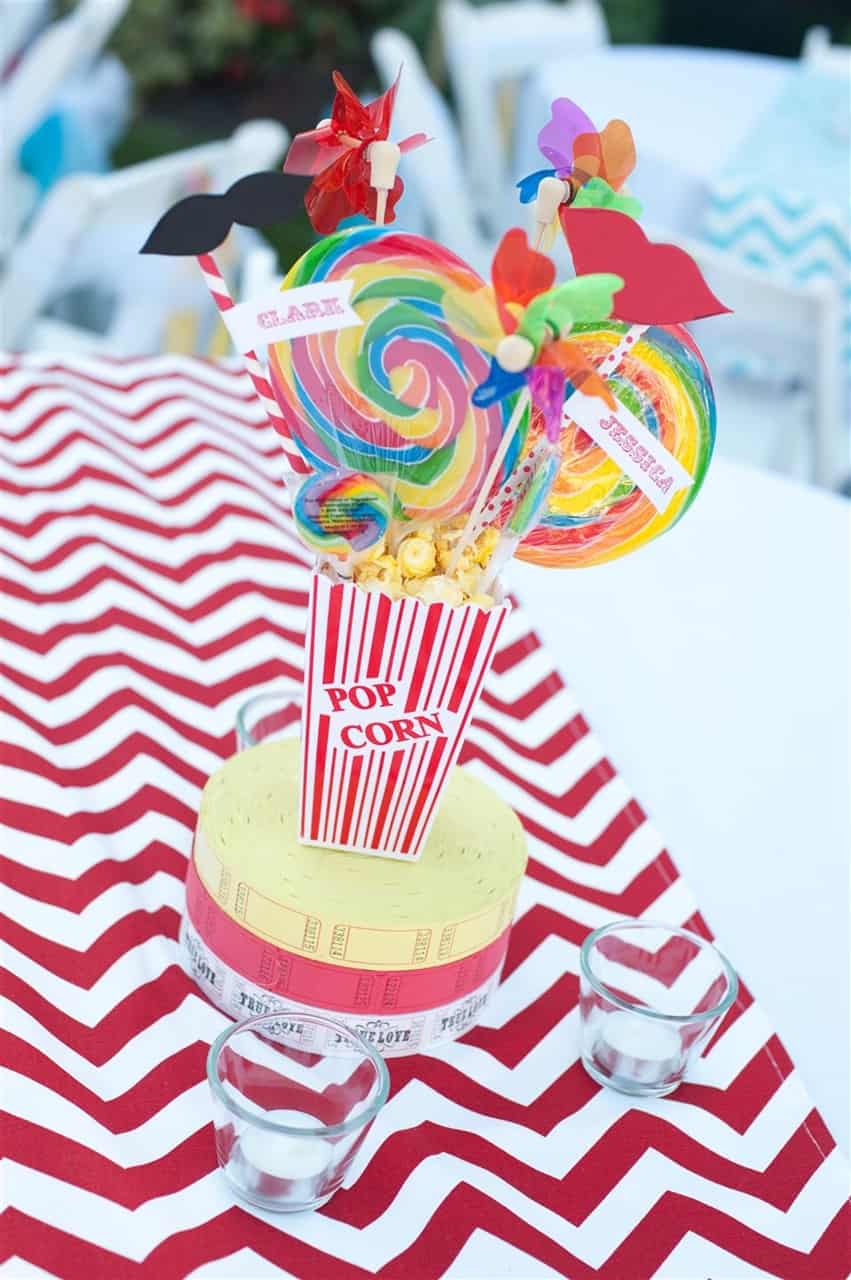
Carnival Themed Centerpieces
I also included the swirly suckers in table centerpieces. They were created by hot gluing three rolls of carnival tickets together. I filled popcorn boxes with a piece of styrofoam and then added the swirly suckers, pinwheels, and mustache and lips cut out of craft foam.
We held the carnival in our backyard so I wanted people to know they were coming to a carnival from the minute they pulled up in front of our house. My friend Darlene made these fun vintage carnival posters which we hung from the garage. She used a site called Block Poster. It’s a great site – it allows you to create posters of any size from a jpg for free. Tutorial for the LOVE letters can be found over at Happy Days.
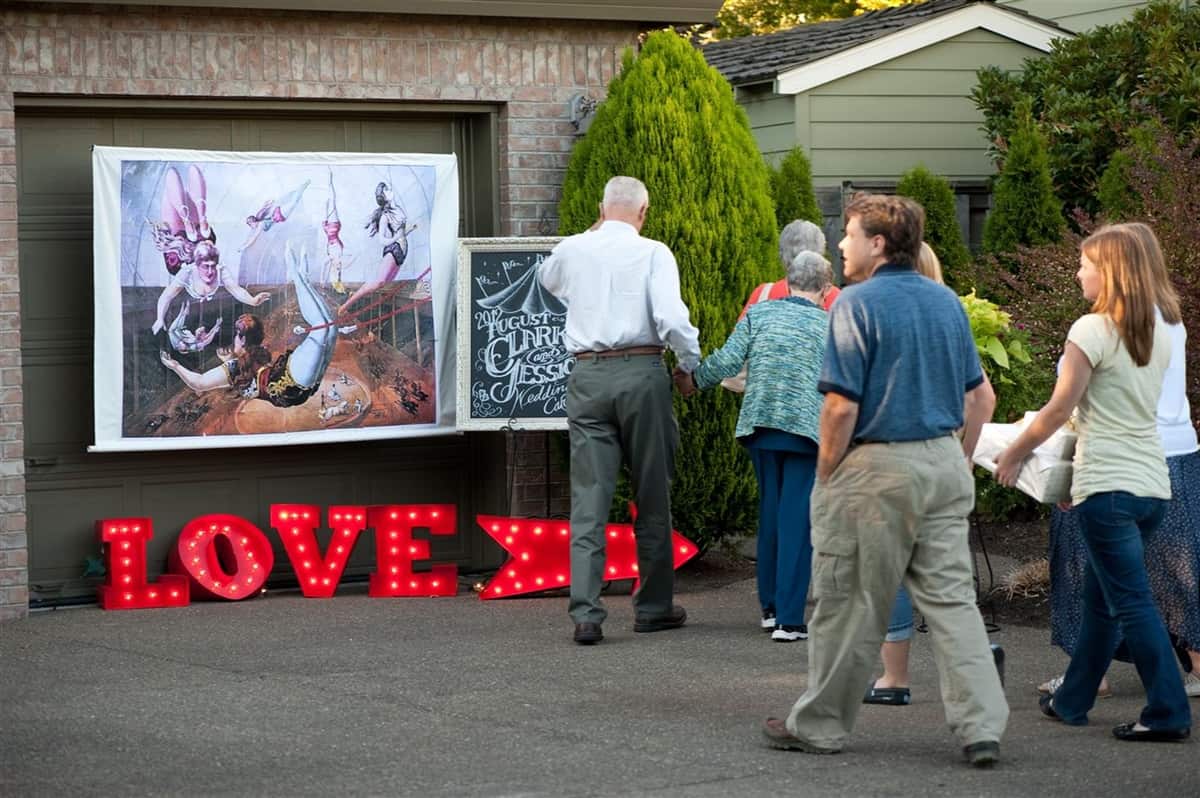
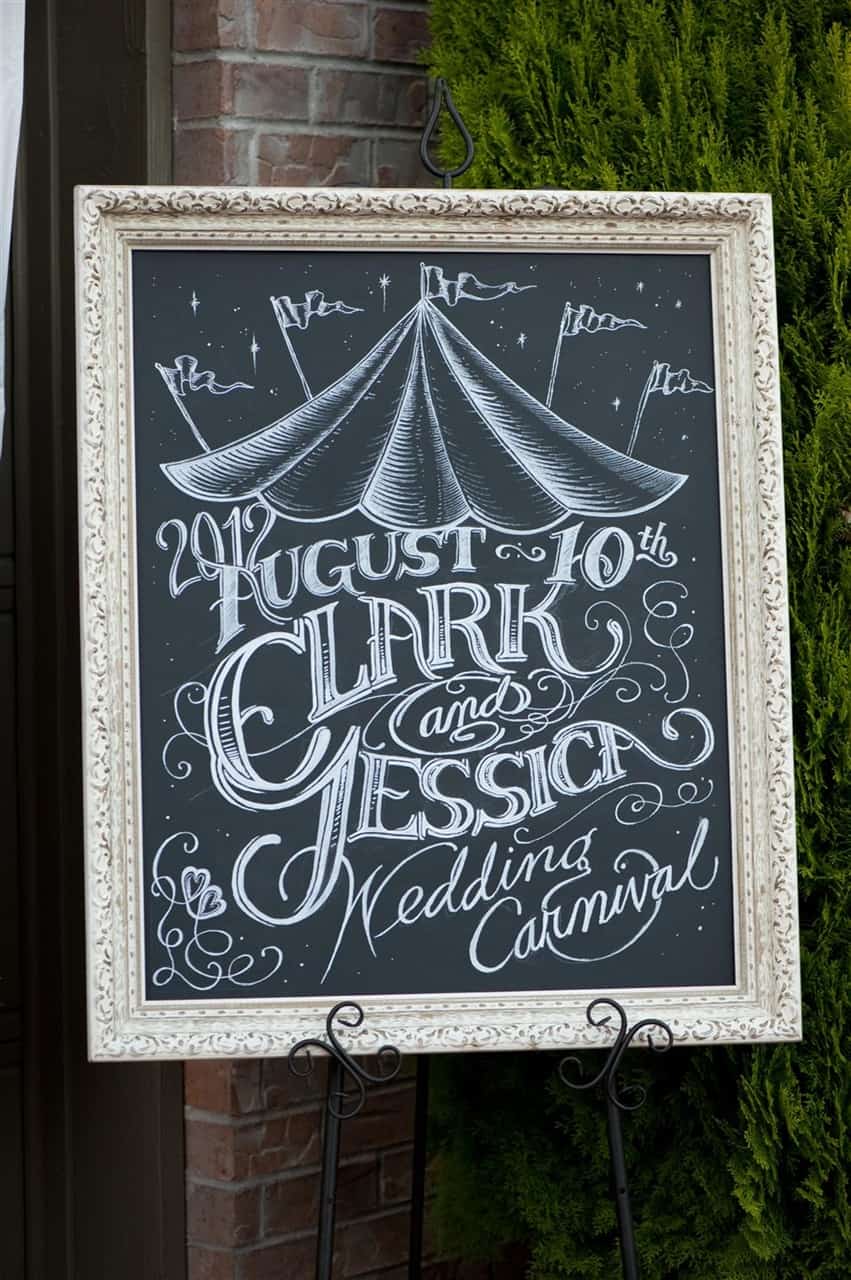
A friend created this amazing chalk art that I framed with a frame from Goodwill that I spray painted.
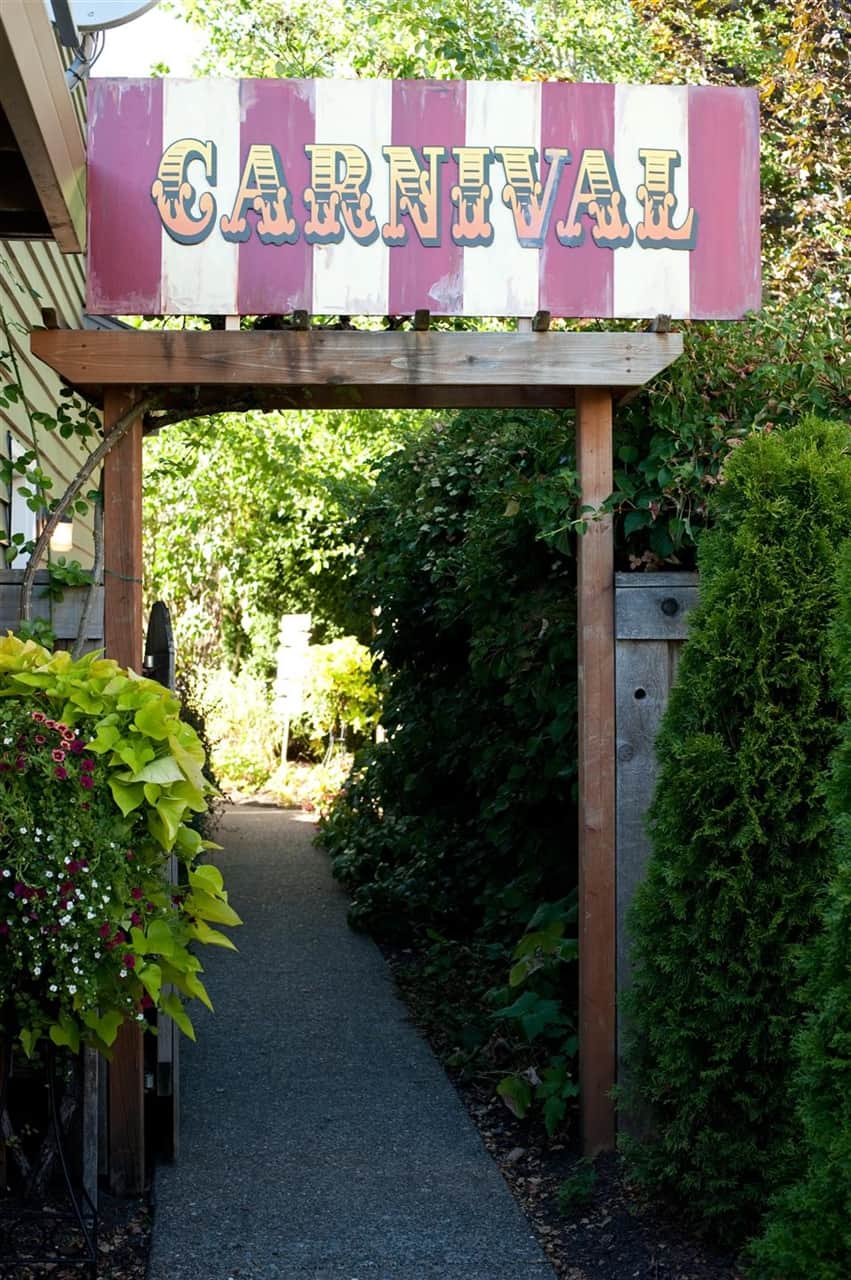
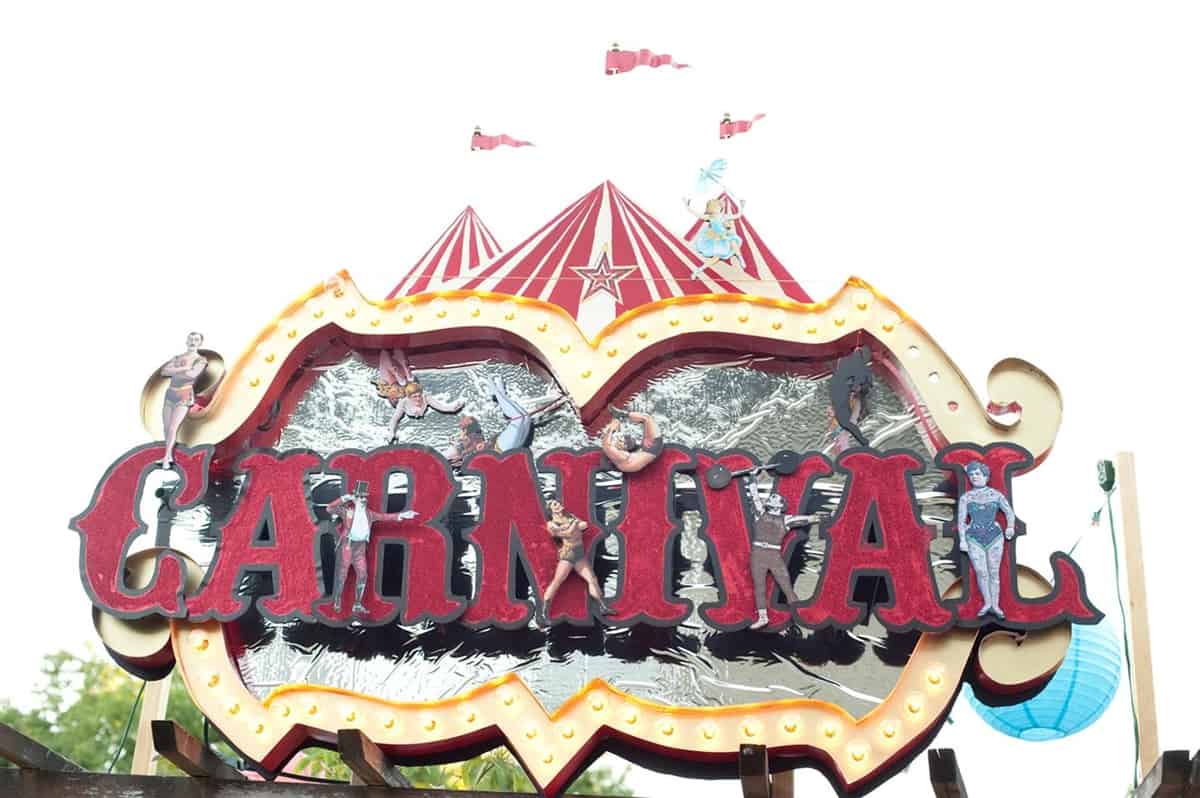
We made sure there was plenty of fun Carnival signage, all made by my talented friend!
As they entered the Carnival they had a chance to sign in.
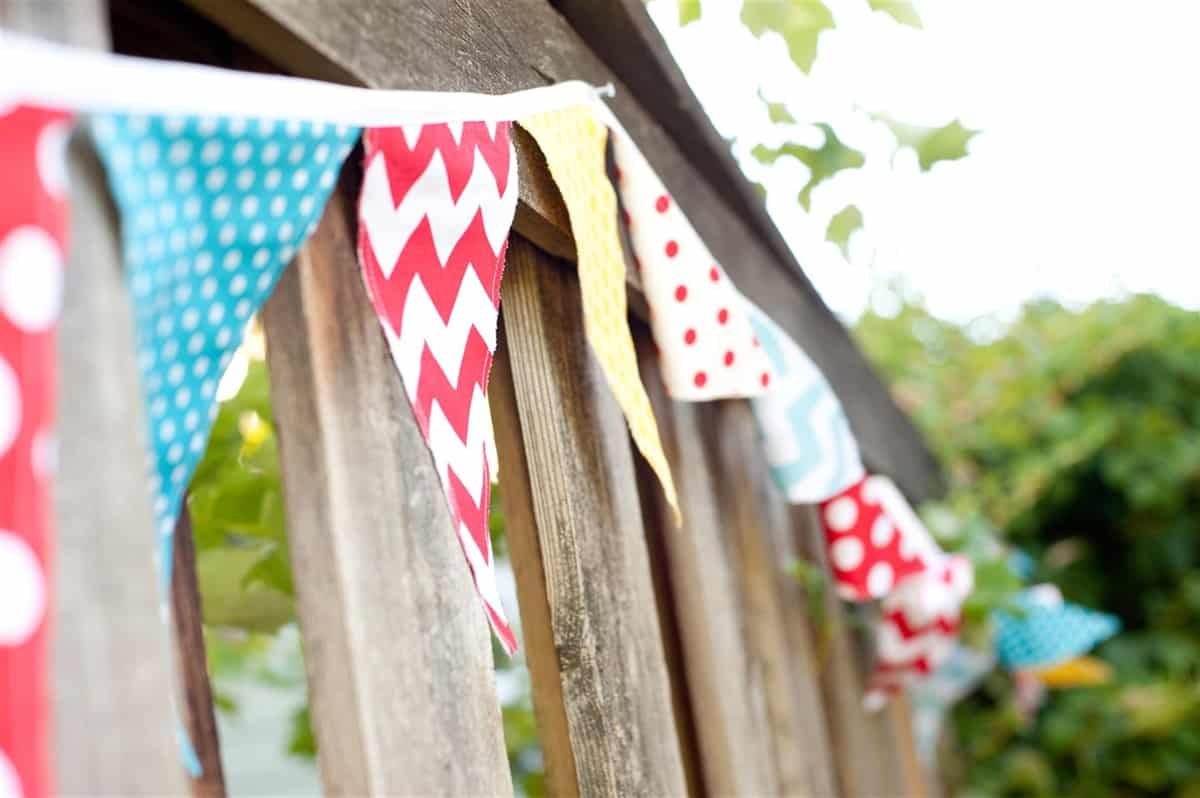
I made yards and yards of pennant banners using the carnival colors. We used them decorate everything from tables to fences to carnival booths.
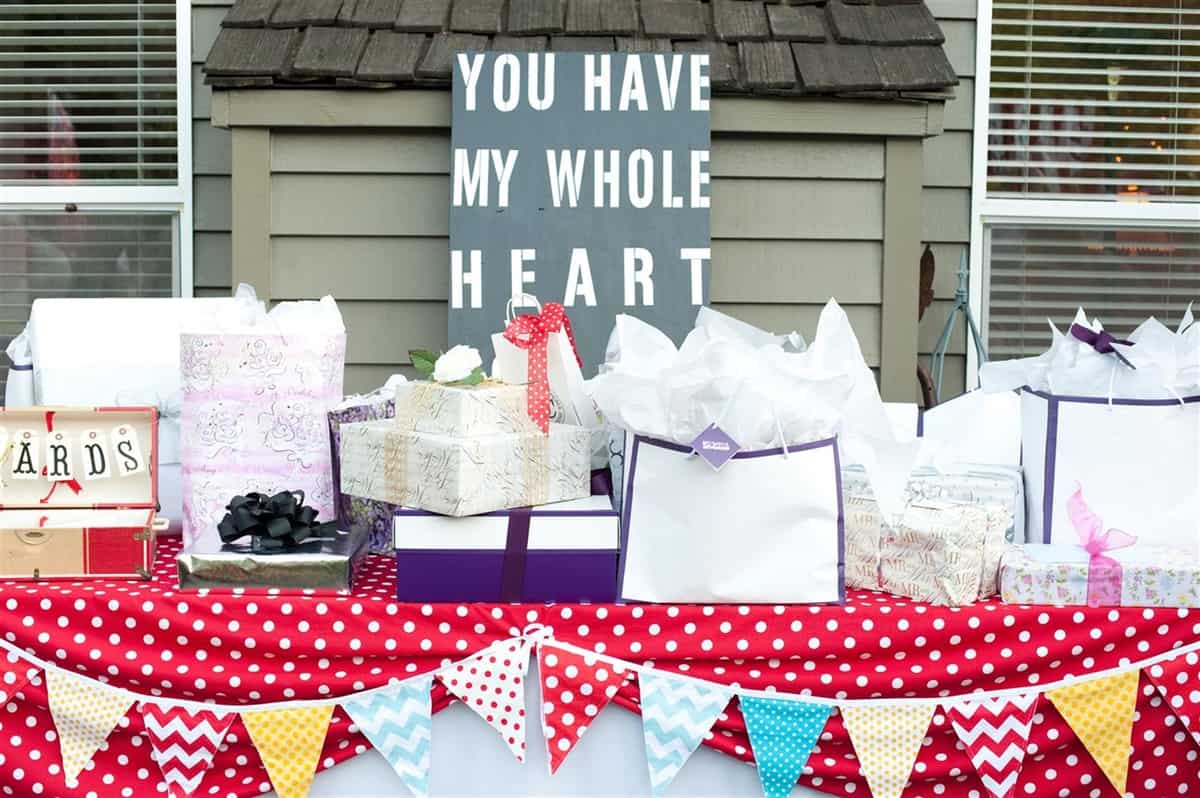
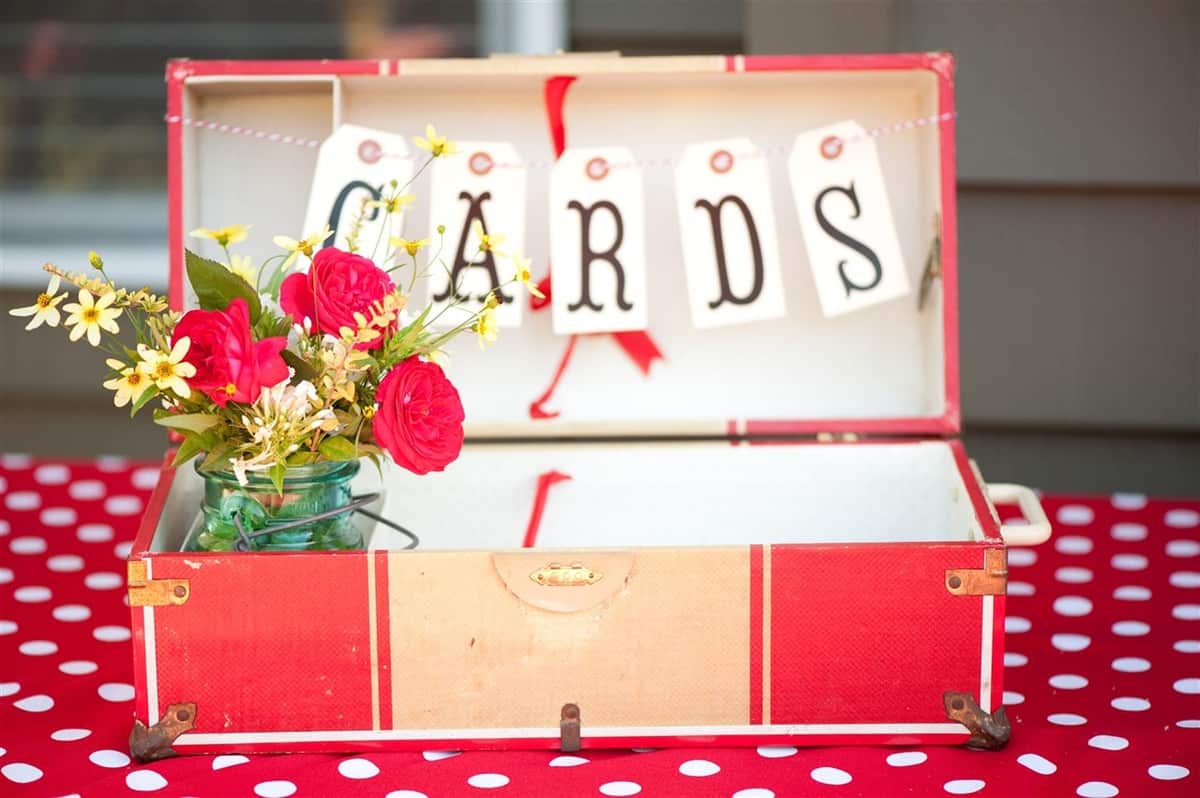
I used a vintage doll case for as a holder for the gift cards people brought.
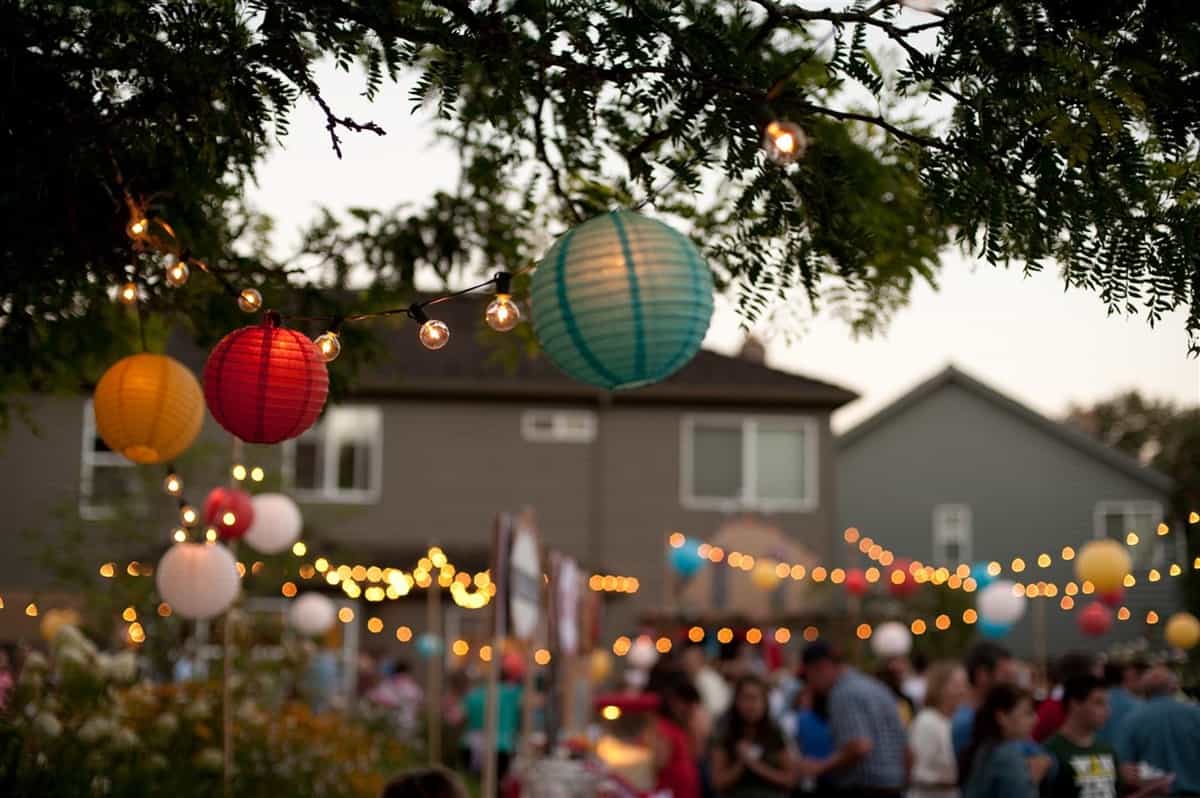
One of the things that was really important for me to have was amazing lighting. My husband really came through on that one for me! He spent hours and hours, days and days figuring out and hanging hundreds of feet of lights in our backyard. I think we now own 700 feet of lights!!! The best place we found online to buy the lights was Hometown Evolution. But I have to say the money and effort were so worth it. Not only did they look great in the day light and provide a great place to hang all the paper lanterns.
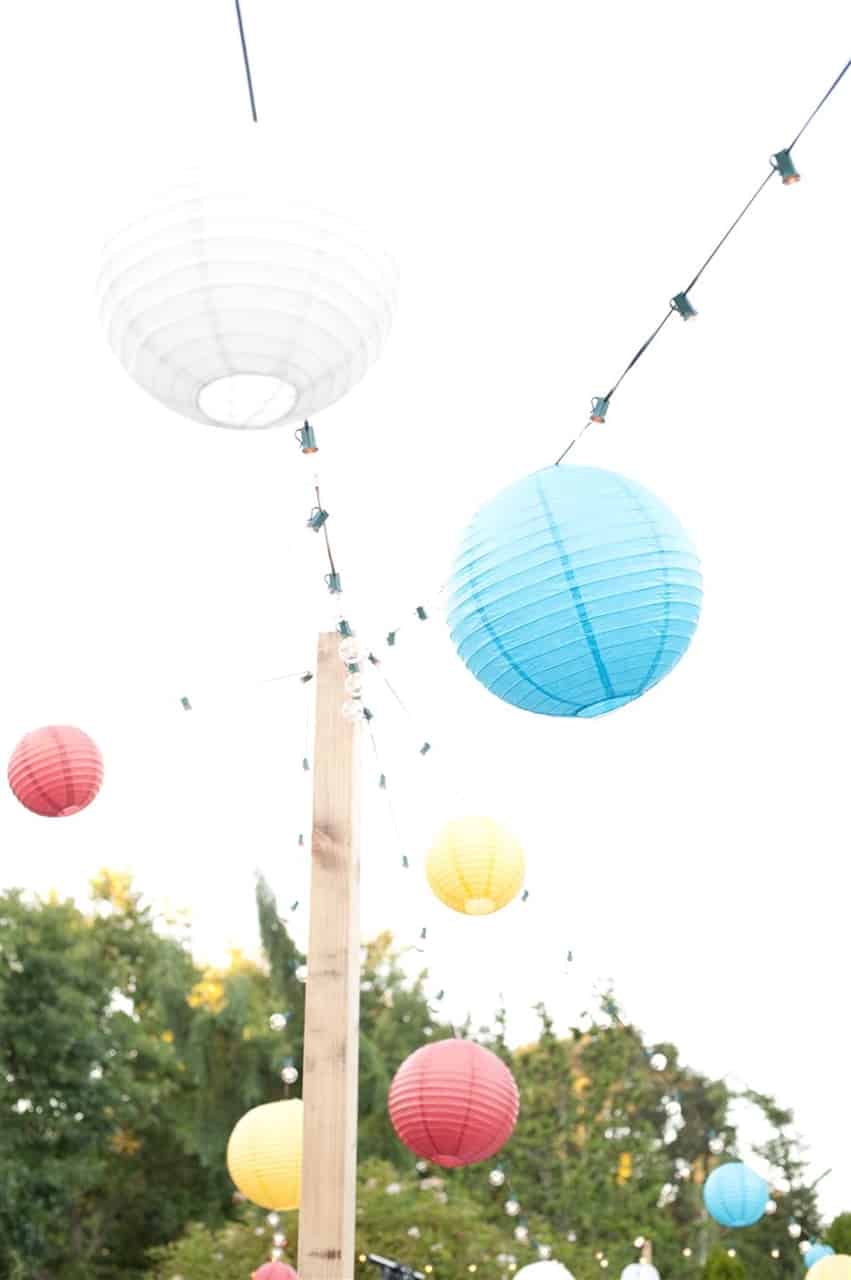
And they looked magical after dark.
Carnival Wedding Music
Some of the best money we spent was on a live band! They were amazing and added so much to the atmosphere of the carnival. If you are in the Portland/Vancouver area I highly recommend the band 24/7.
We danced and danced until we had to stop because of the noise ordinance!!


The only thing that Jim gave me a hard time on in regards to the carnival was a dance floor. He didn’t think we needed one and I did. After months of searching I was able to find one to rent for a reasonable price. The week before the carnival it fell through. Not one to be defeated easily I talked Cali and her friend Hannah into building me one! It turned out wonderful and it was perfect. Jim even admitted after the carnival was over that I was right – the dance floor was great!! You can find all the info on how we built it here.
Wedding Flash Mob
It is hard to pick a highlight of the evening as it was just one magical moment after another but I have to admit that the Flash Mob we did was pretty amazing! Cali, Tessa and Hannah choreographed it and then enlisted the participation of our neighbors and friends!

We did it when the band took a break and used the song “Call Me Maybe.” Cali introduced what she told the crowd was a lipsync of this song as it is what Jessica said to Clark the first time she met him. They began their lip sync and then groups of neighbors who were scattered through the crowd began to join in – it was great!!

The crowd loved it and so did the bride and groom. We even got them to join in at the end.

The Wedding Carnival was an amazing way to be able to celebrate the bride and groom and share it with so many of our dear family and friends.
As I looked out over the yard and saw everyone laughing, eating, dancing and enjoying themselves my heart was so full. It was a perfect moment in time. Just what I had hoped for.

All the wonderful photos were taken by talented friend and photographer Megan Elle Photography.
For more details check out:
Carrie says
That is amazing! So happy for you and thank u for sharing all of your how to tips! I arrived here after looking for kids carnival ideas but so doing this if I ever get married again! Heck, I might start looking 4 my Mr. Right again just so I can have an awesome carnival like this someday lol