Easy Family-Friendly Recipes by Leigh-Anne Wilkes


Get My Weekly Menu Plan!
Never Miss a Recipe! Receive my FREE 5 Instant Pot Meals in 5 Minutes E-Course and my FREE weekly meal plan!

Trending Now
Salted Caramel Brown Butter Cookies
Salted caramel brown sugar cookies are soft, chewy and full of amazing flavor. Thanks to brown butter, caramel, salt and a chocolate drizzle you can’t go wrong.


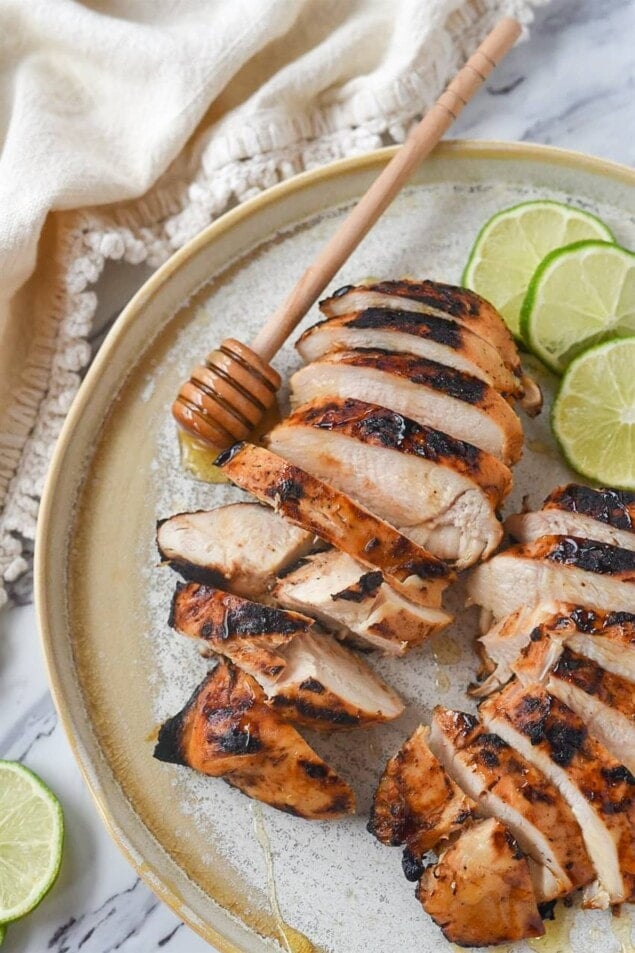
The Latest
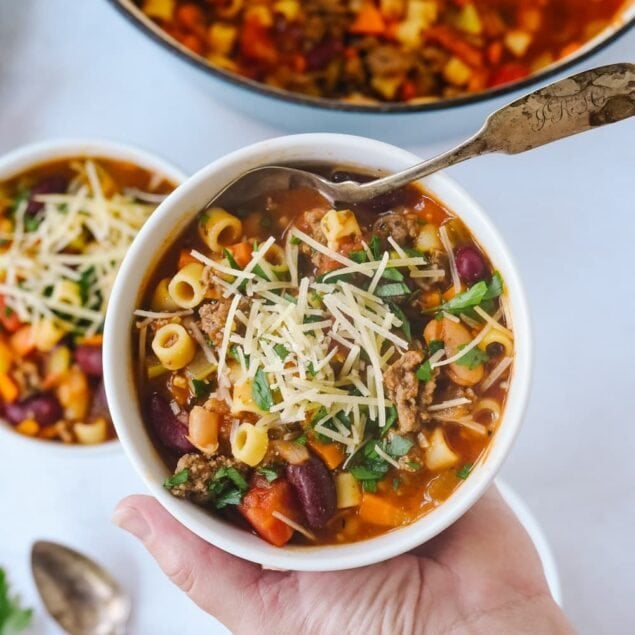
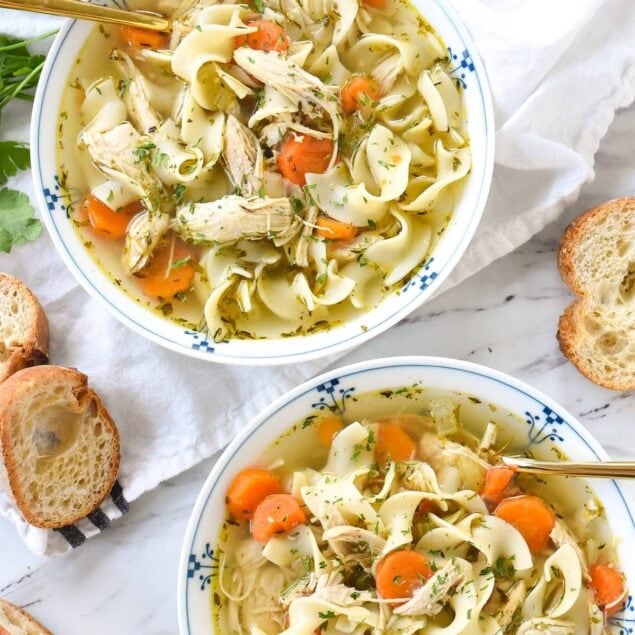
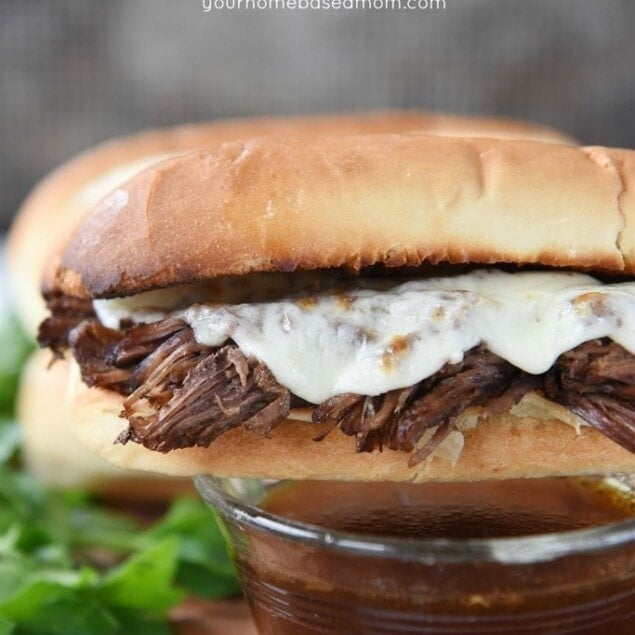
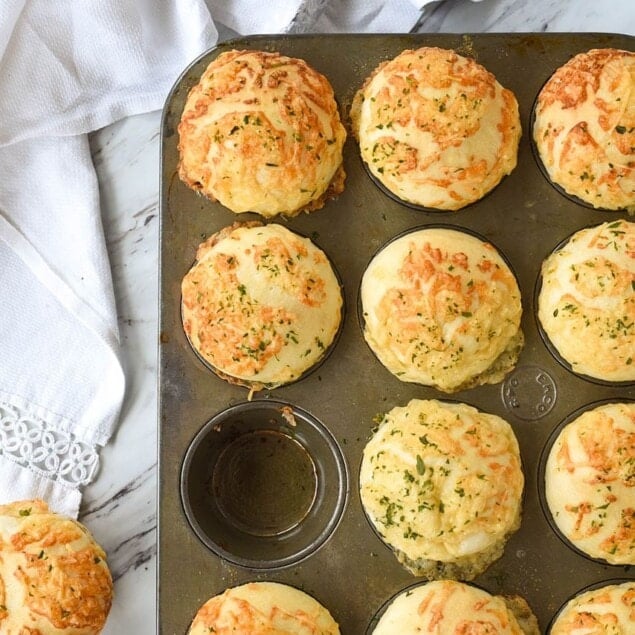
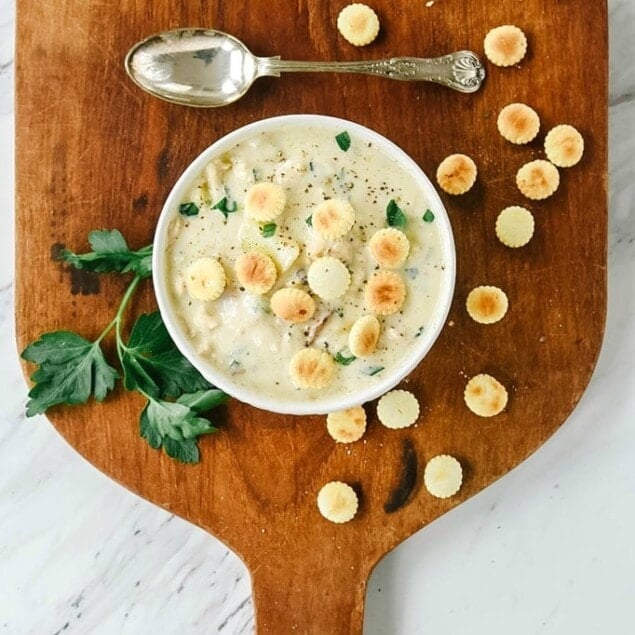
Check out the latest easy, delicious, picky eater proof recipes that the entire family is going to love.


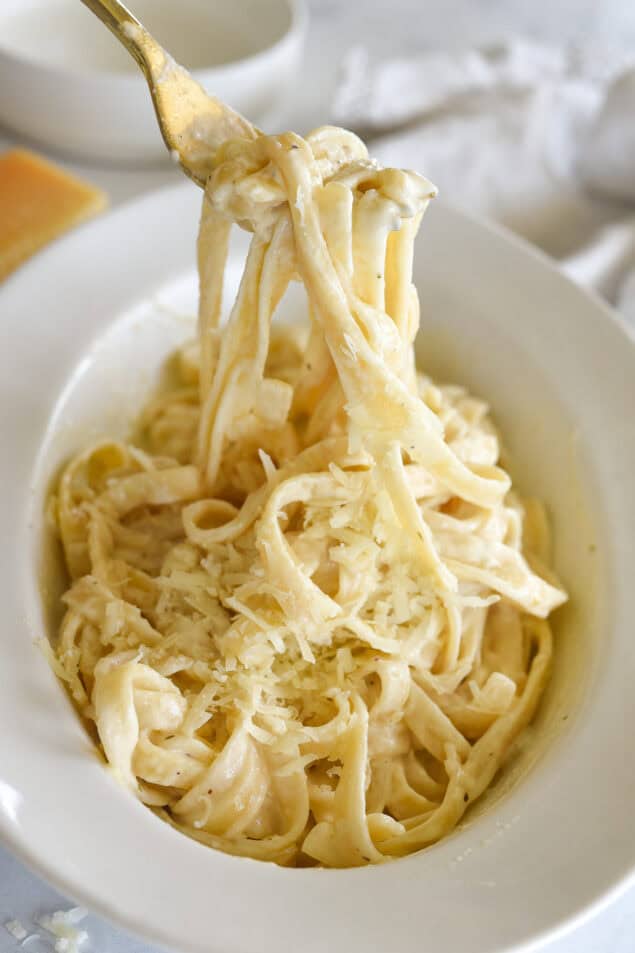
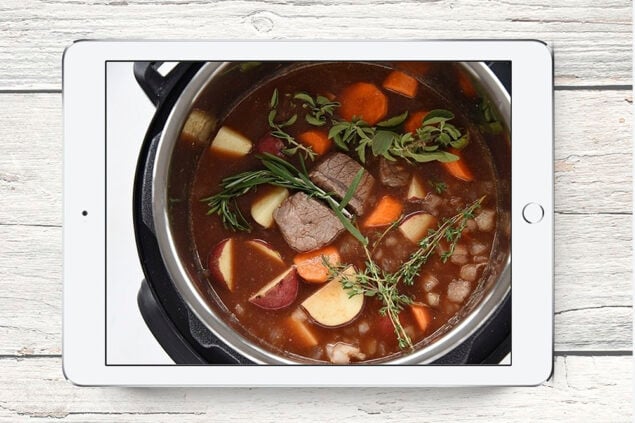
Easy Dinner Ideas
Make meal time hassle free with these easy dinner ideas.


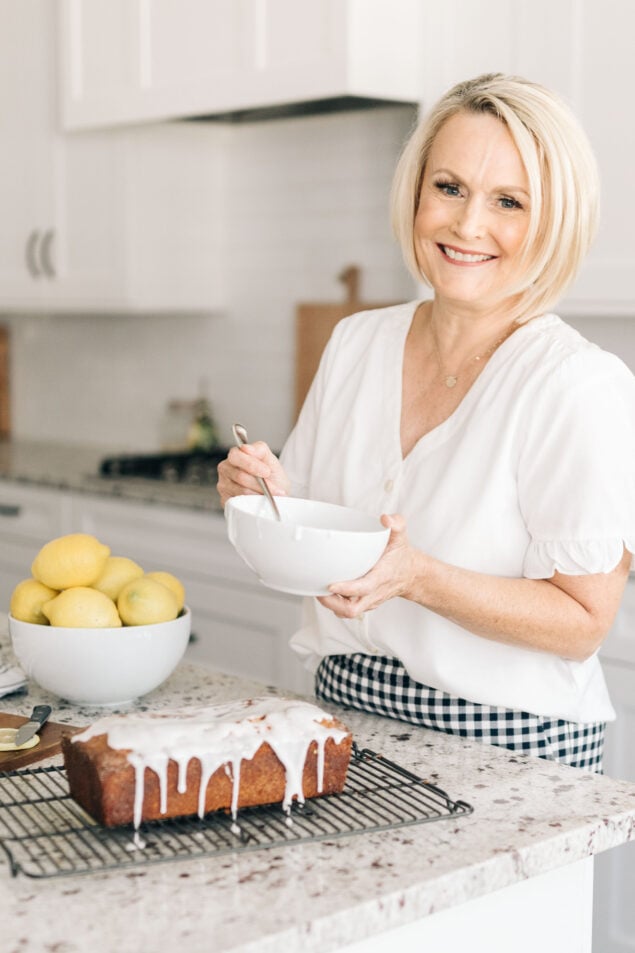
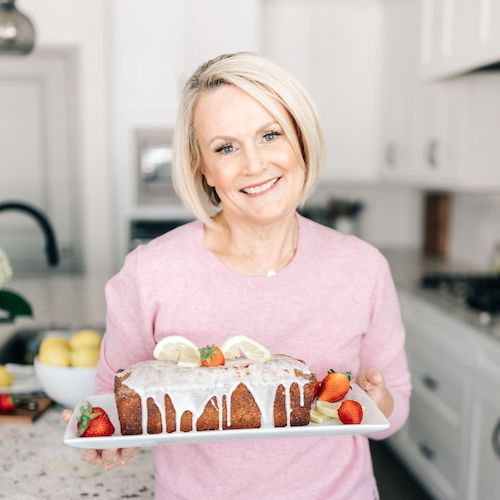
Helping you live a more intentional (delicious) life
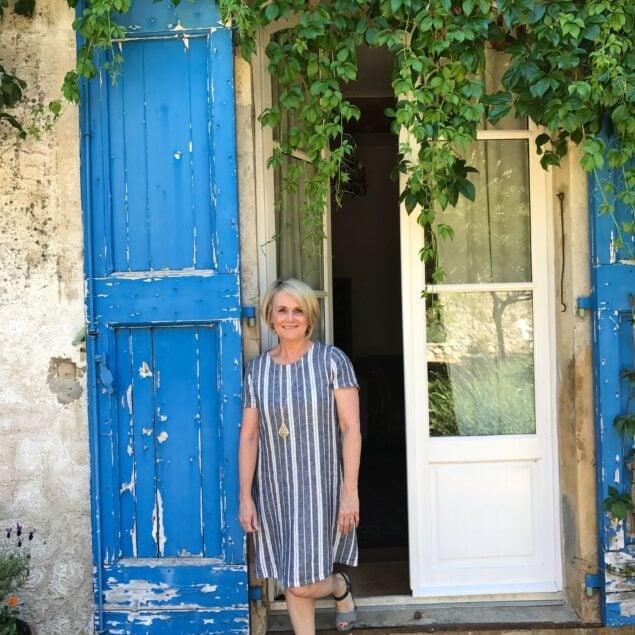
After years of raising my own family and watching them start their own, I now dedicate my time to helping thousands live a more intentional life through easy family friendly recipes and ideas for gathering family and friends together. Pull up a stool and join me in creating something amazing together!
As Featured On:


Be Inspired
Leigh Anne’s Specialities
My years of experience in the kitchen cooking for family, friends, and neighbors translates to hundreds of recipes that you and your family will love.


"Leigh Anne's recipes have graced many dinner tables and get togethers in our family and they have helped me serve the people I love. I feel like in some way I also sat at that counter in her kitchen learning from her how to bring together family around the table and how to love through preparing food."
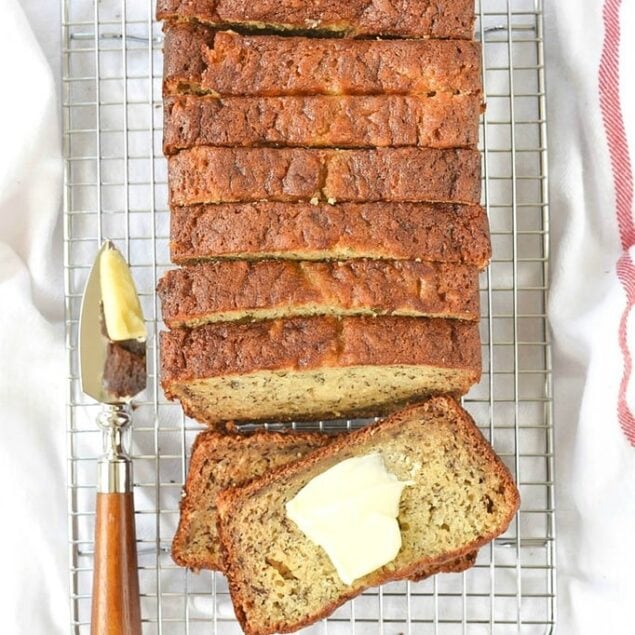
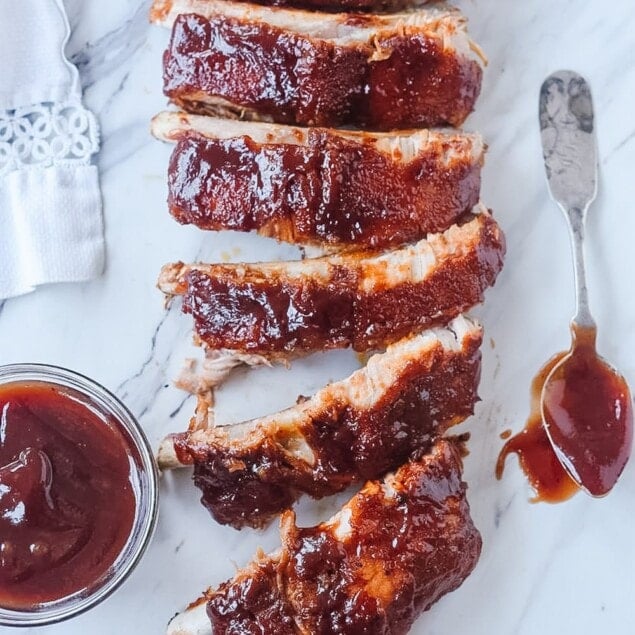
Our Family Favorites
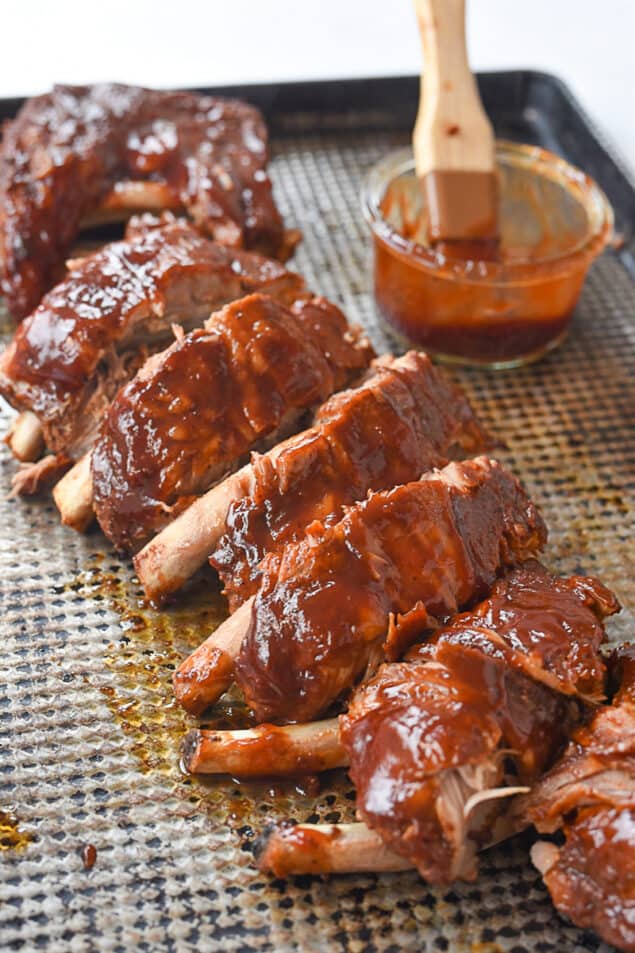
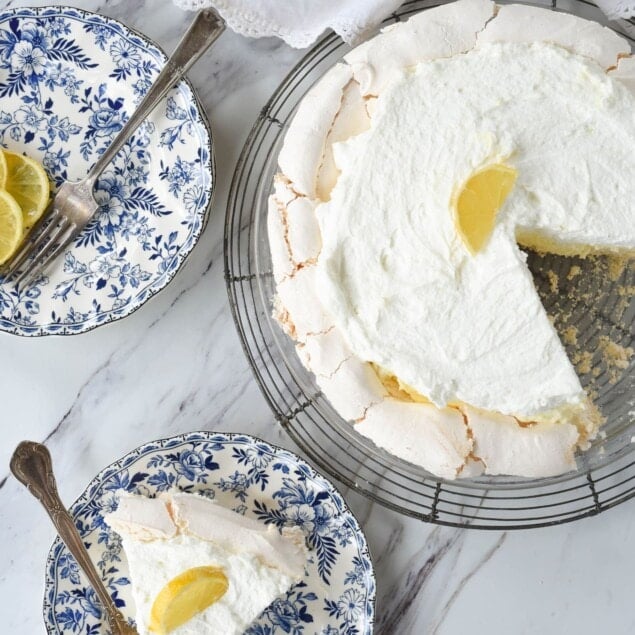
From the Lemon Angel Pie I've been making for 40 years to Instant Pot Baby Back Ribs which are one of my husband's favorites, this collection of recipes are our tried and true Wilkes family favorites. We hope you'll love them too.


Check out all my Video Cooking Tutorials
Be sure to visit me over on You Tube for weekly cooking tutorials in my kitchen. Don't forget to subscribe and turn on notifications so you'll know every time a new video drops.
Latest Travels
Whether it's where to go, what to wear or what to eat, I love sharing all my favorite travel adventures. Read all my tips and tricks for exploring everywhere from my backyard to around the world.


Join Leigh Anne