FREE 5 Instant Pot Meals in 5 Minutes E Course!
Formerly Your Homebased Mom
Leigh Anne Wilkes
Recipes
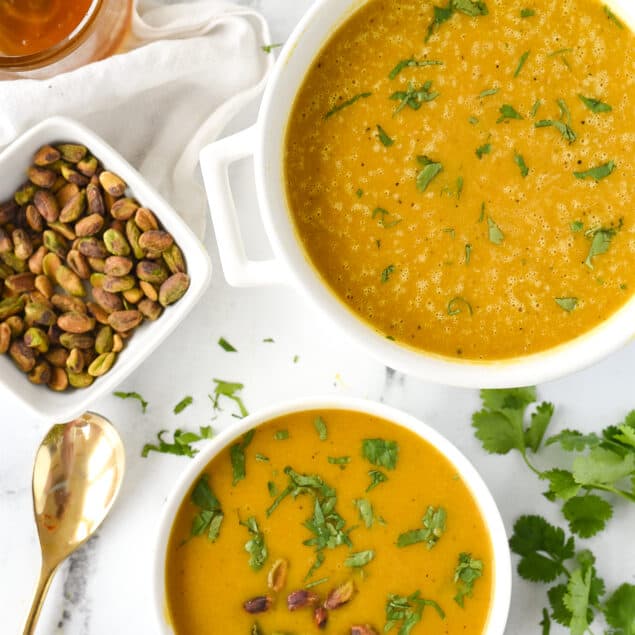
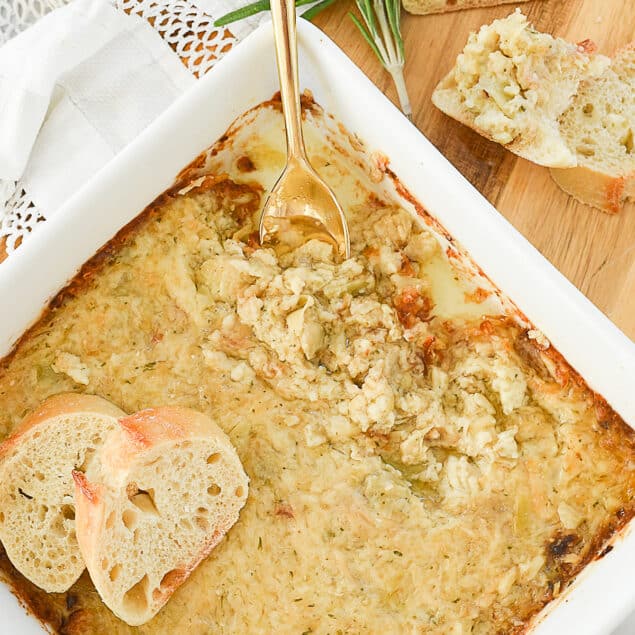
Delicious family friendly recipes to help you plan your meal. Perfect for weeknight meals, entertaining guests at a dinner party and anything in between.